Cherchies Blog

garlic 'n herbs no salt seasoning

Easy Shrimp and Sausage Foil Packs Recipe

entrees, grilling, lunch, partiesSheri SpalloneComment

Shrimp and Sausage Foil Packs Recipe

Prep Time: 15 minutes
Cook Time: 15–20 minutes
Servings: 4

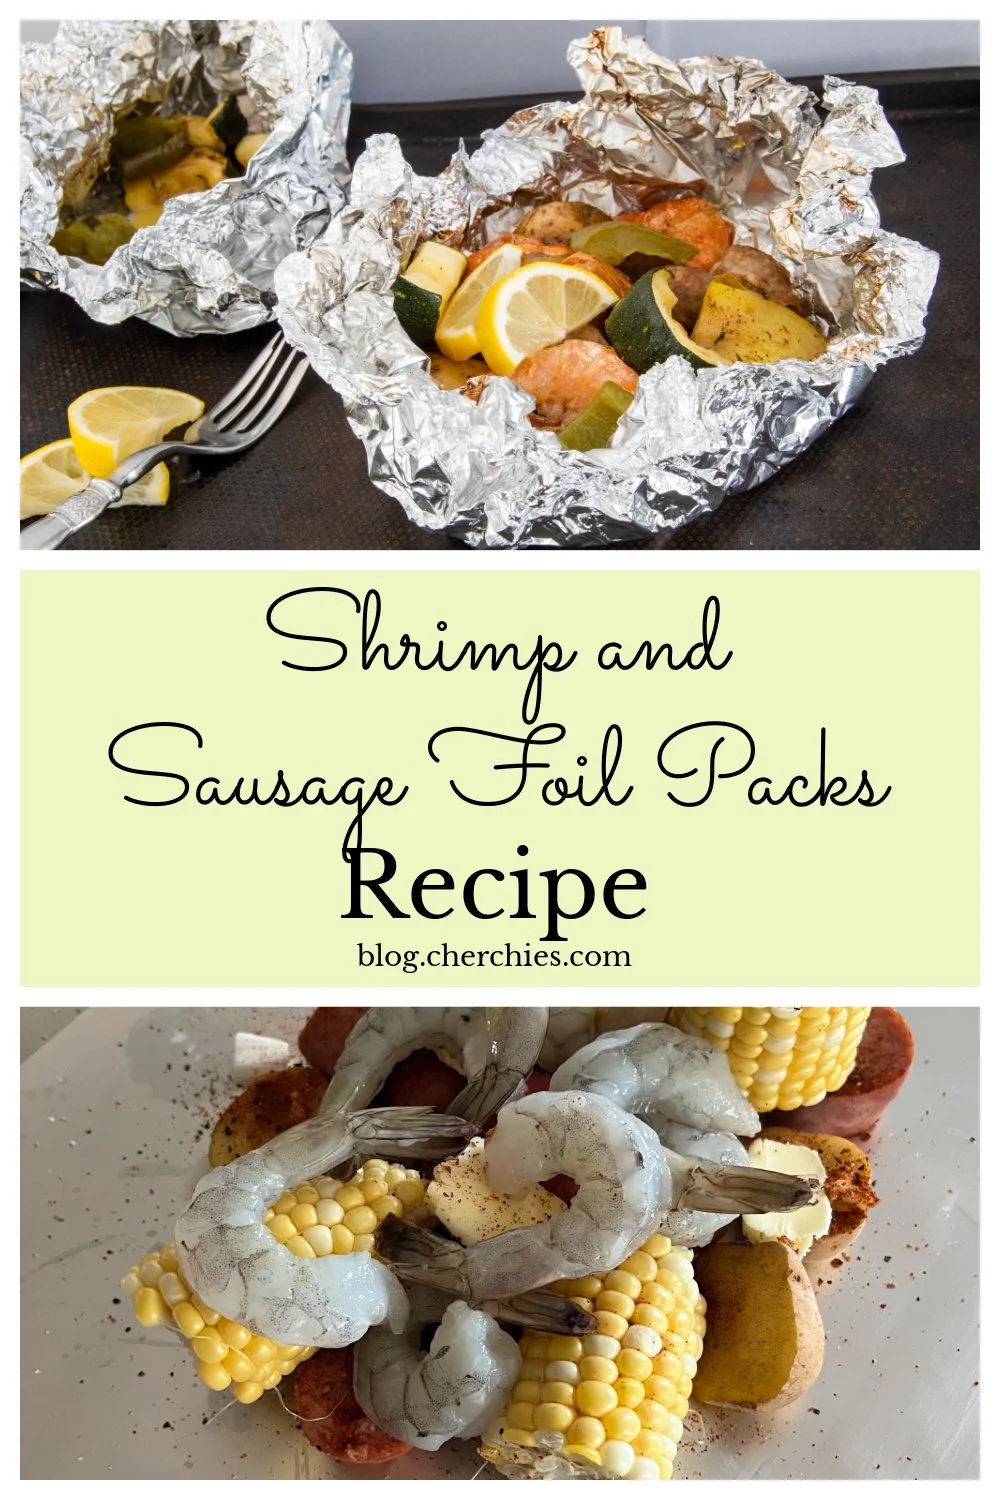
One of our family's favorite summer meals is these Easy Shrimp & Sausage Foil Packs. Whether we're cooking on the grill while friends are over or popping them into the oven on a busy weeknight, they're always a hit.

They're everything a summer meal should be:

  • Fun to assemble

  • Ready in no time

  • Easy cleanup

  • Completely customizable

Everyone gets their own little foil packet filled with their favorite ingredients.

One of the best things about foil packs is how easy they are to customize. Everyone can build their own with the ingredients they enjoy most. Not in the mood for shrimp? Simply substitute kielbasa, andouille sausage, chicken, or another favorite protein.

We love entertaining, especially during the summer, and these foil packs have become our go-to meal. They remind me of the sheet pan dinners everyone seems to be making these days, but I think they're even more fun because everyone gets their own individual foil packet to open at the table. Watching everyone open their own little foil "present" and discover what's inside always brings a smile to my face.

For this version, we seasoned everything with Cherchies® Cajun Seasoning, giving it those classic Cajun boil flavors we all love. The best part is that this recipe can become an entirely different meal simply by changing the seasoning blend.

Not sure which seasoning to choose? Each one brings its own unique flavor profile, so don't be afraid to experiment. You may just discover your new family favorite!

Here are a few of our favorites:

It's amazing how one simple recipe can create an entirely different flavor experience just by changing the seasoning.

If you love Cajun-inspired meals, be sure to check out our Cajun Shrimp Boil Recipe—another family favorite packed with shrimp, sausage, corn, potatoes, and plenty of bold flavor.

Whether you're feeding the family on a busy weeknight or hosting friends for a backyard cookout, these Easy Shrimp & Sausage Foil Packs are packed with flavor, incredibly easy to customize, and leave you with almost no cleanup—which means more time to relax and enjoy summer.

Thanks for stopping by! 😊 I hope these Easy Shrimp & Sausage Foil Packs become a favorite at your house just like they have at ours. If you make this recipe, we’d love to hear how it turned out! Leave a comment below and let me know which Cherchies® Seasoning you used—or share your favorite combination of proteins and vegetables.

Happy cooking!

Let's stay connected!

🌐 https://cherchies.com
📝 https://blog.cherchies.com
📸 Instagram: @cherchies_gourmet
📘 Facebook: Cherchies Specialty Foods
📌 Pinterest: @cherchies

Ingredients

  • 1 pound large shrimp, peeled and deveined

  • 12–14 ounces fully cooked kielbasa or andouille sausage, sliced

  • 1 pound baby potatoes, halved or quartered

  • 2 ears fresh corn, cut into thirds

  • 1 zucchini, sliced into ½-inch half-moons (optional, but cook in a separate foil pack)

  • 1 yellow squash, sliced into ½-inch half-moons (optional, but cook in a separate foil pack)

  • 1 red bell pepper, cut into 1-inch pieces (you can use whatever pepper you have on hand)

  • 1 small onion, cut into 1-inch pieces

  • 2–3 tablespoons olive oil

  • 2–3 tablespoons Cherchies® Cajun Seasoning (or your favorite Cherchies® seasoning)

  • Fresh parsley, chopped (optional)

  • Lemon wedges, for serving (optional)

Preparation

Preheat your grill or oven to 400°F.

If needed, par-boil the potatoes for 5–7 minutes until just beginning to soften. Drain well.

In a large bowl, combine the potatoes, corn, zucchini, squash, bell pepper, onion, sausage, olive oil, and Cherchies® Cajun Seasoning. Toss until everything is evenly coated.

Gently fold in the shrimp.

Divide the mixture evenly among four large sheets of heavy-duty aluminum foil. Fold and seal the foil packets tightly.

Grill or bake the foil packets for 15–20 minutes, or until the shrimp are pink and cooked through and the vegetables are tender.

Carefully open the foil packets (watch for the hot steam!), garnish with fresh parsley and lemon if desired, and serve immediately.

A Few Tips

  • Use baby potatoes, cut in half or even thirds. If they're on the larger side, par-boil them for 5–7 minutes before assembling the foil packets since shrimp cook so quickly.

  • We prefer fully cooked kielbasa or andouille sausage, sliced into bite-sized pieces. They cook perfectly alongside the vegetables and shrimp.

  • If you're using raw Italian sausage, we recommend cooking it beforehand or preparing it in a separate foil packet to ensure it reaches a safe internal temperature.

  • If you're grilling, consider cooking the vegetables in separate foil packets. They often need a little longer than the shrimp, so everything finishes cooking at the same time.
Yum

Easy Pickled Jalapenos Recipe

side dishes, cooking tipsSheri SpalloneComment

Easy Pickled Jalapeño Recipe

Prep Time: 10 minutes

Cook Time: 5 minutes

Difficulty: Easy

Makes one jar

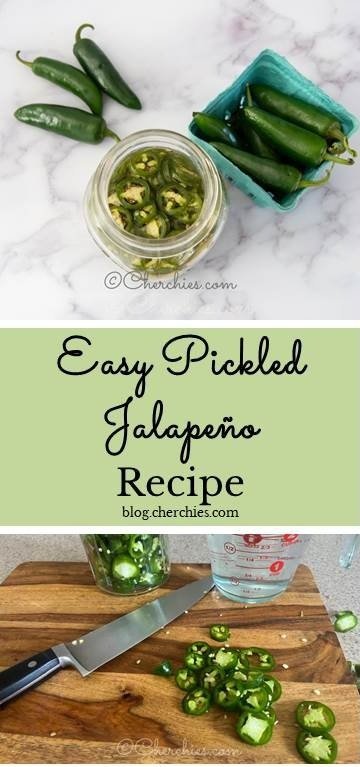
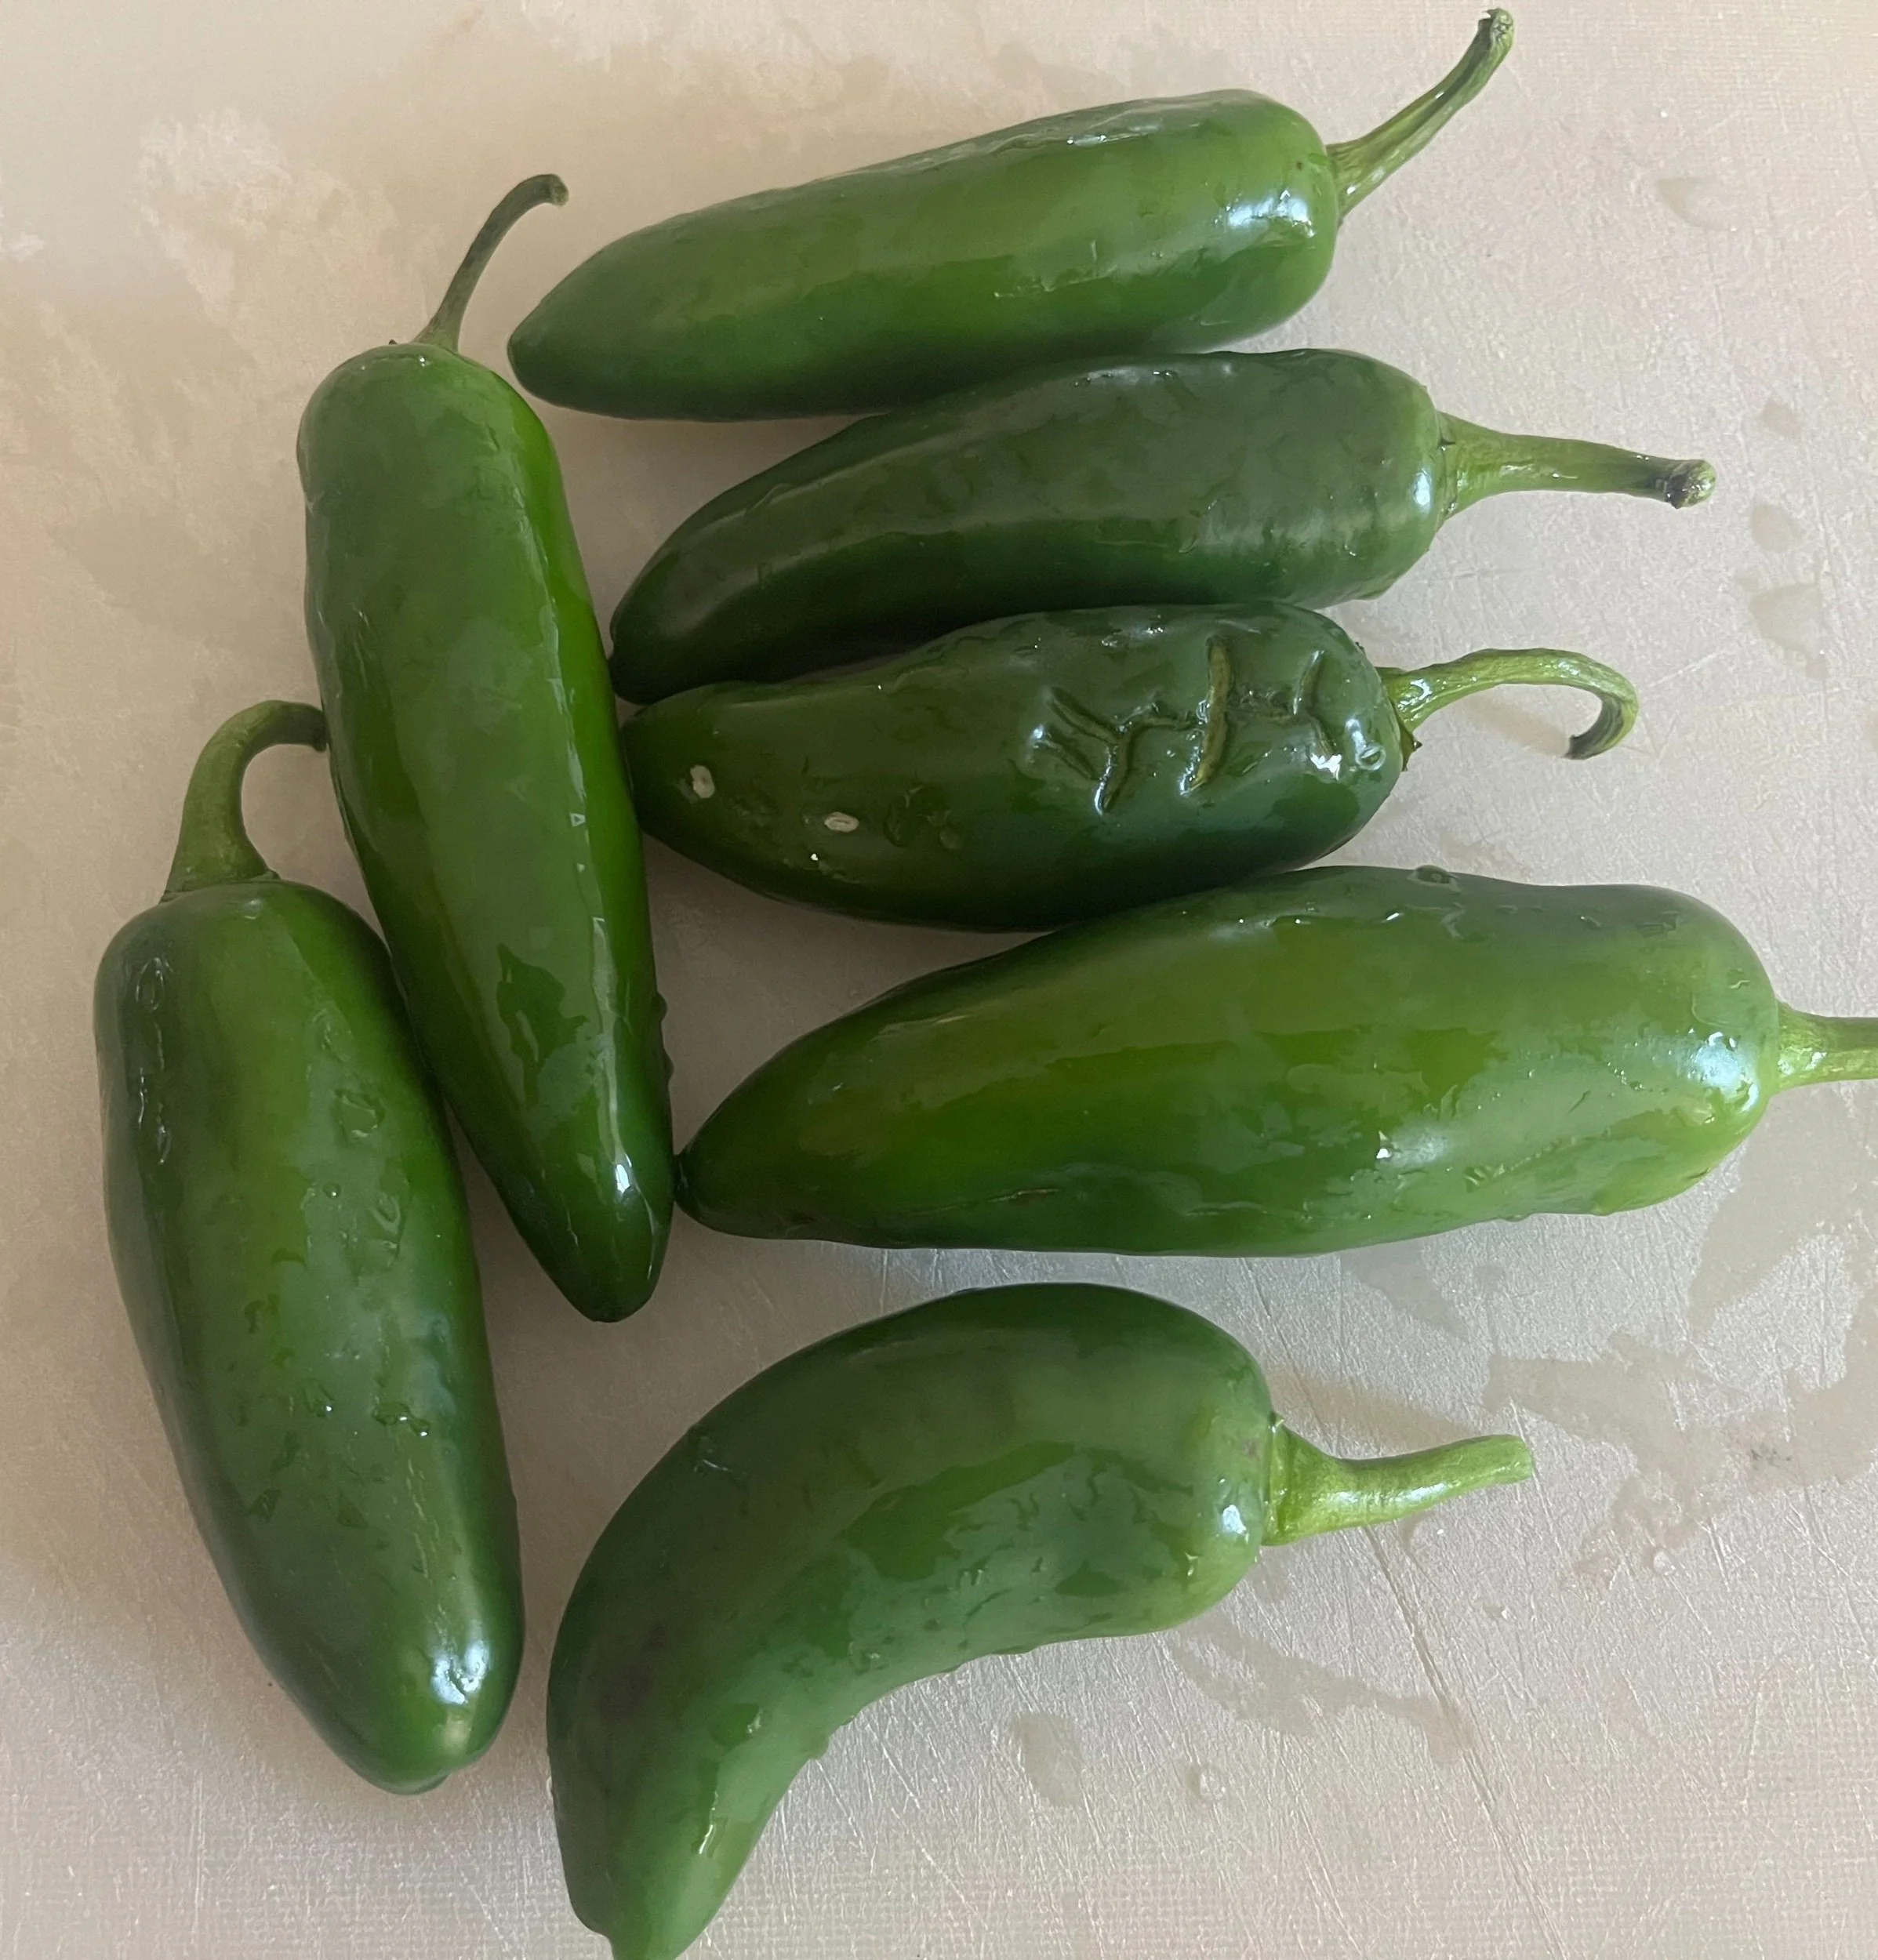
Hello friends. If you want to kick up your culinary repertoire and love spicy foods, tangy pickled jalapeños will elevate your cooking to a new level.  Even if you are not a spicy food lover, pickling jalapeños makes the peppers sweeter and milder than fresh jalapeños. They are easy to make and add incredible flavor to Mexican dishes, cheese balls, dips, sandwiches, soups, and much more.  More on that later.  And you'll wonder why you never made them sooner because you will always want them in your refrigerator.  

Have I convinced you yet?

Here's my testimony. I have belonged to a CSA farm share for two summers, and jalapeños are part of the "pick-your-own crop." I avoided them two Summers ago because even though I love foods with a kick, I'm a wimp when it comes to fresh jalapeños or spicy peppers.  

That all changed last summer.  I put on my big girl pants, expanded my palate, and tried pickled jalapeños at a restaurant.  The rest is history, as I was hooked!  I LOVED THEM so much that I needed to make them at home so they would always be available.  

Luckily, last summer's CSA share included a plethora of jalapeños, so I had plenty on hand to experiment with and different recipes to use them in. At the end of the growing season, I sliced and froze the extras so my family and I could enjoy them all winter. This recipe includes only a few ingredients and features Cherchies® Garlic Seasoning.

Consider pickling these little gems if you're looking for a new go-to condiment to up your cooking game and add incredible flavor to your dishes.  You won't be disappointed.  

Thanks for stopping by. :) Comment below if you have made these zippy, pickled jalapeños. Revisit us for more family-tested recipesentertaining ideas, and cooking tips using all our favorite Cherchies® gourmet products.

Follow us on social media: FacebookInstagram, and Pinterest.

Ingredients

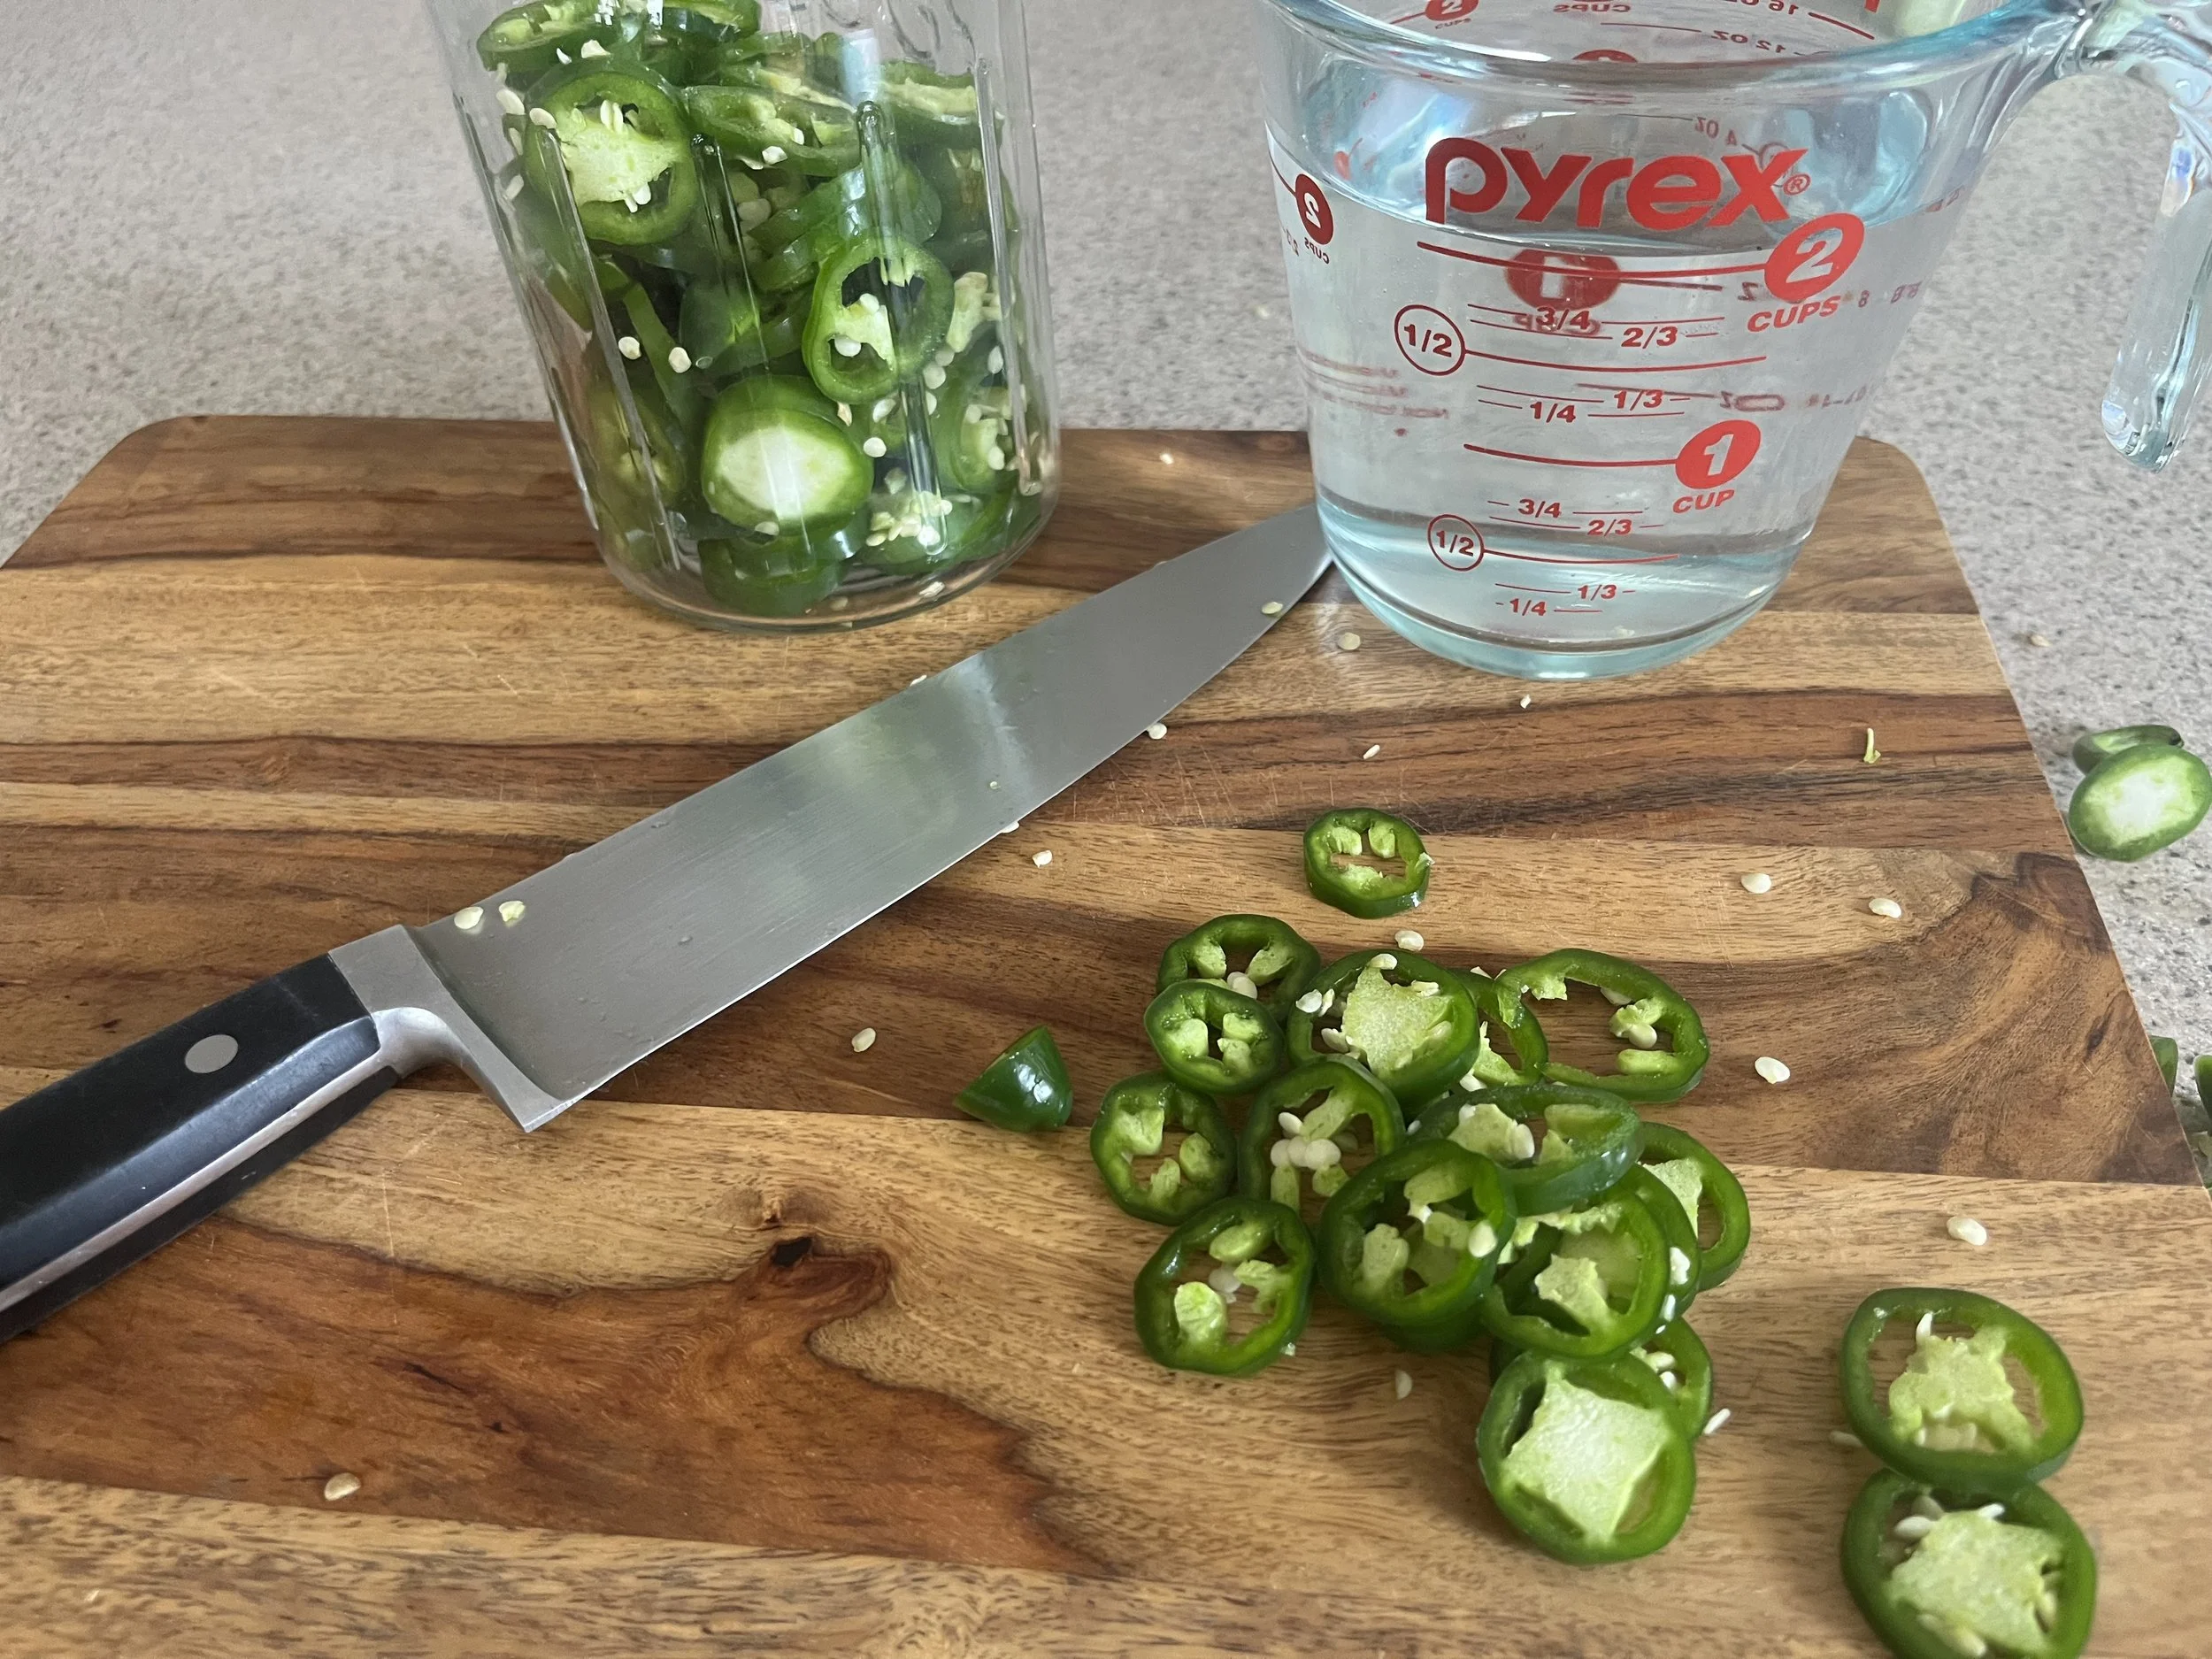
  • 6-8 jalapeños, thinly sliced

  • 1 clove of garlic, skins removed

  • 1 cup white vinegar

  • 1 cup water

  • 3 Tablespoons (Tbsp.) sugar

  • 1/2 teaspoon (tsp.) Cherchies® Garlic Seasoning

Preparation

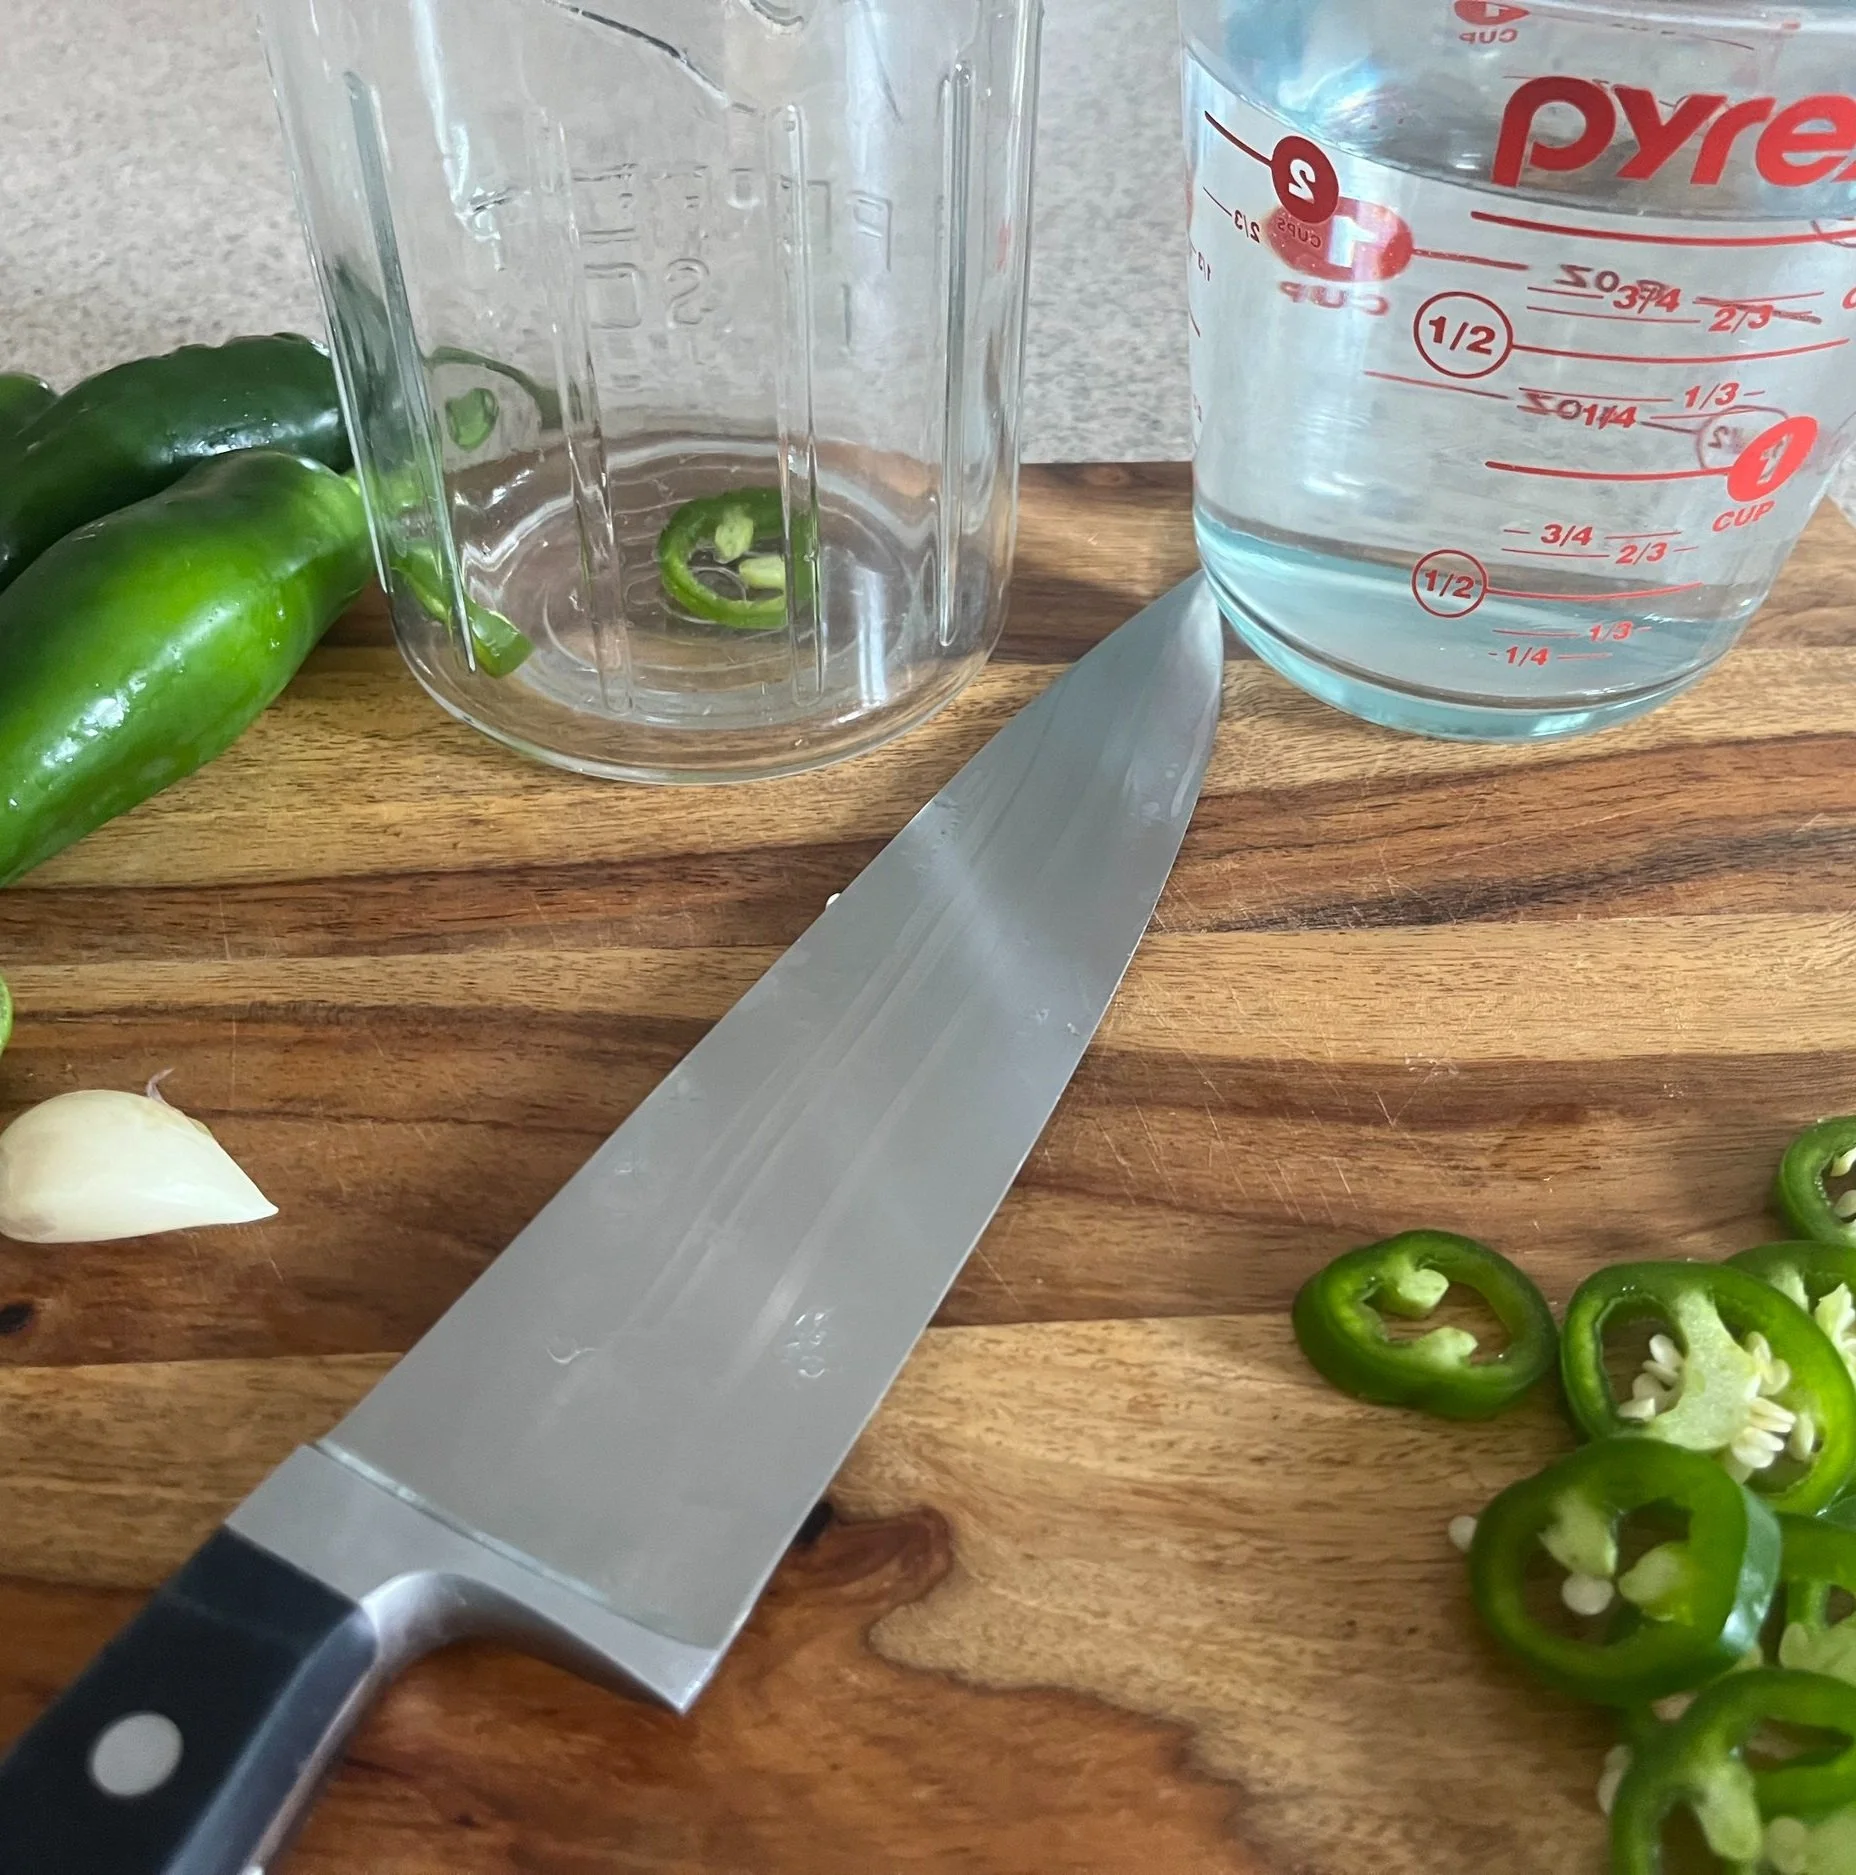
I highly recommend using food-safe gloves to slice the jalapeños. The oil residue from these peppers stays on your hands, so be careful not to touch your eyes. Learn from my experience; it is not pleasant.

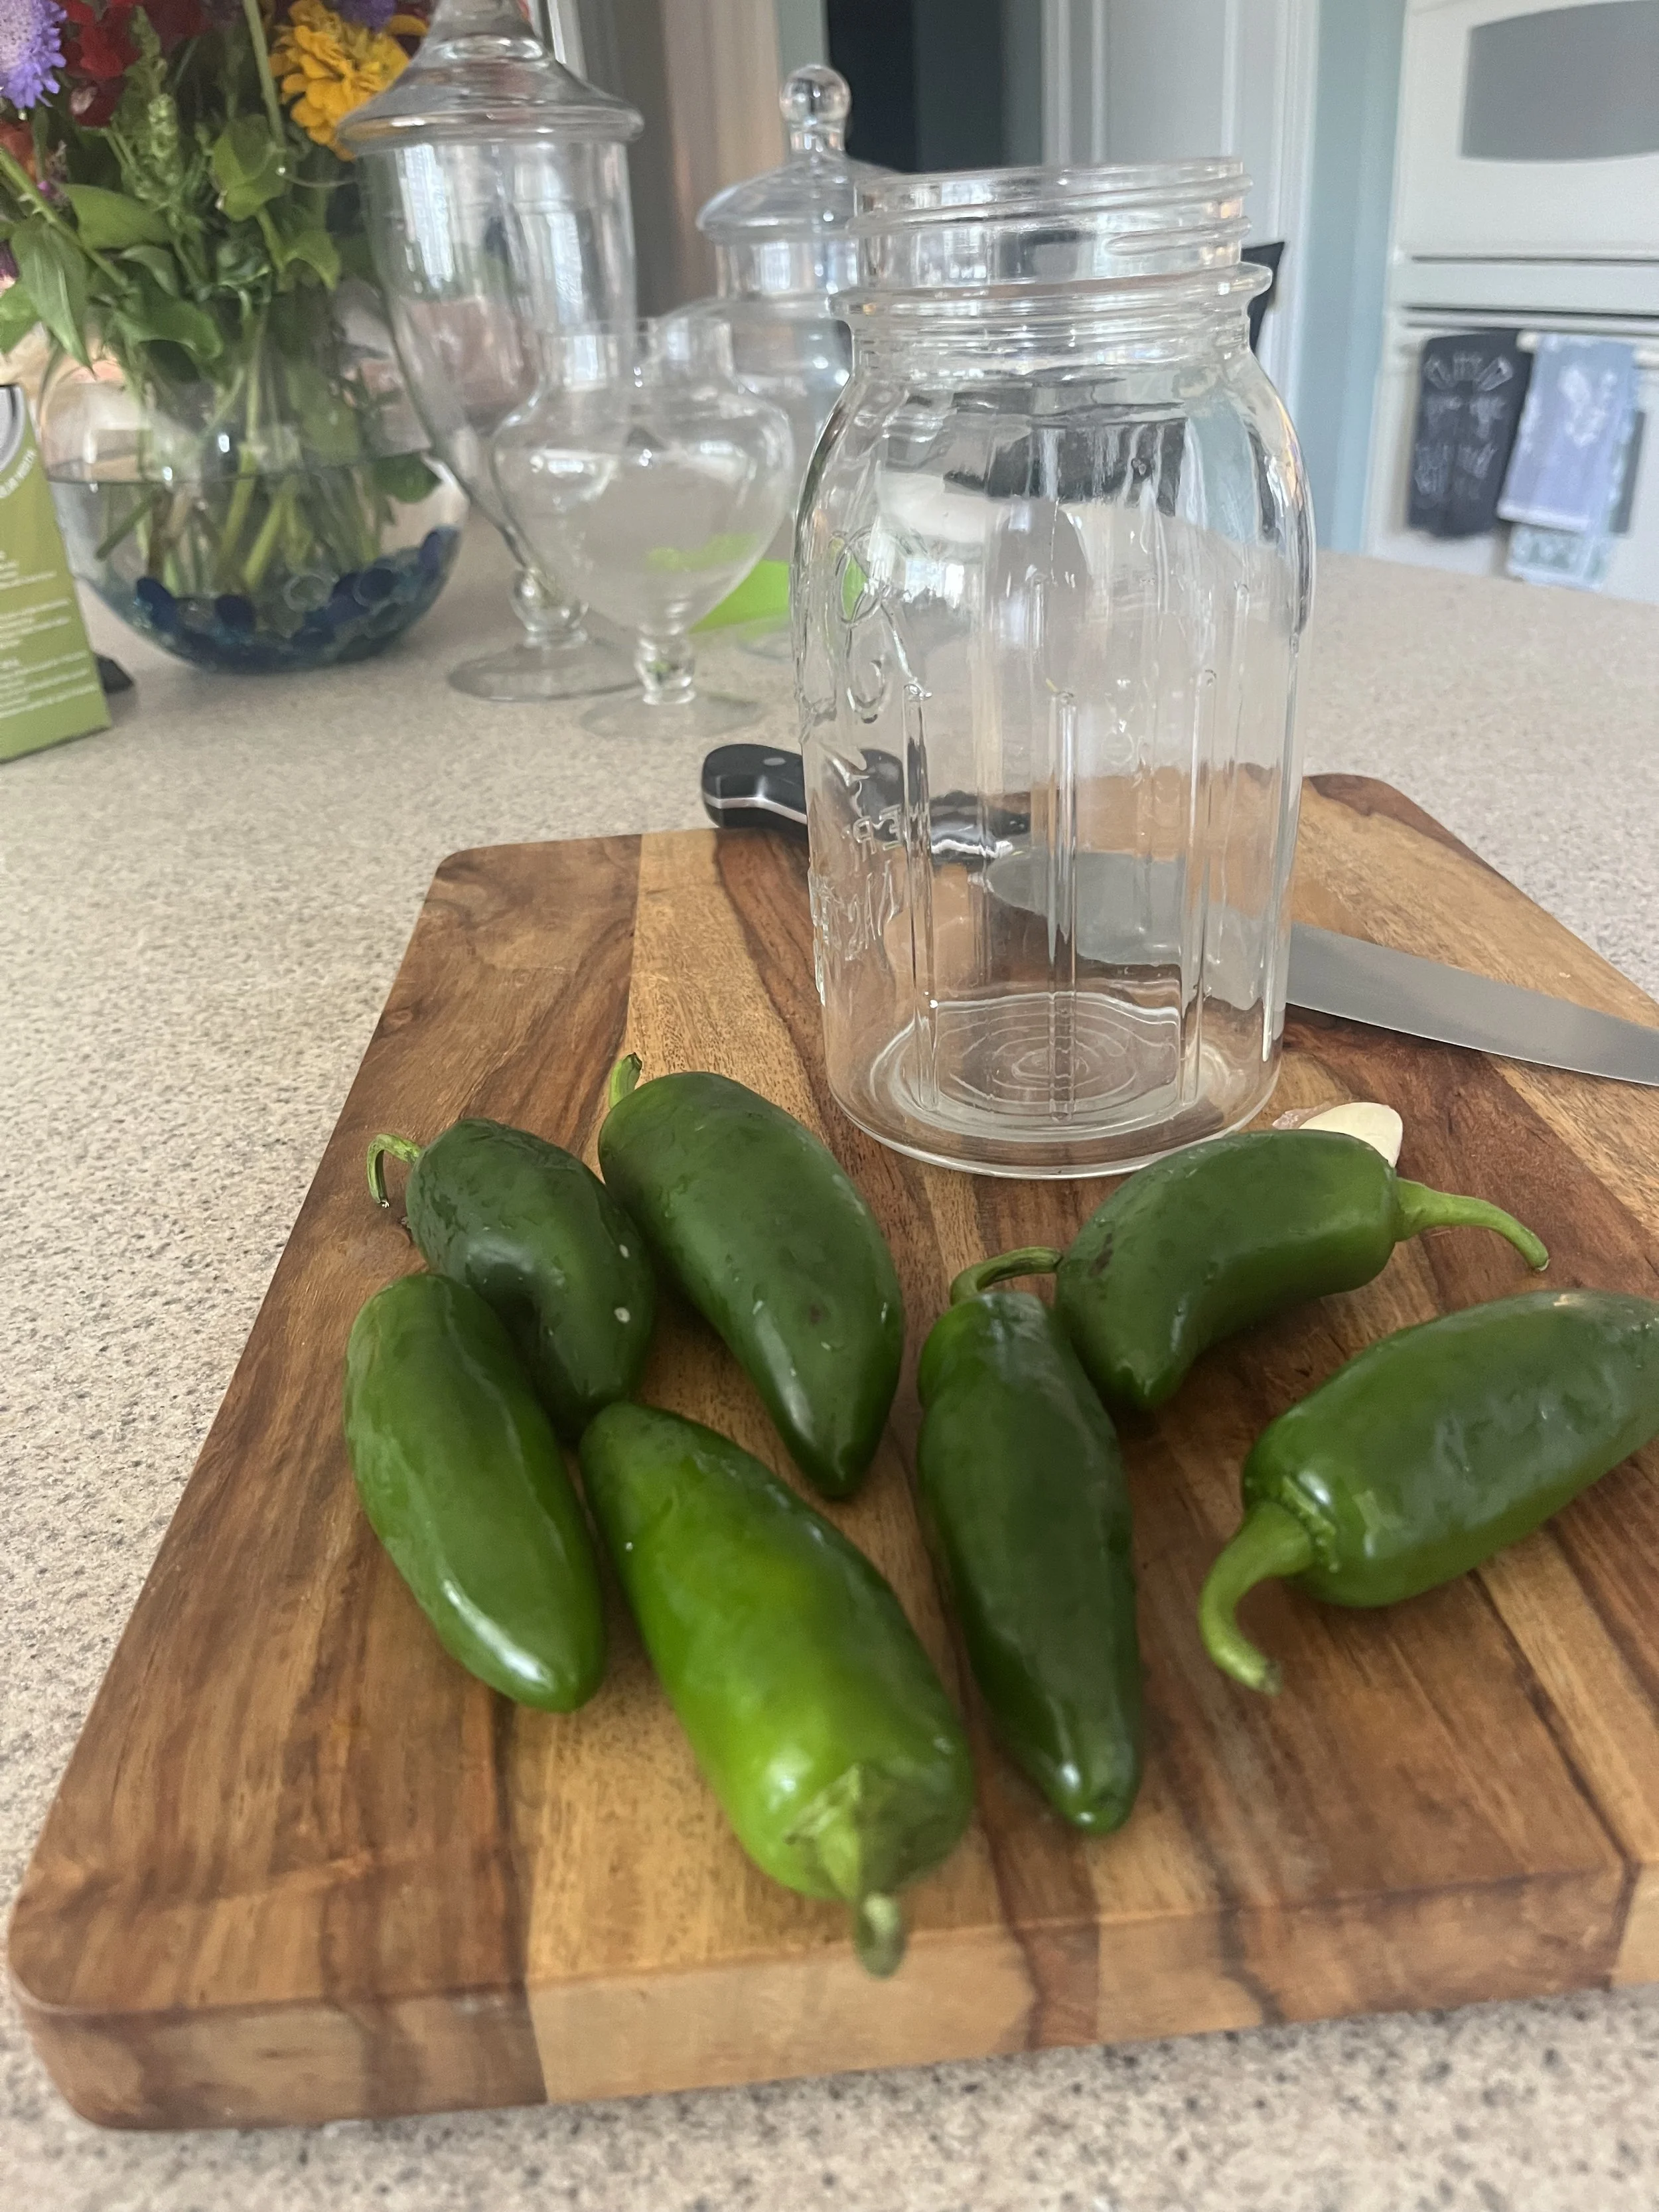
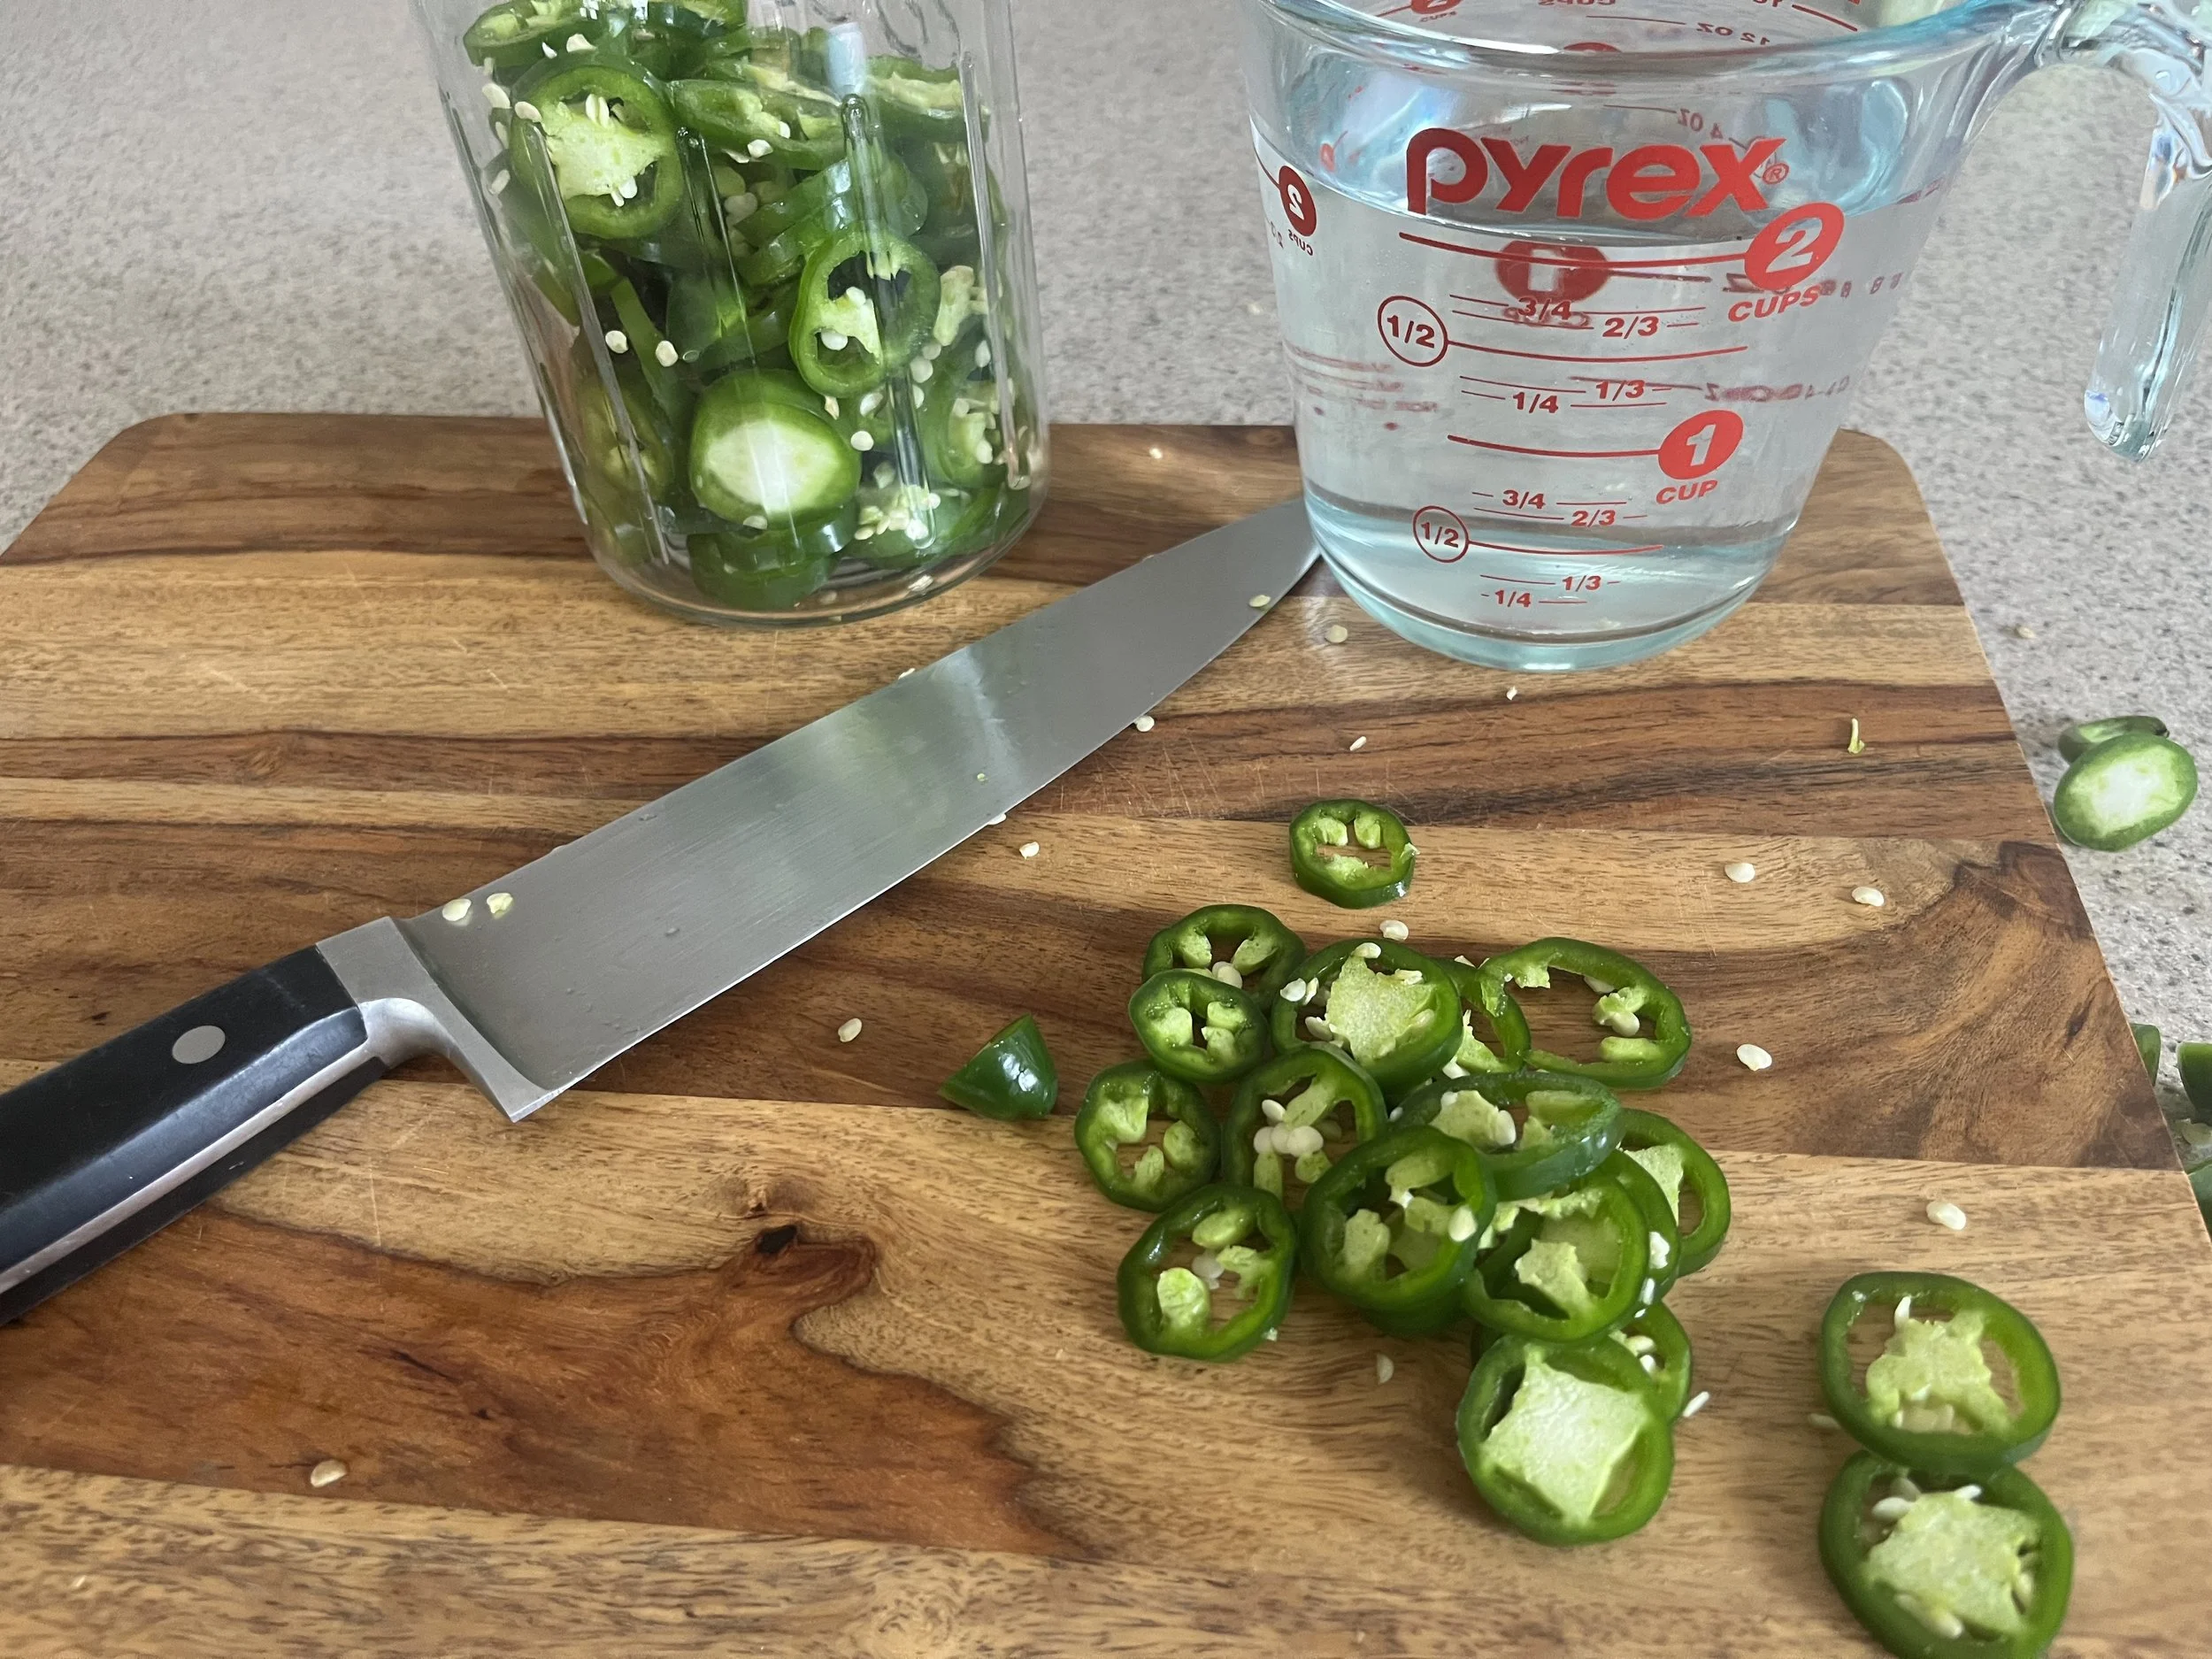
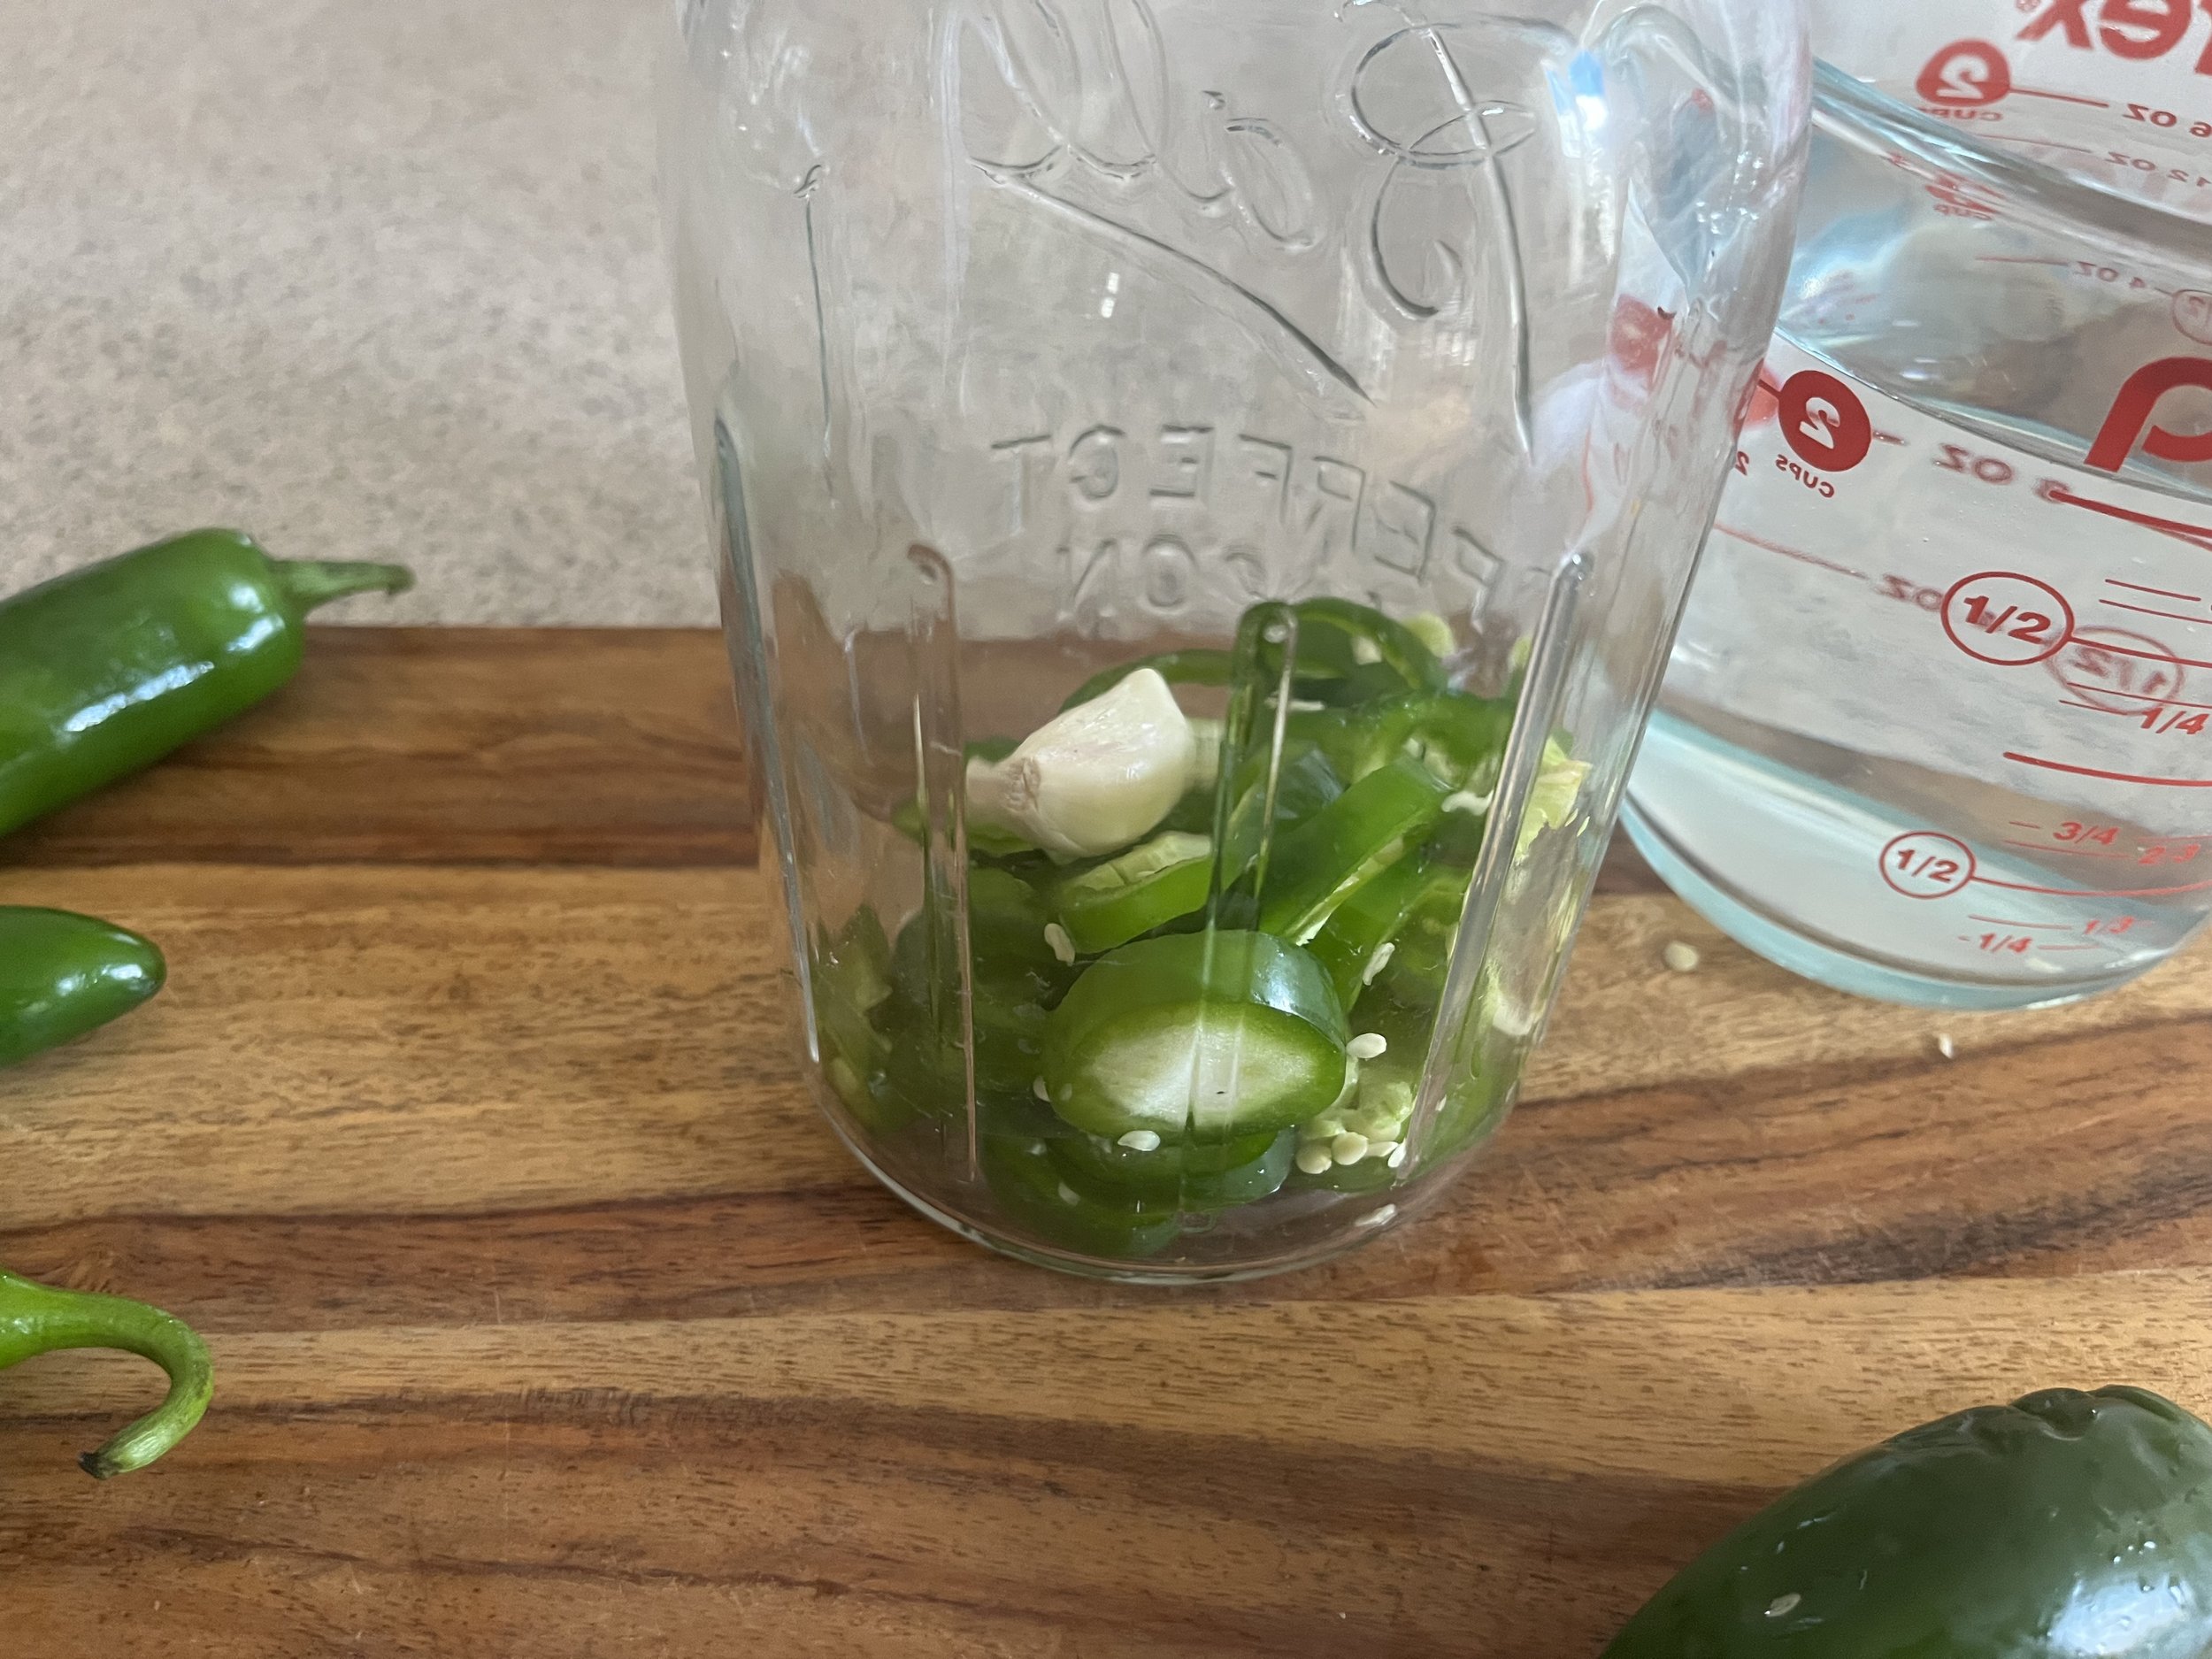
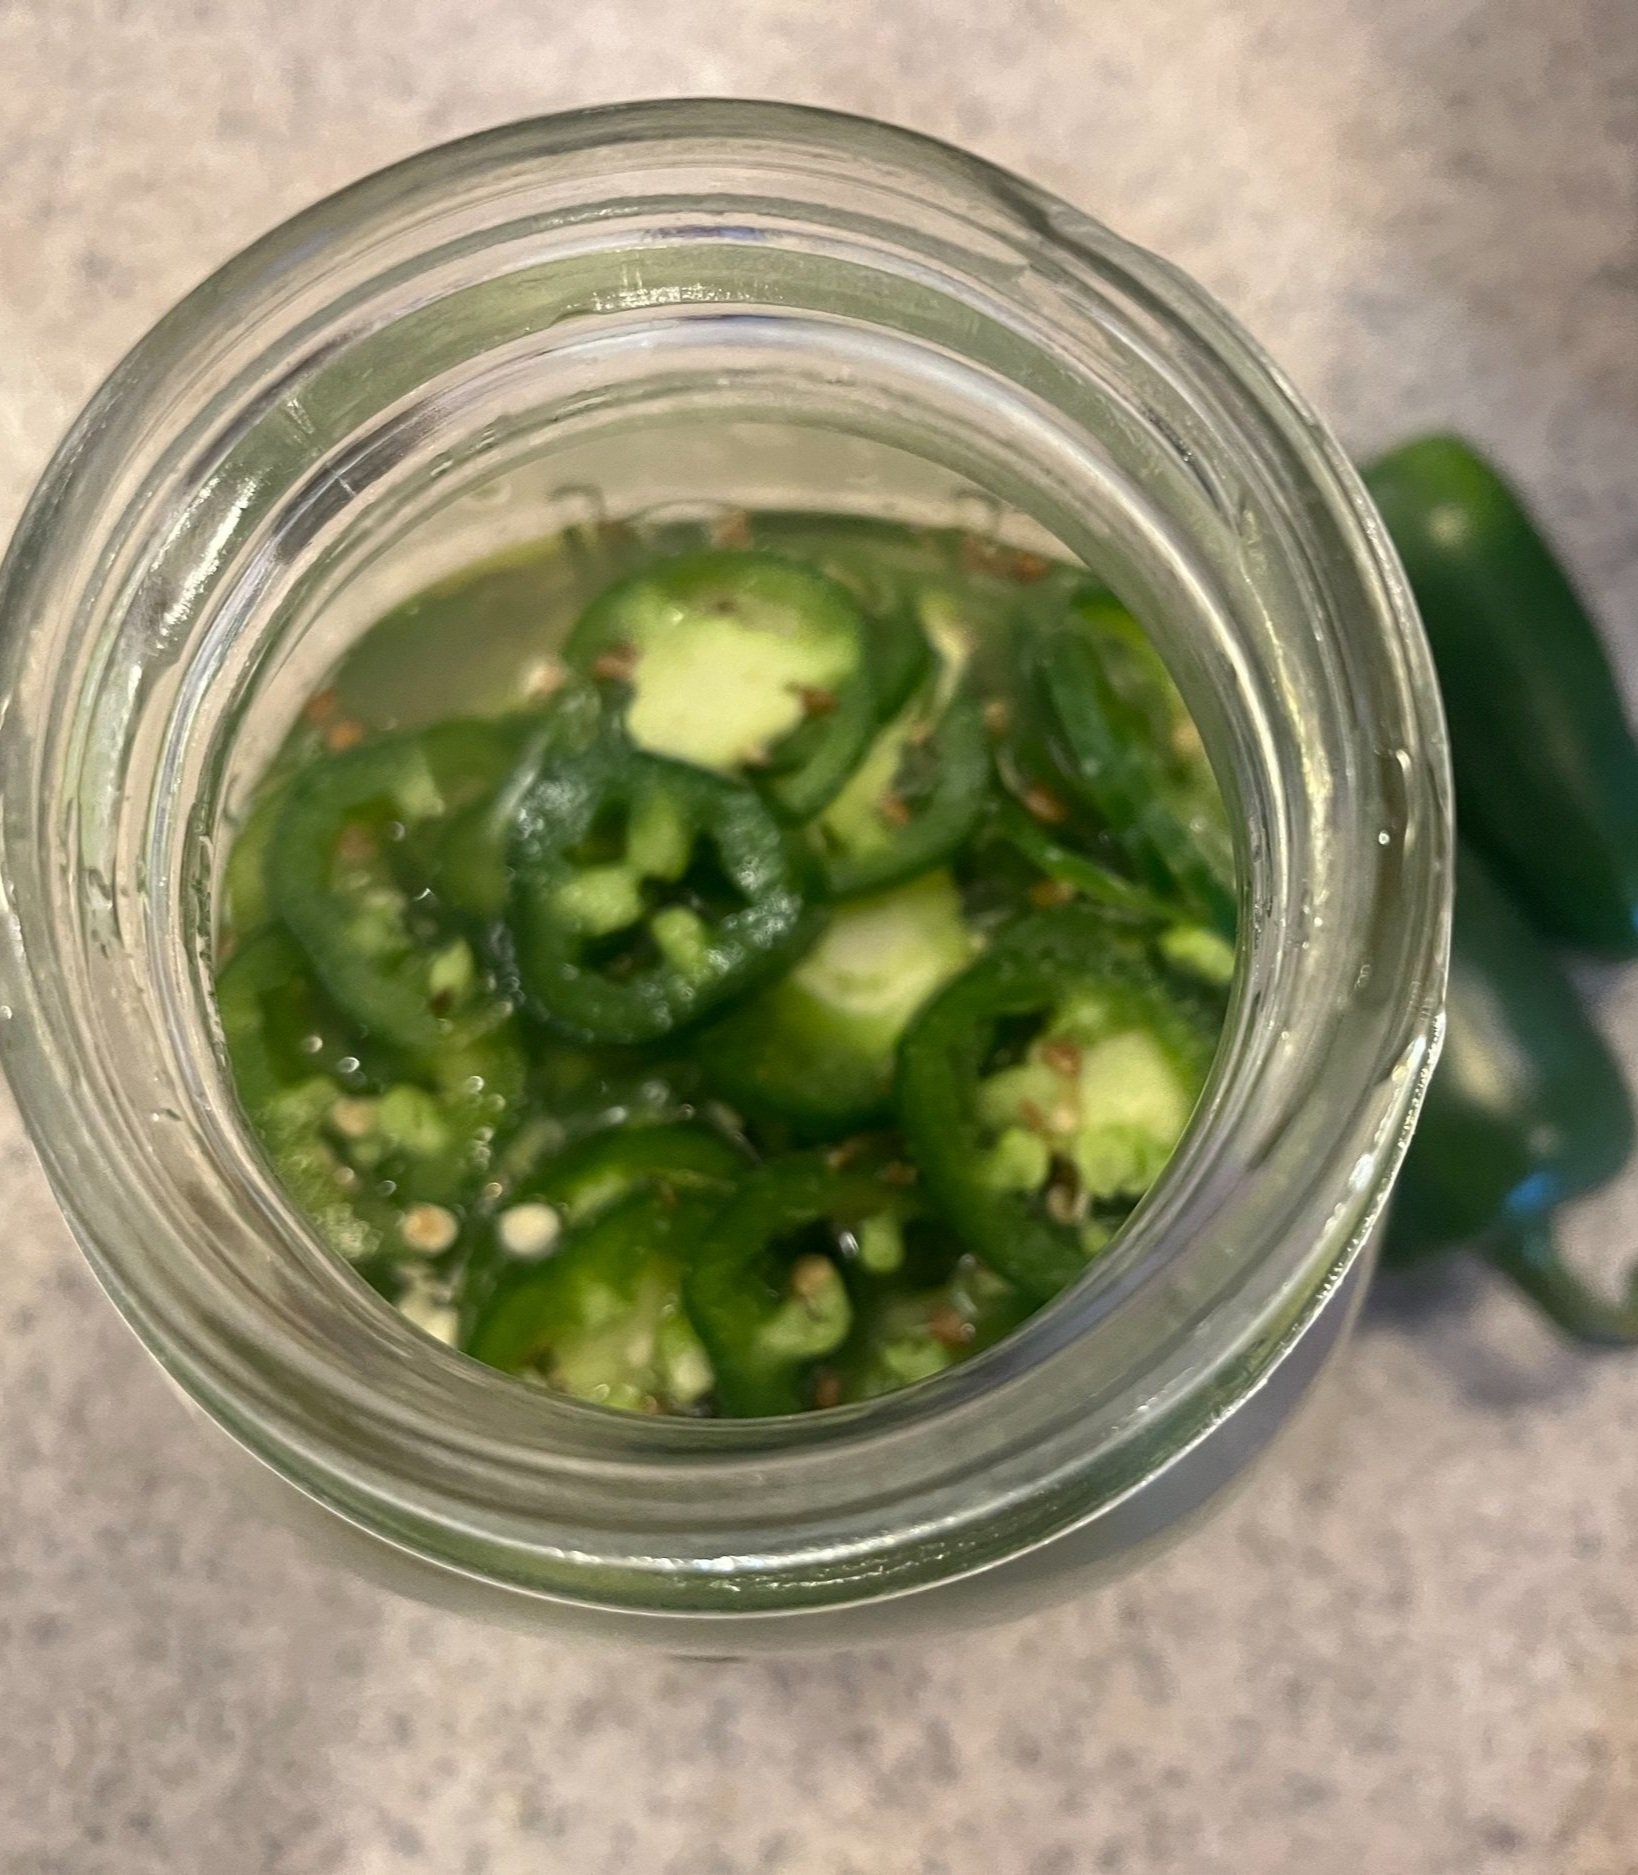
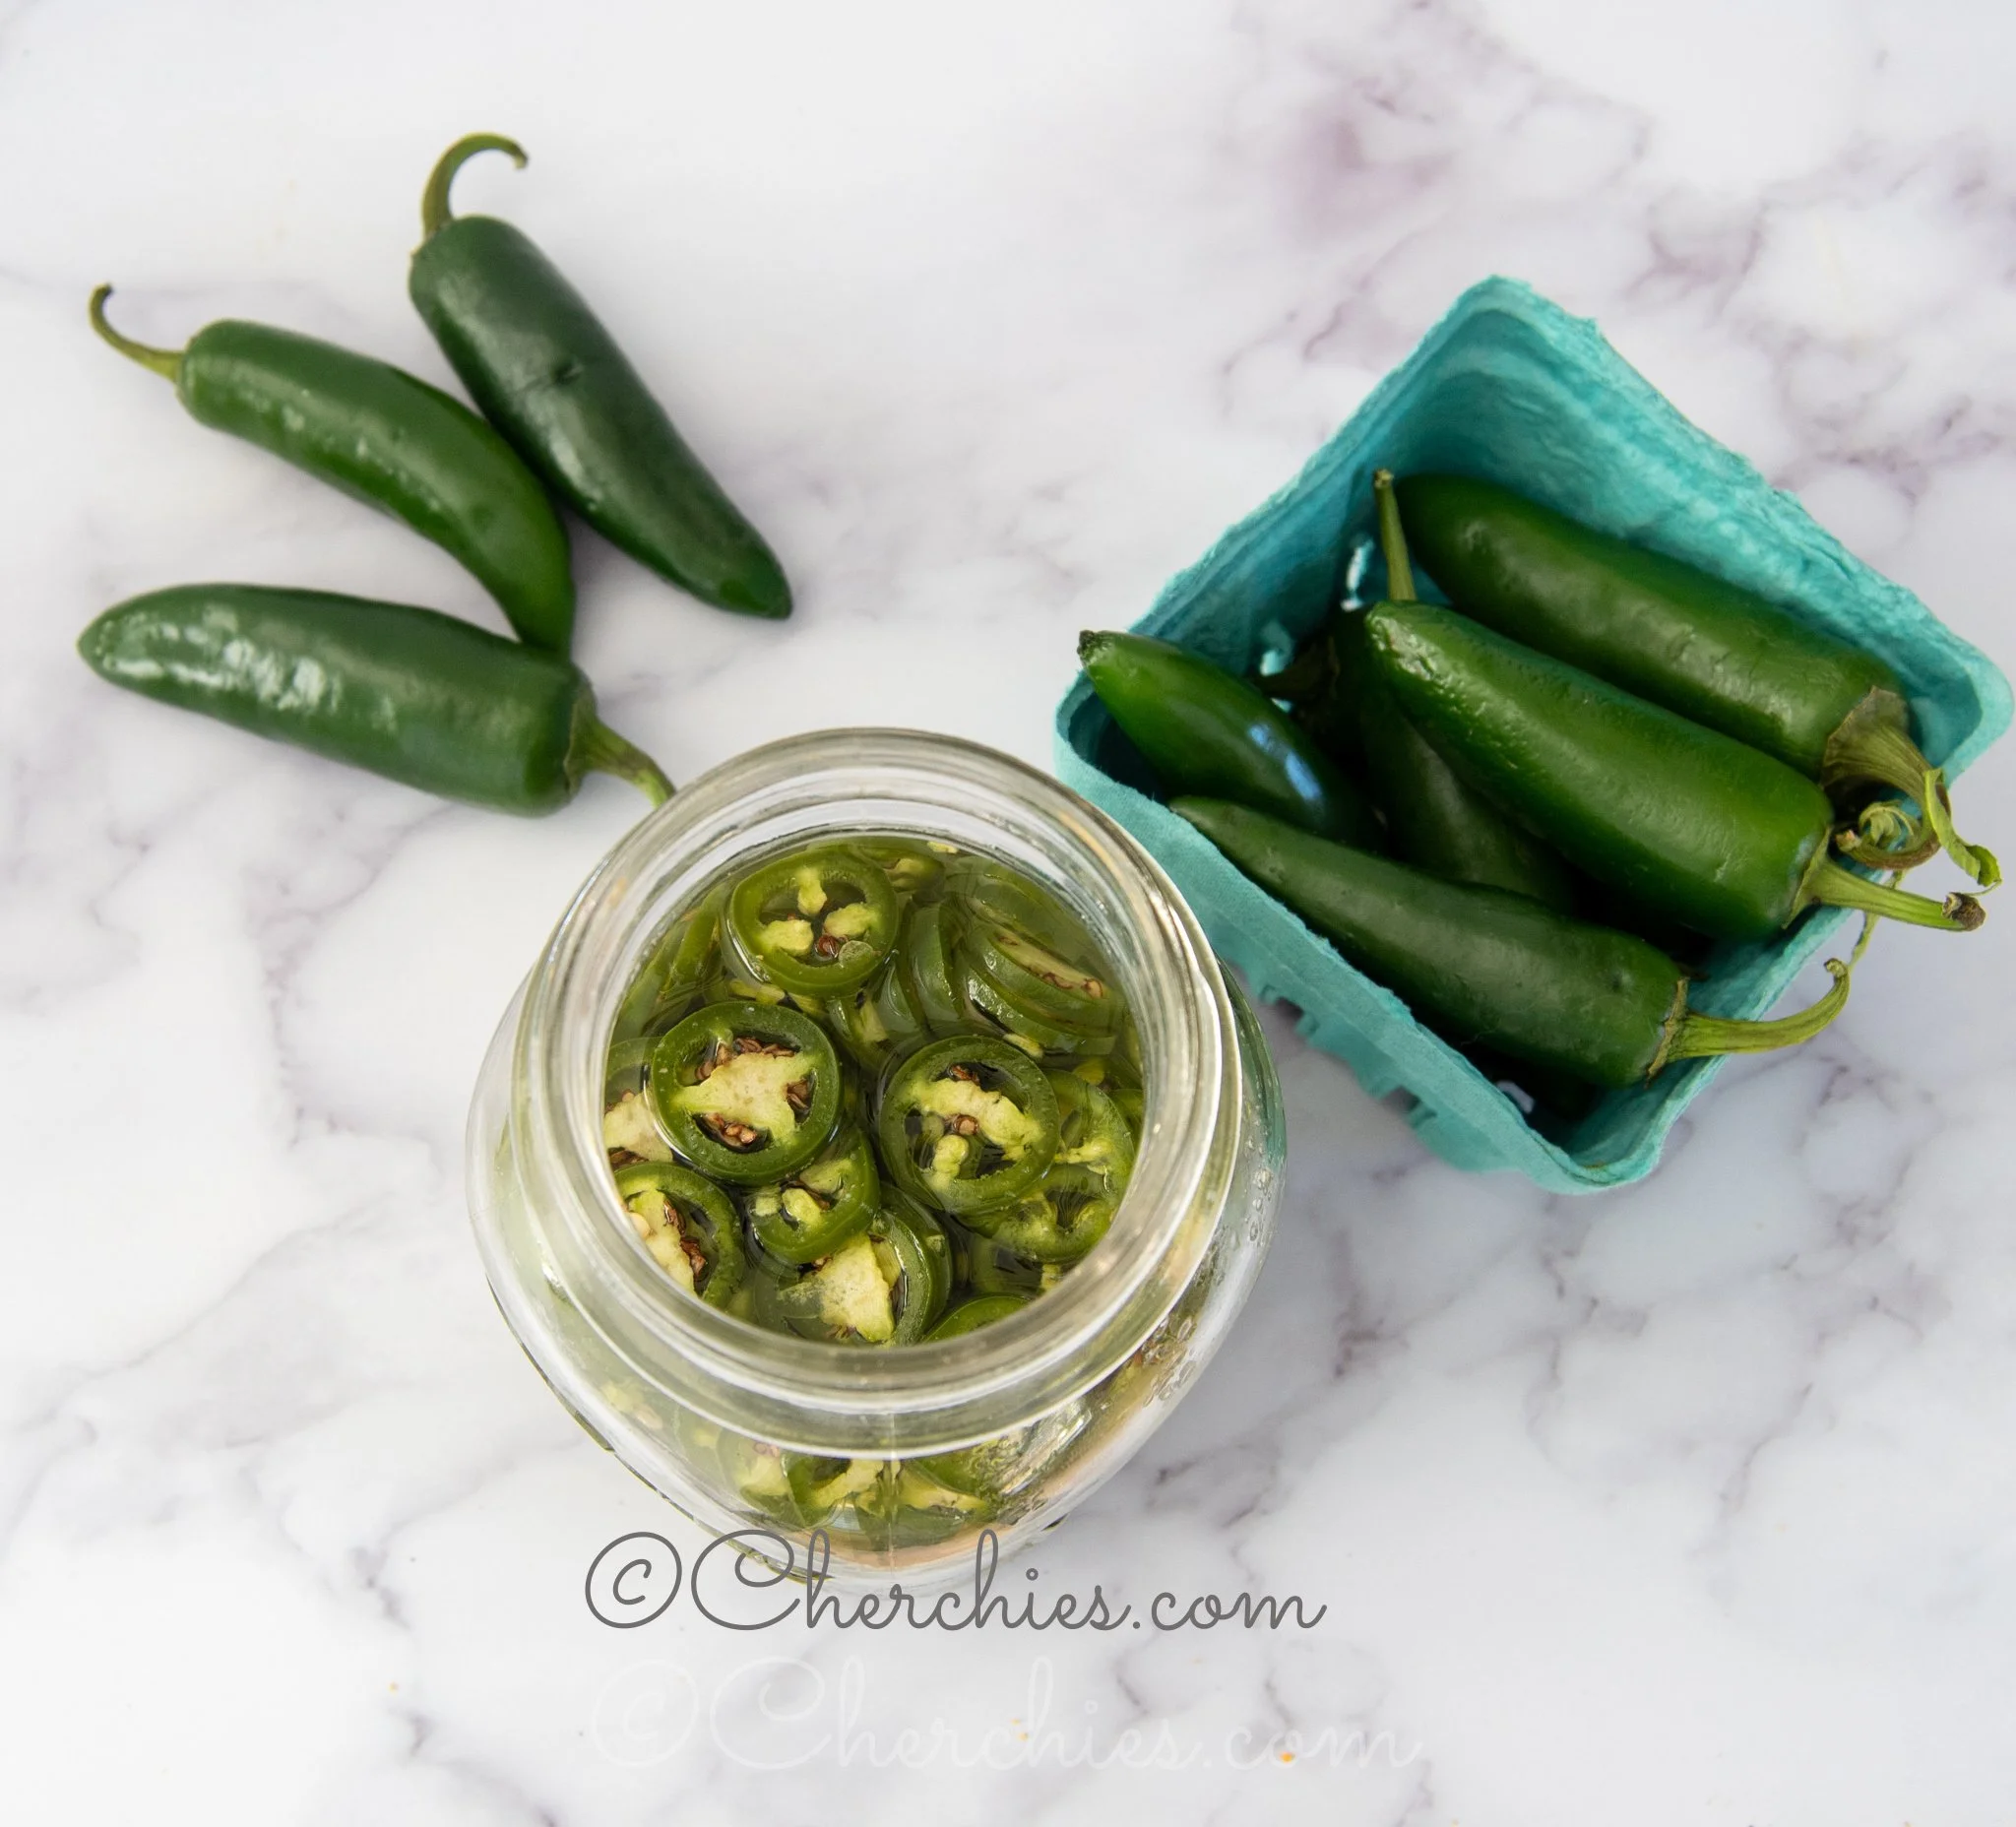
Wash and dry the jalapeños. Thinly slice the peppers and place them in a clean, sterilized jar with a lid, such as a Mason jar. (I have attached a link to the proper jar sterilizing techniques.) Add the garlic clove to the jar.

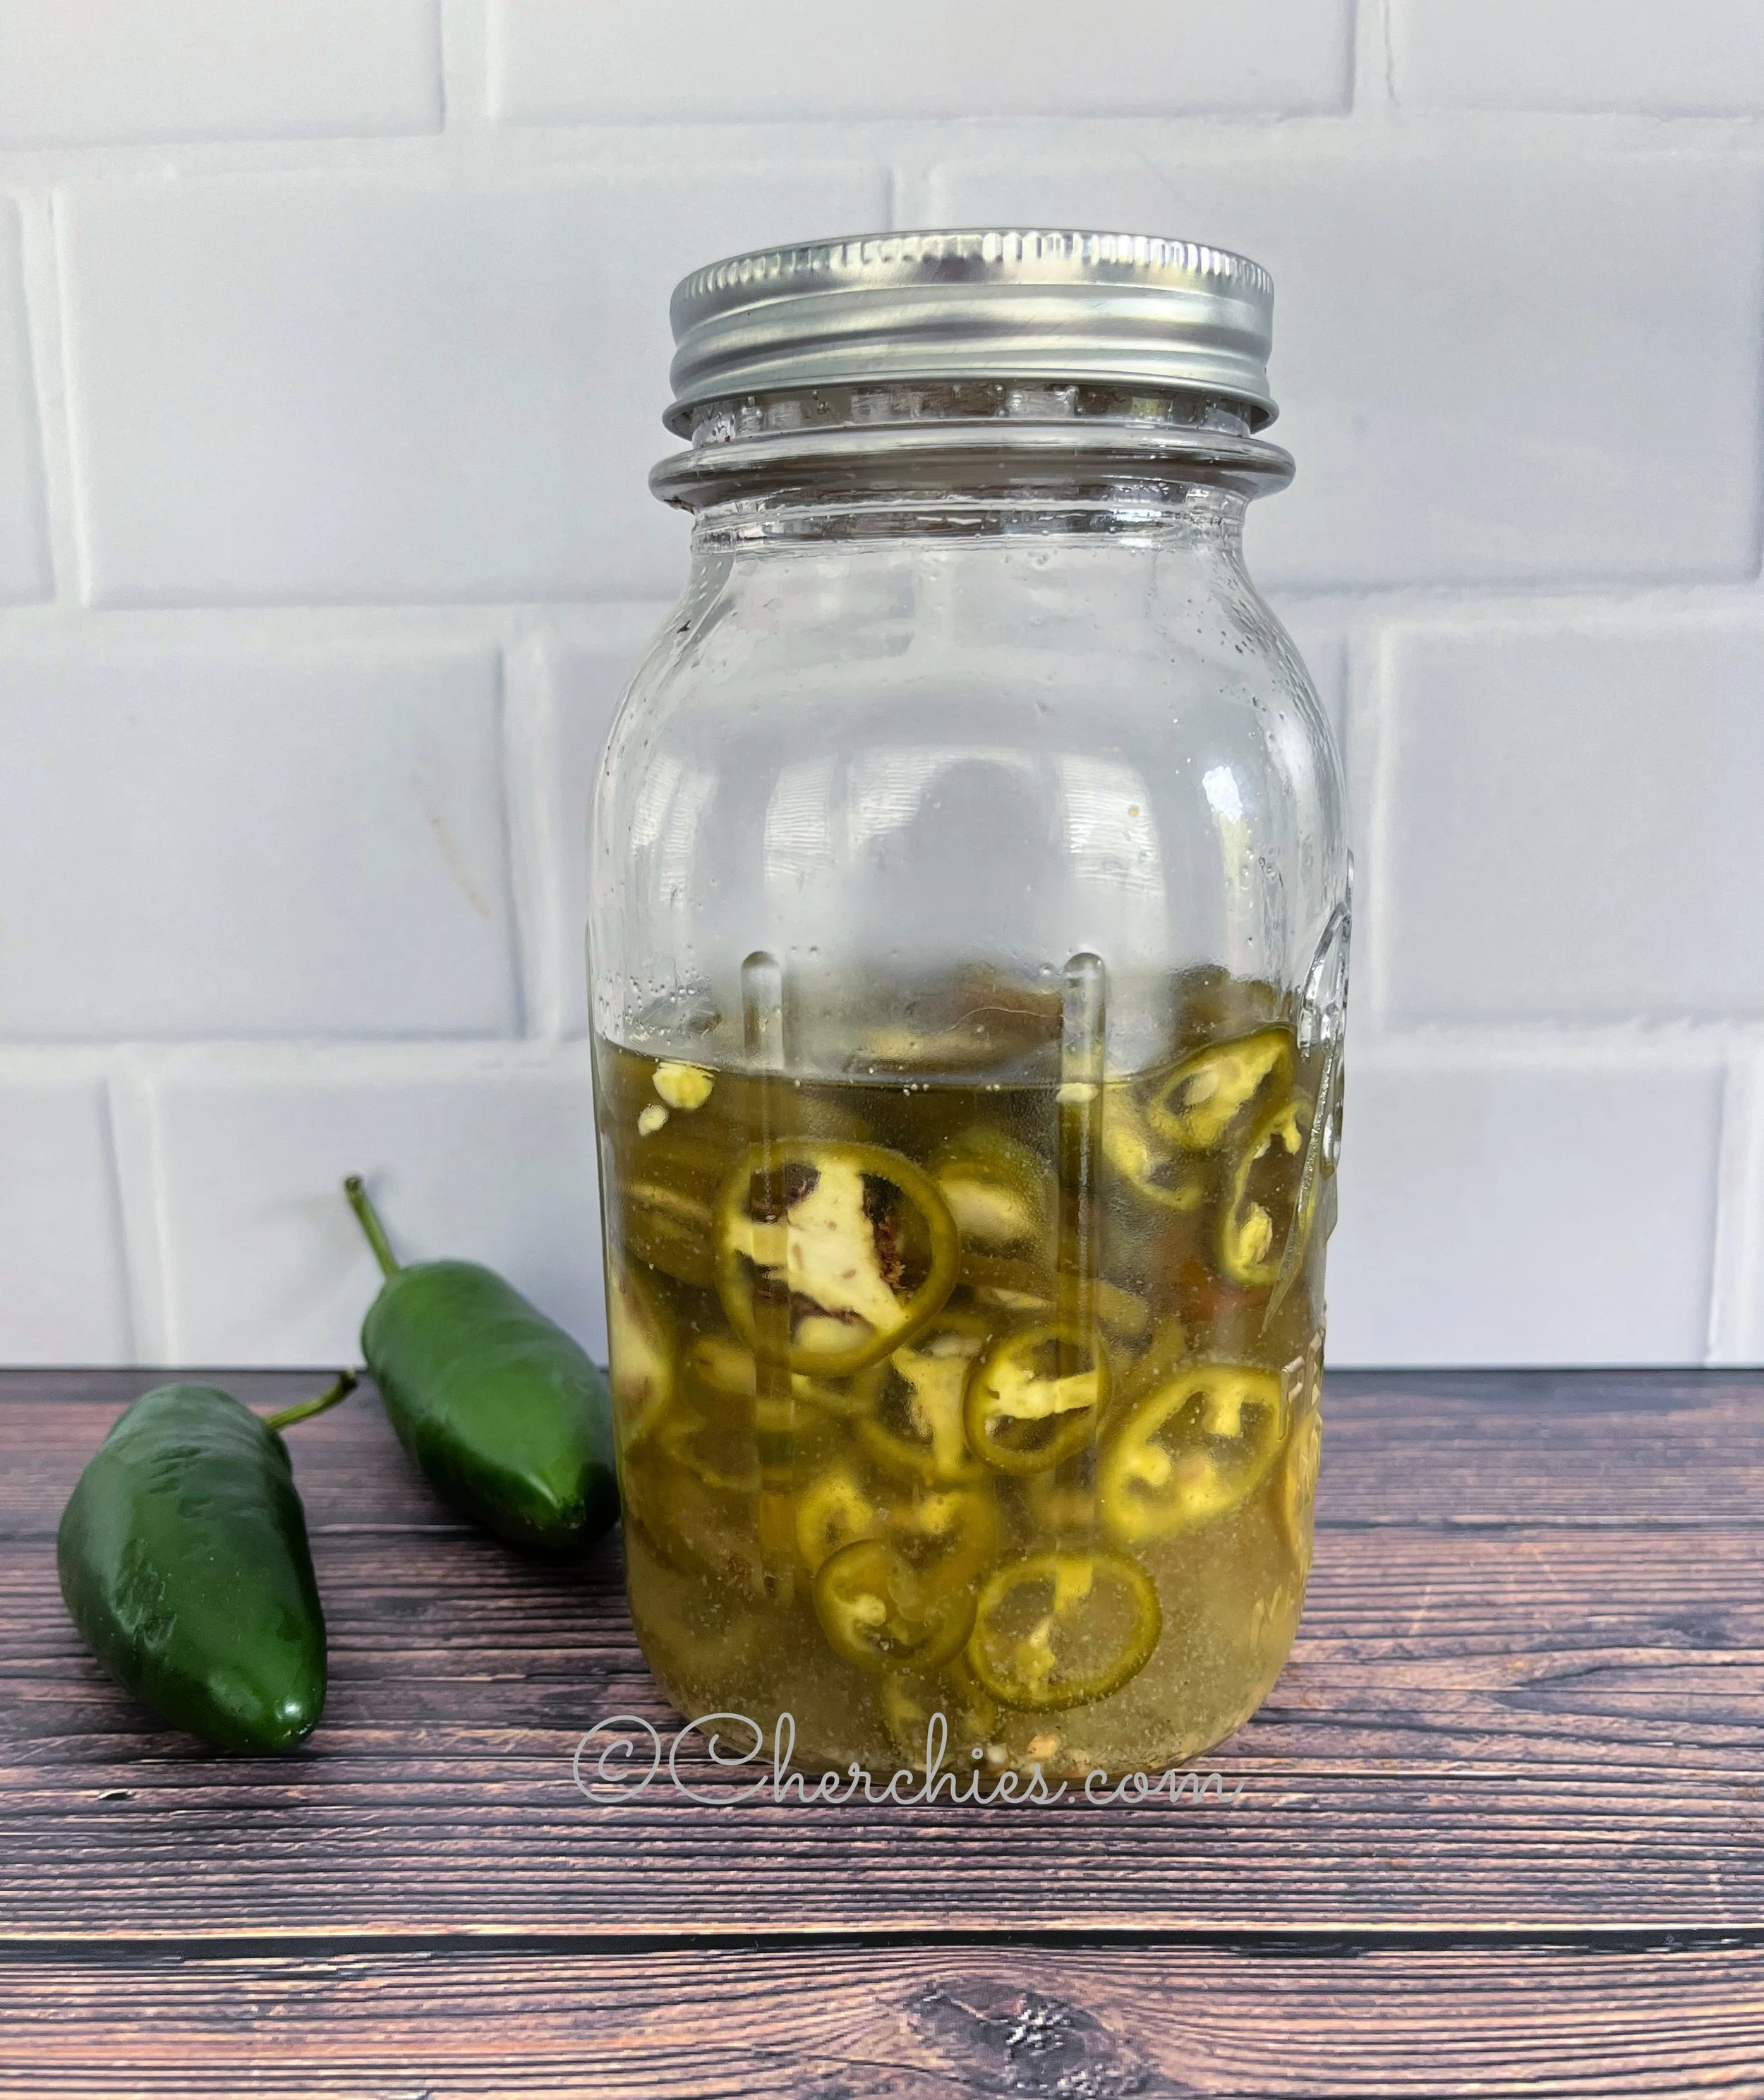
Now for the brine (salt water solution). In a small saucepan, simmer the vinegar, water, sugar, and Cherchies® Garlic Seasoning over low heat, stirring occasionally, until the sugar is dissolved, about 5 minutes. Pour the brine over the jalapeños. Let them cool to room temperature, then cover and chill them in the refrigerator for at least 30 minutes. They will keep in the fridge for two weeks.

That’s it. Super simple pickled jalapeños for whenever the craving hits.

*Note: The peppers will turn a lighter green once they connect with the brine.

How To Use Pickled Jalapeños:

  • Tacos, enchiladas, and pretty much any Mexican or Tex-Mex dish

  • Jalapeno popper dip or cheeseball

  • Sandwiches

  • Nacho cheese dip

  • Pimento Cheese

  • Combine with fruits for a delicious relish

  • Homemade Salsa, when combined with tomatoes, onions, cilantro

  • Egg dishes (omelets, avocado toast, casseroles (egg and chili casserole), deviled eggs

  • Beverages- lemonade, margaritas

  • Cream of jalapeno soup

  • Add to your favorite cornbread recipe for a little kick

  • So much more!

Enjoy!

Yum

Jalapeño Popper Pumpkin Cheeseball Recipe

appetizers, snacks, gluten freeSheri SpalloneComment

Jalapeño Popper Pumpkin Recipe

Prep Time:  20 Minutes  (Plus extra time to chill the cheeseball)
Difficulty:  Easy
Serves: 8-10

Happy Fall, everyone!

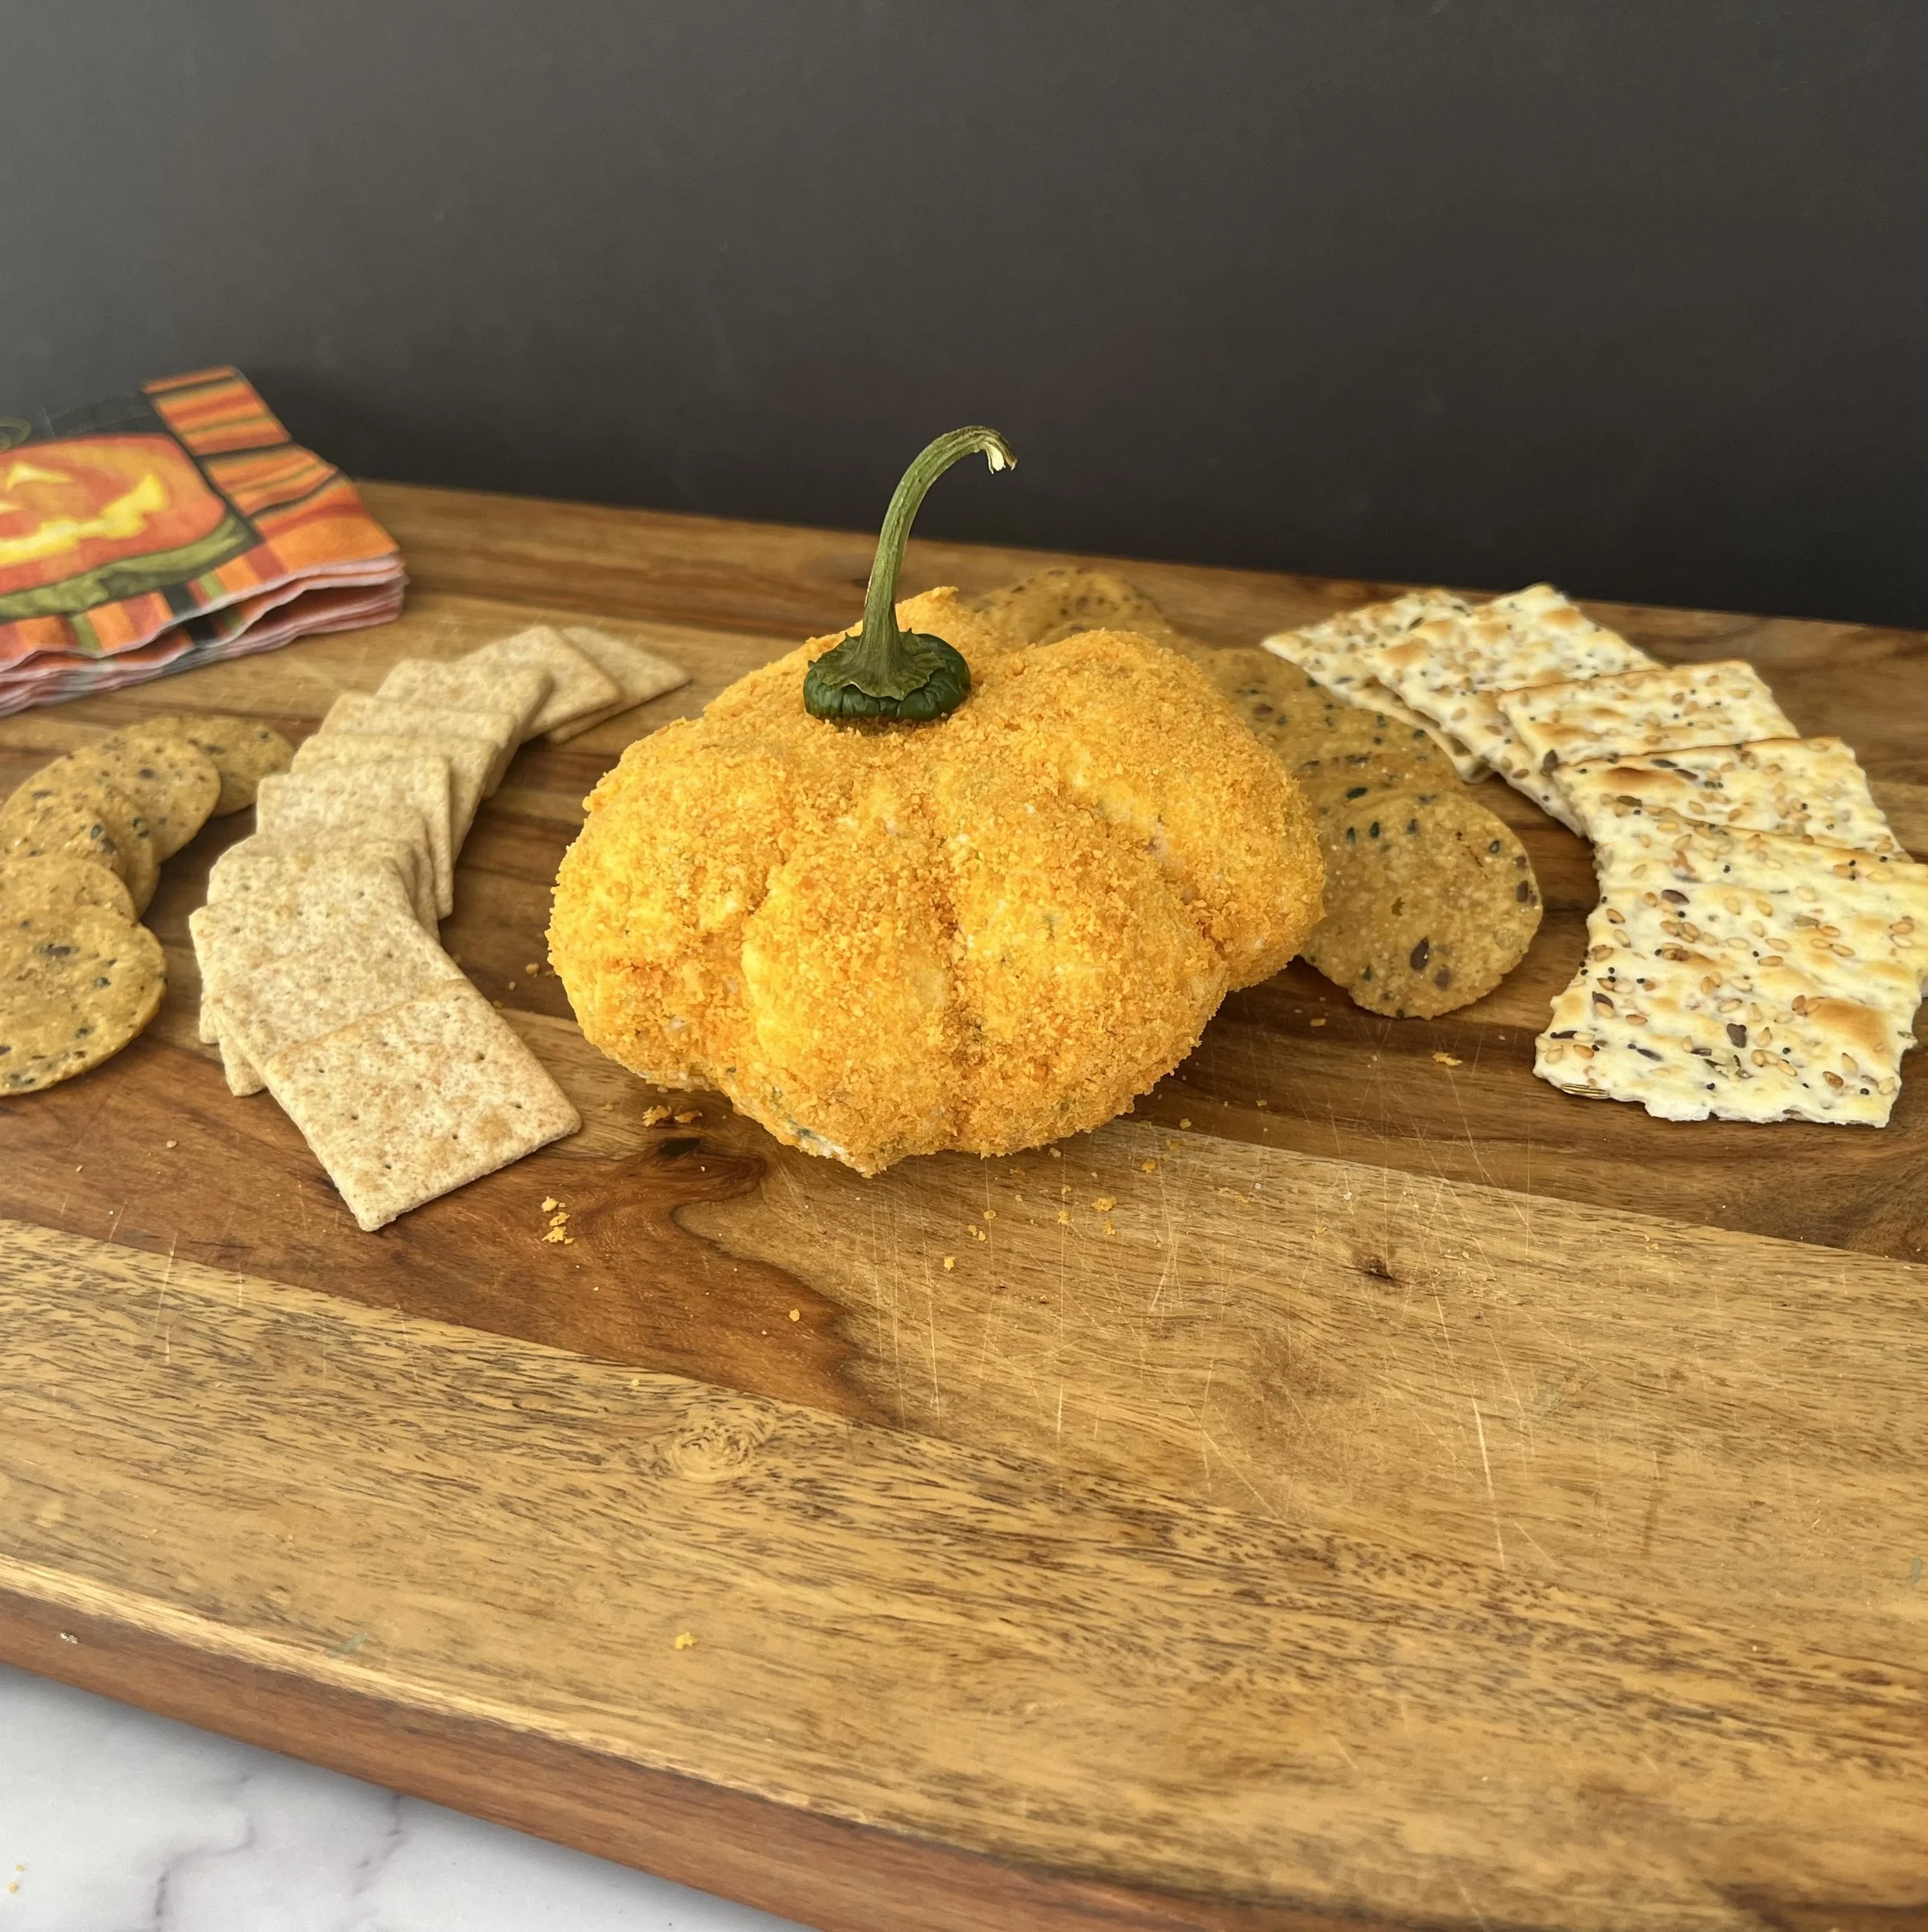
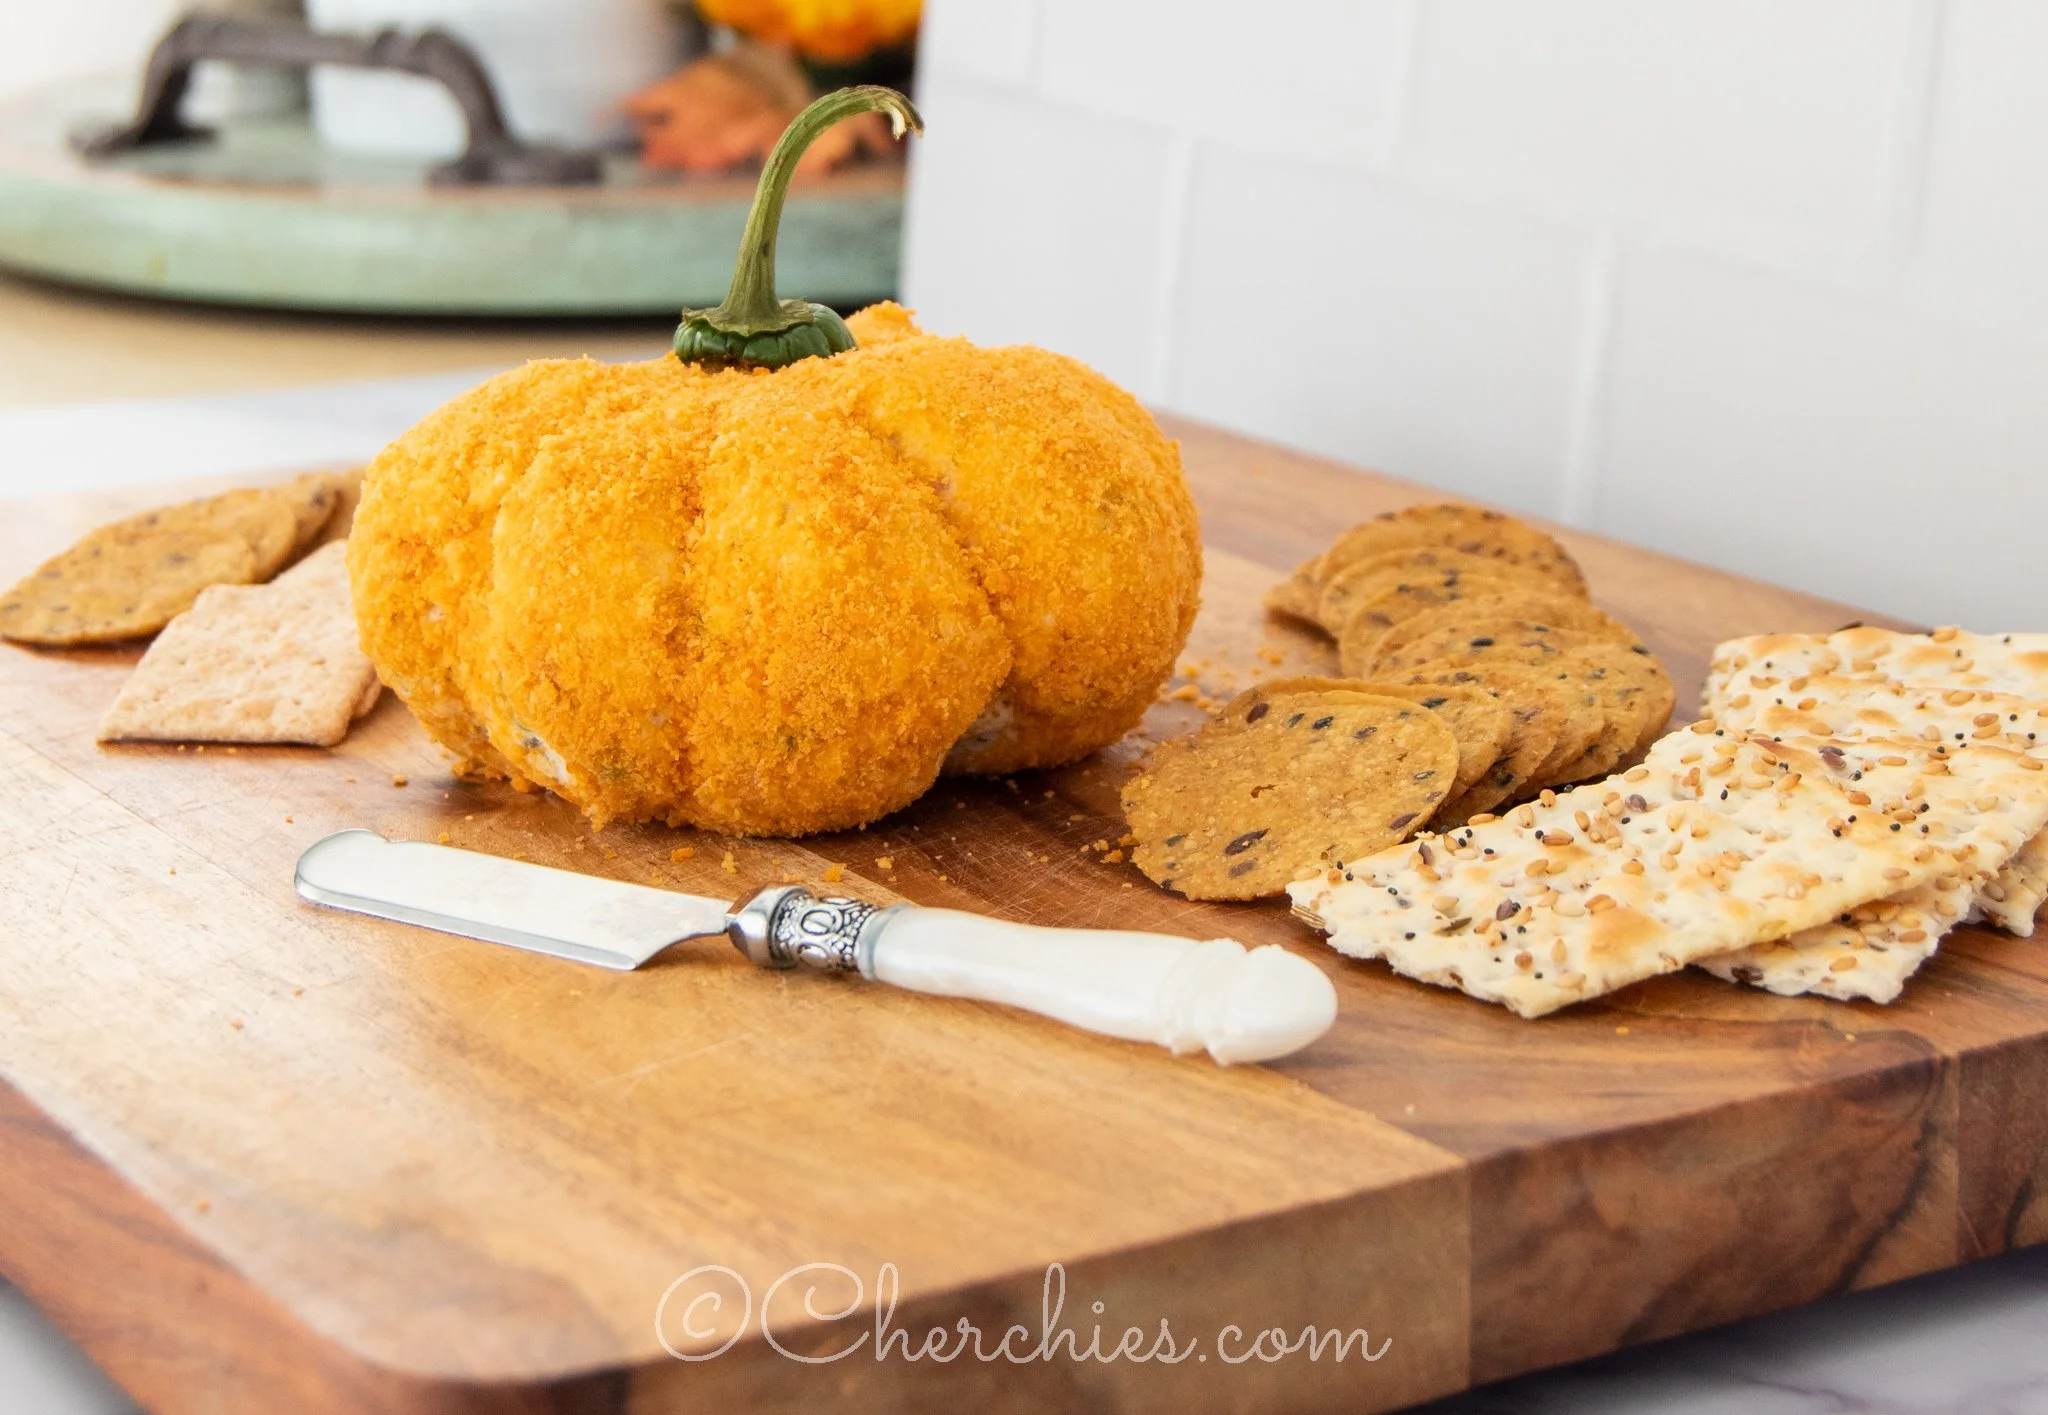
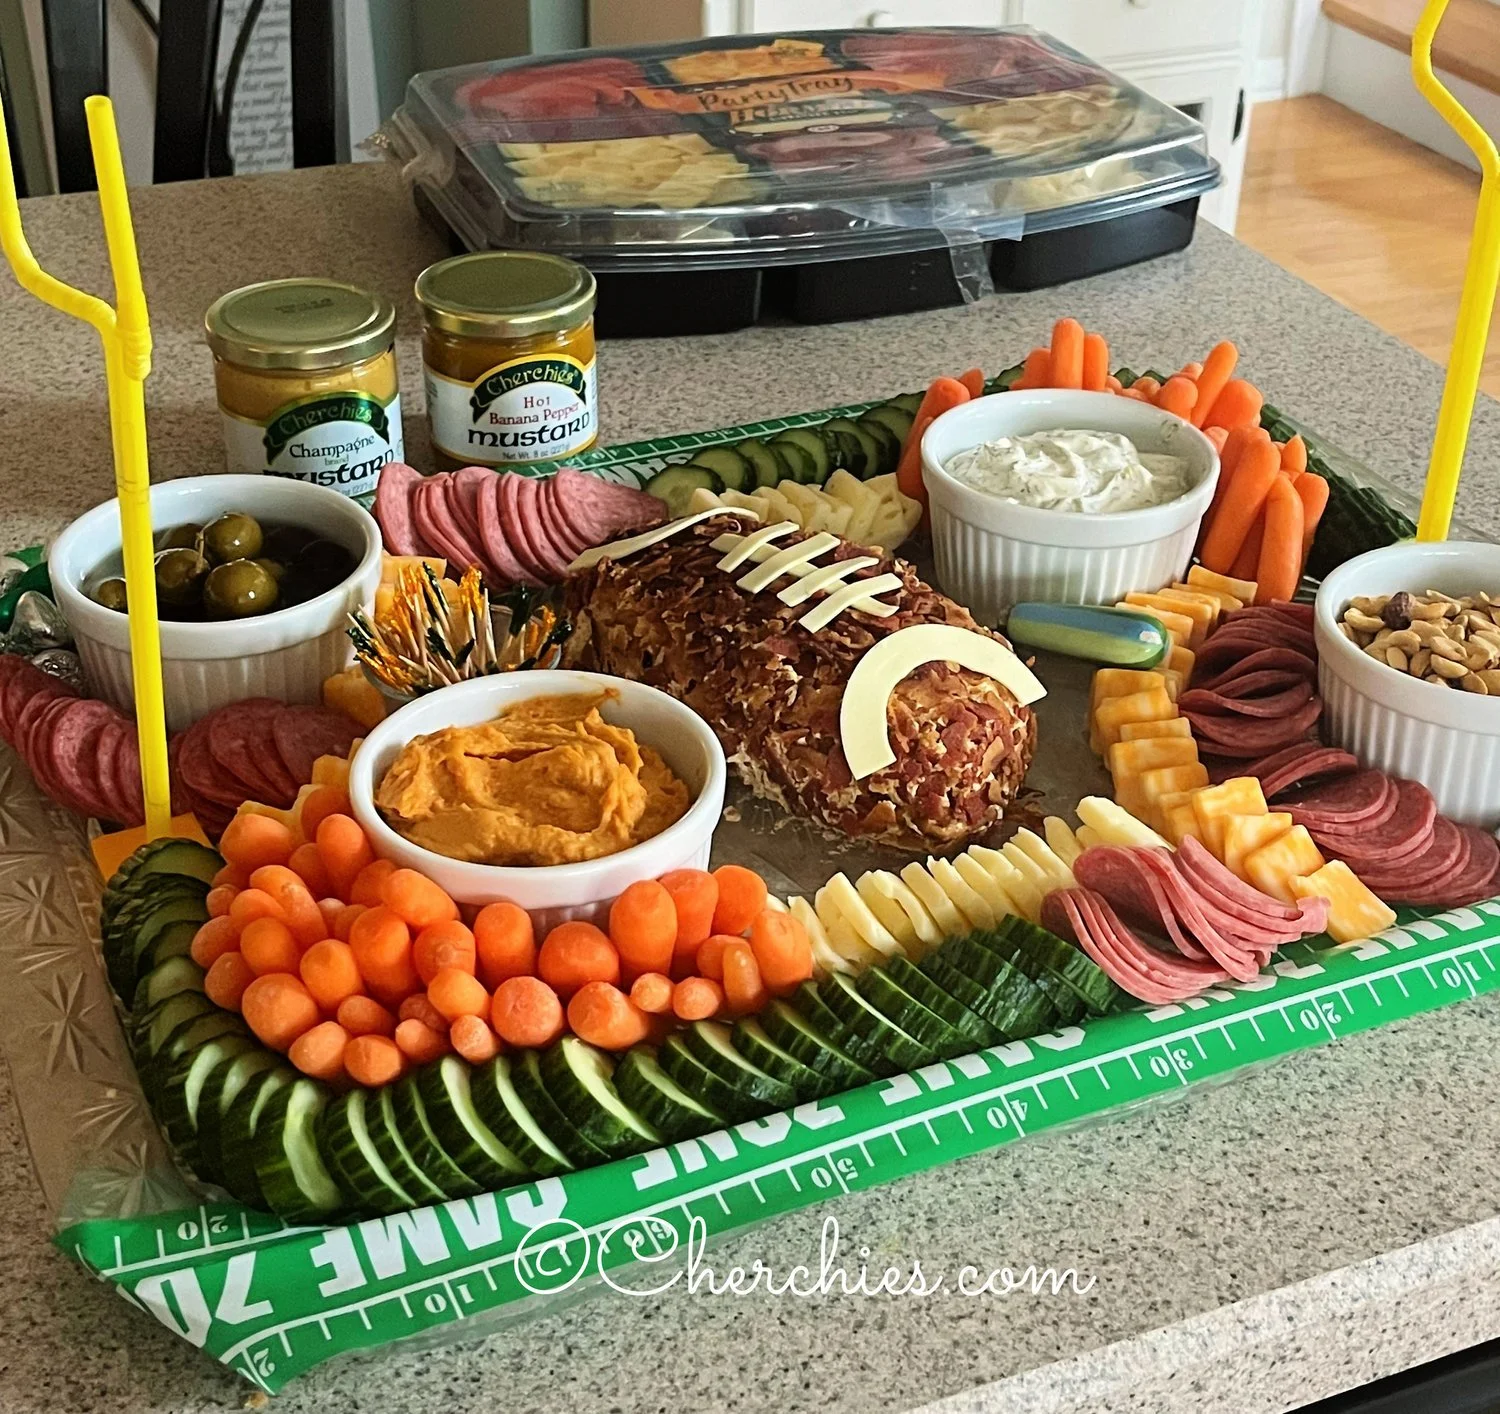
An easy appetizer that never gets old is the cheeseball, and this pumpkin cheeseball is perfect for entertaining for Fall, Halloween, or Thanksgiving. Not only does the mighty cheeseball, although underrated, lean itself to festive shapes; footballs during game day season, pumpkins for Fall, snowmen, reindeer and trees for winter, and so much more, this recipe is so easy and tasty that you will want to keep it in your back pocket for any occasion.

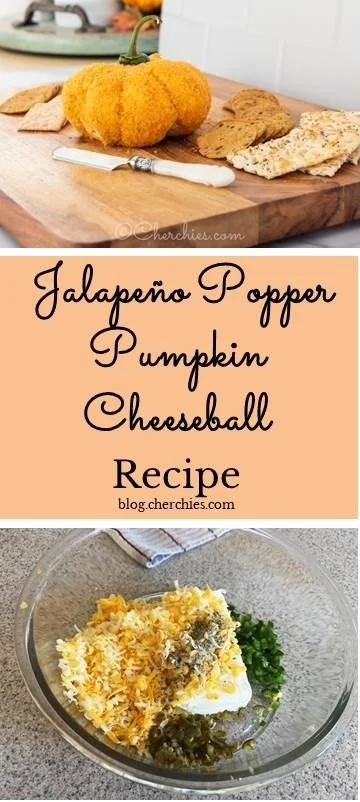
We’ve spiced things up with this delicious jalapeño popper pumpkin cheeseball featuring cream cheese, fresh and pickled jalapeños, cheddar and Monterey Jack cheeses, and Cherchies® Garlic Seasoning Blend. It is the perfect blend of sweet and spicy, and the flavors intensify beautifully if you make it ahead.

This jalapeño popper cheeseball is such a hit we’re constantly asked to bring it to gatherings, and you will be amiss not to try it! And, because it can be made ahead, it allows you more time with your family and friends.

If you’re looking for a new appetizer to add to your Fall culinary cache, consider this jalapeño popper pumpkin cheeseball. You will not be disappointed.

Thanks for stopping by. :) Comment below if you have tried this recipe. Visit us again for more family-tested recipes, entertaining ideas, and cooking tips using all our favorite Cherchies® gourmet products.

Follow us on social media: Facebook, Instagram, and Pinterest.

Ingredients

  • 3 slices of bacon, cooked and chopped

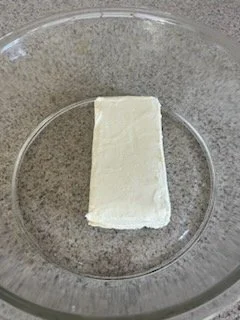
  • 1 8oz. block of cream cheese, room temperature

  • 1/2 cup cheddar cheese (Hand-shredded is better than store-bought shredded cheese)* See Note

  • 1/2 cup Monterey Jack Cheese (could use pepper jack if you like it spicier. (Hand-shredded is better than store-bought shredded cheese)* See Note

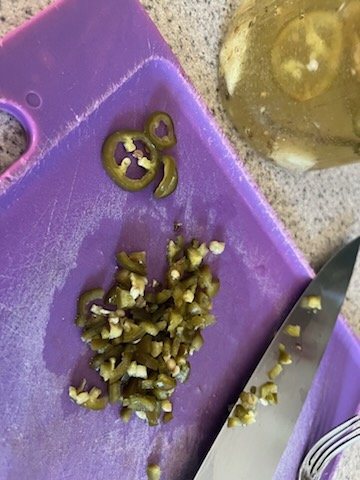
  • 1/3 cup seeded and finely diced fresh jalapeños (2 medium or 1 large…more if you like it spicier), reserving one stem to finish the pumpkin at the end

  • 1/3 cup finely diced pickled jalapeños (recipe to come soon for homemade pickled jalapeños)

  • 1/2- 1 teaspoon (tsp.) Cherchies® Garlic Seasoning Blend (Could substitute Cherchies® Garlic ‘N Herbs NO-SALT) Seasoning.

  • 1/4 cup chopped chives or green onions- white and green parts (Optional. I have used them before, but not for this photograph).

  • 1 snack-size bag of Cheese Itz crackers, crushed (Could use cheese puffs, spicy Doritos, or even extra cheddar* See Notes).

  • 3 rubber bands

Preparation

Preheat oven to 350 degrees. When the oven is ready, with a parchment paper-lined baking sheet, place bacon on the baking sheet and cook until crispy. (Every oven is different, so you must watch the bacon for about 15 minutes, give or take a few).

While bacon is cooking, chop up jalapeños and grate the cheese. Be sure to save one stem as decoration for the finished product.

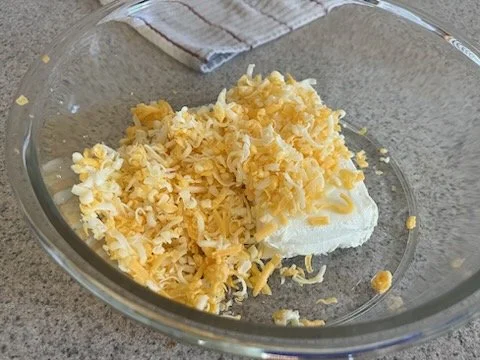
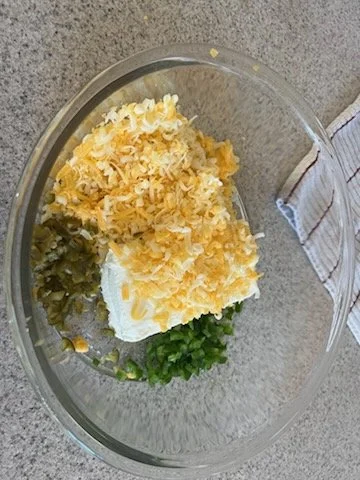
Add the cream cheese, shredded cheese, Cherchies® Garlic Seasoning, and jalapeños to a medium-sized bowl. (Make sure to use kitchen gloves while chopping up jalapeños…trust me from experience; you need the gloves).

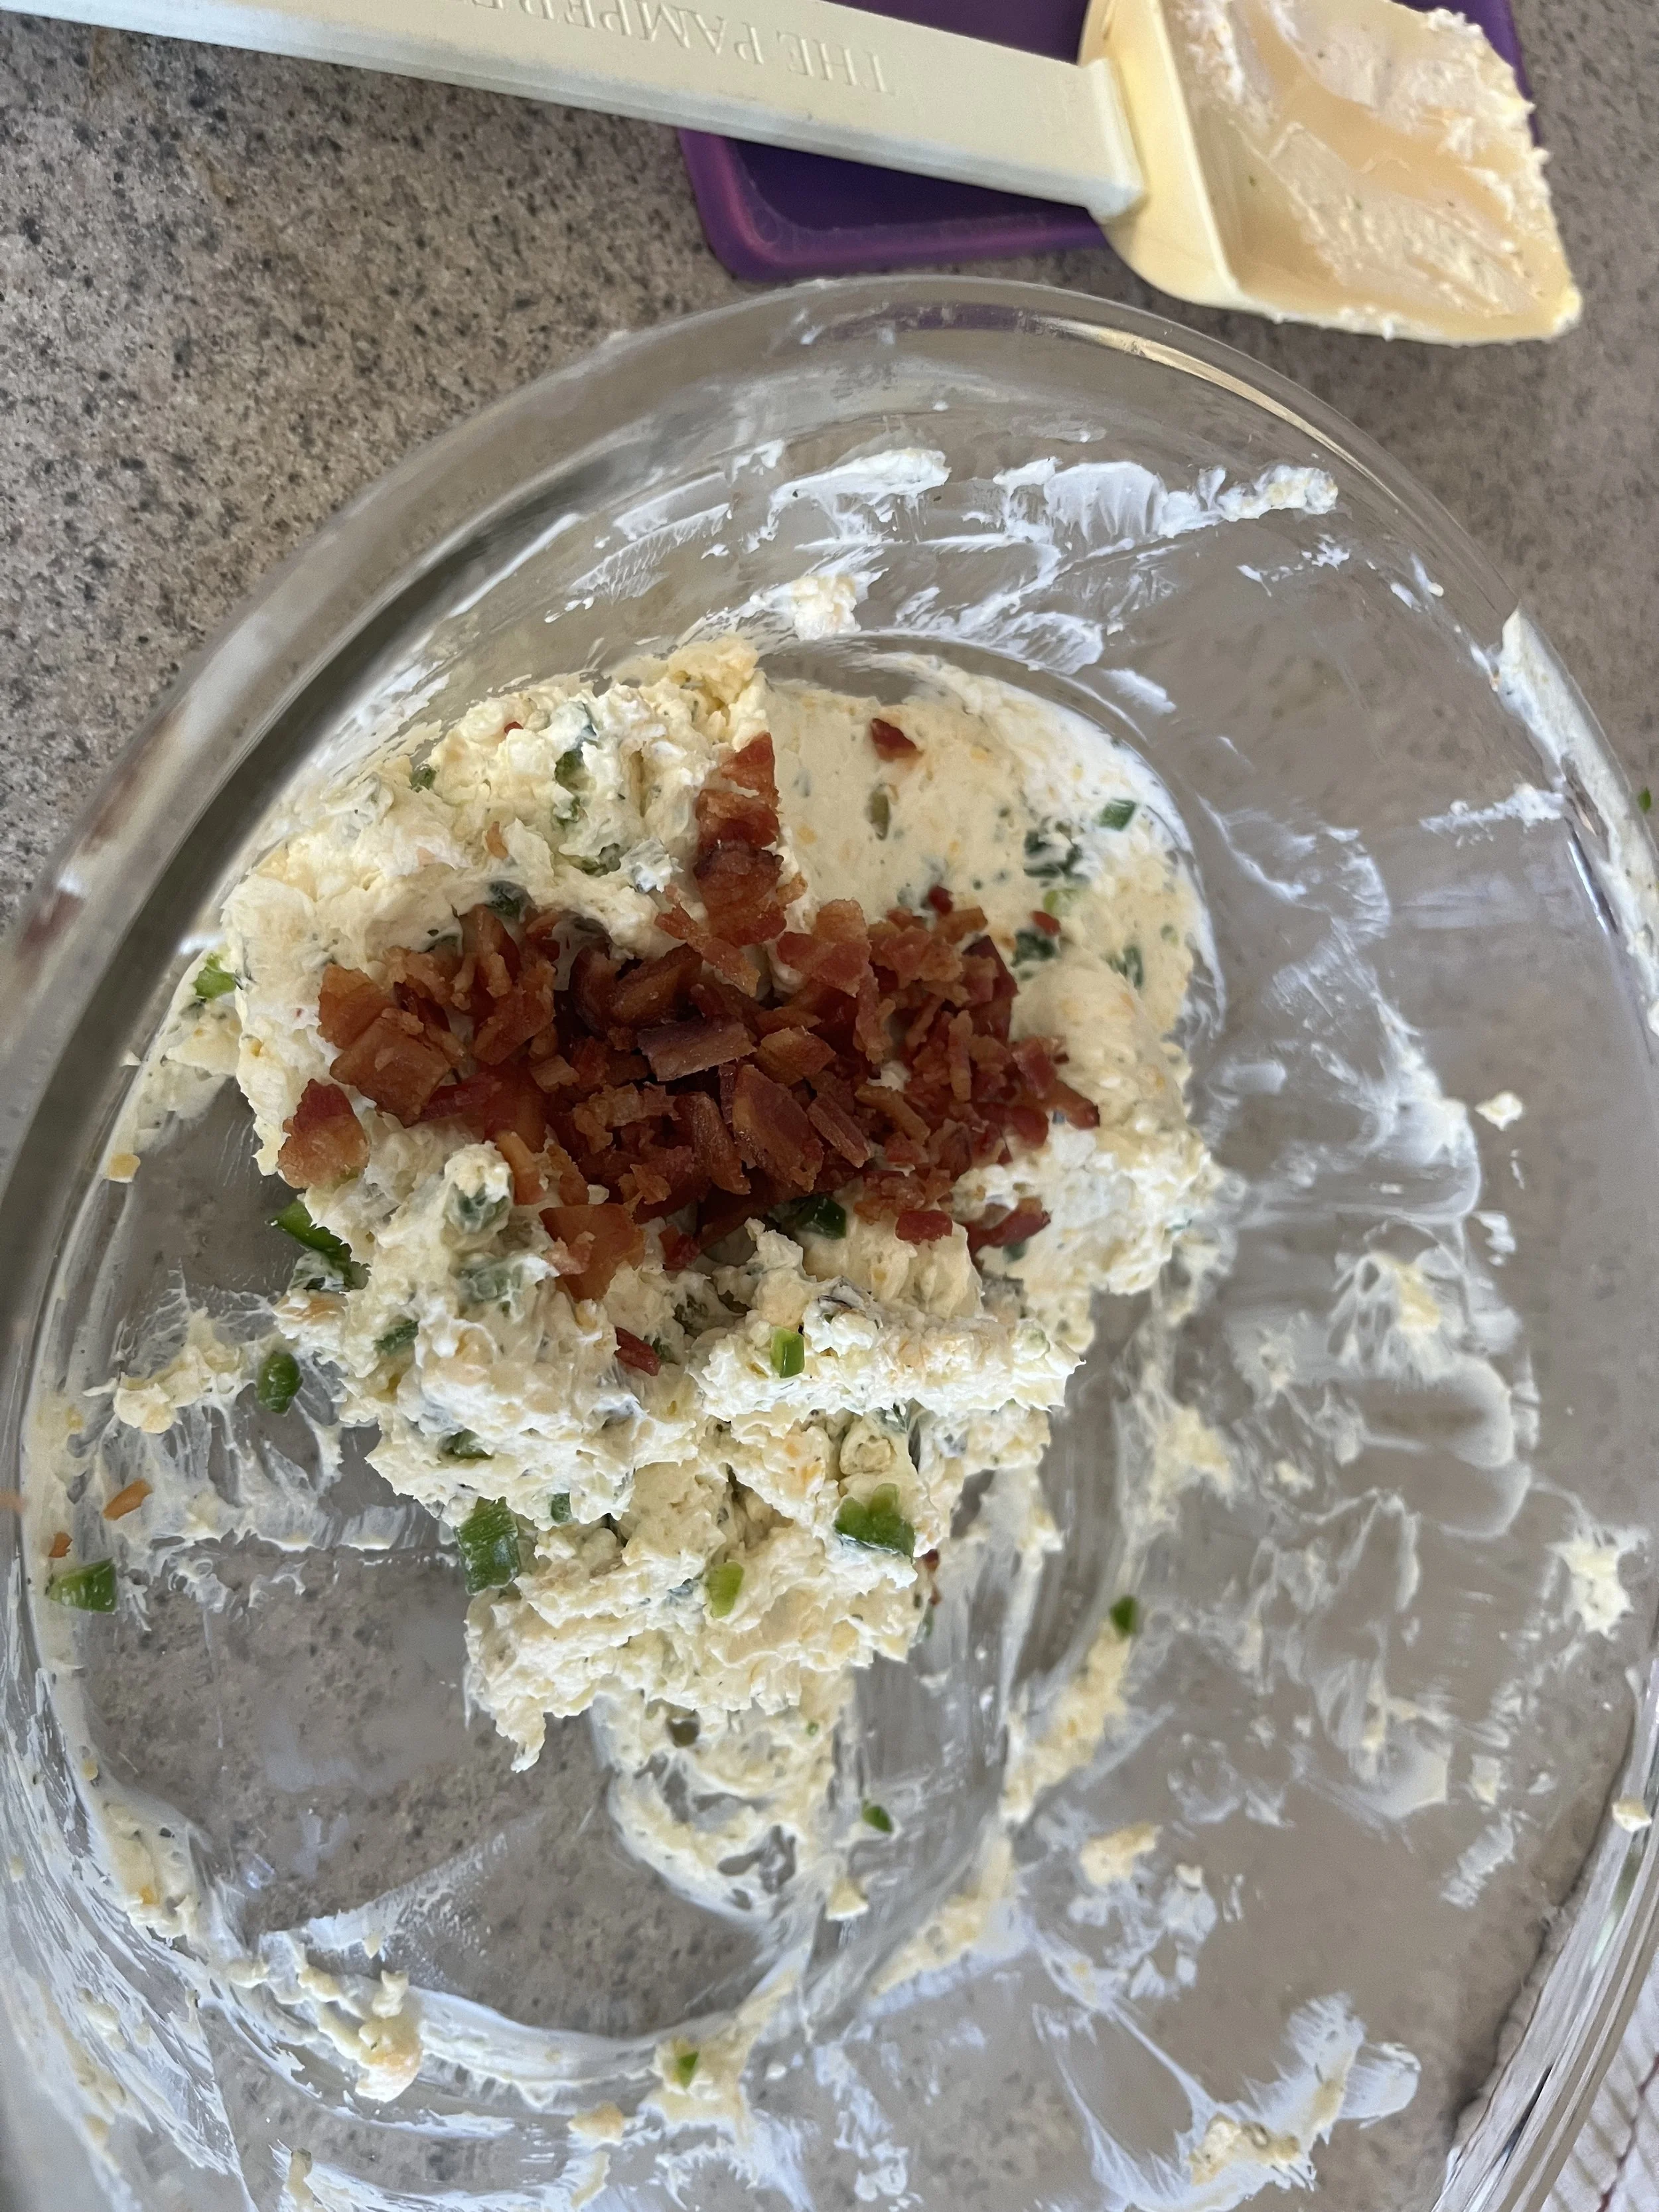
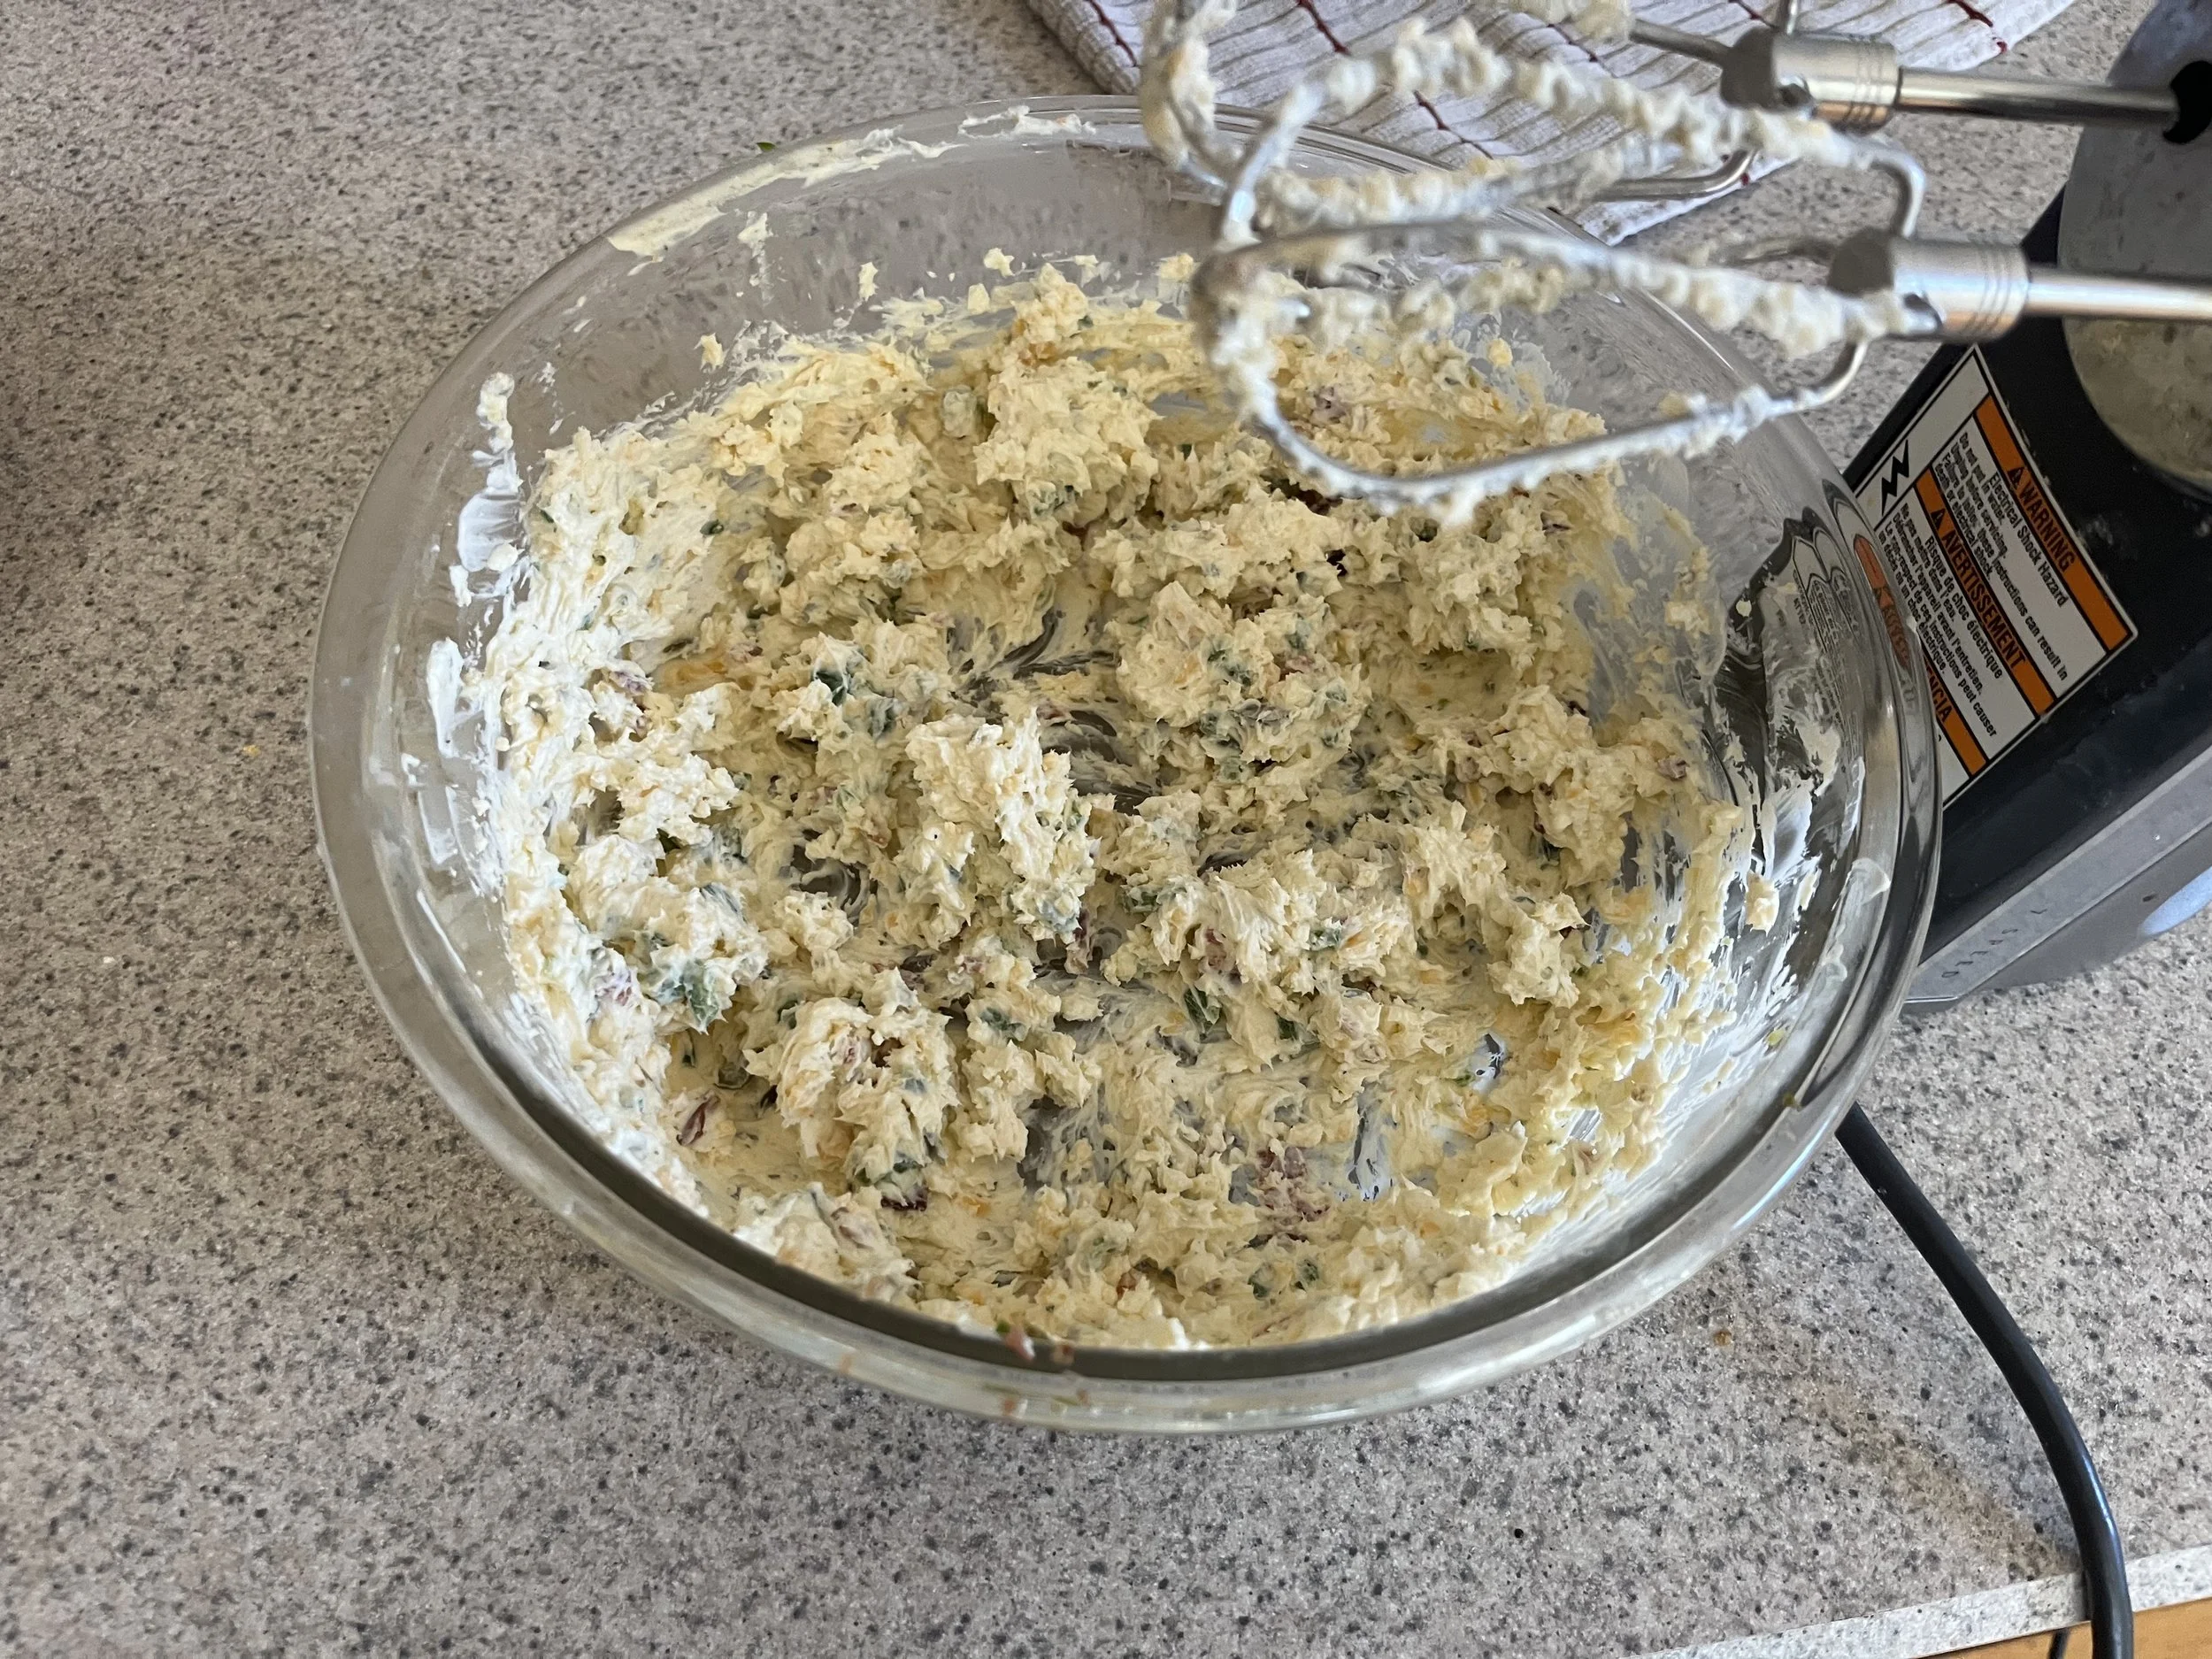
When cooked and cooled, chop up the bacon and add to the bowl. Mix all the ingredients with a hand-held mixer until combined.

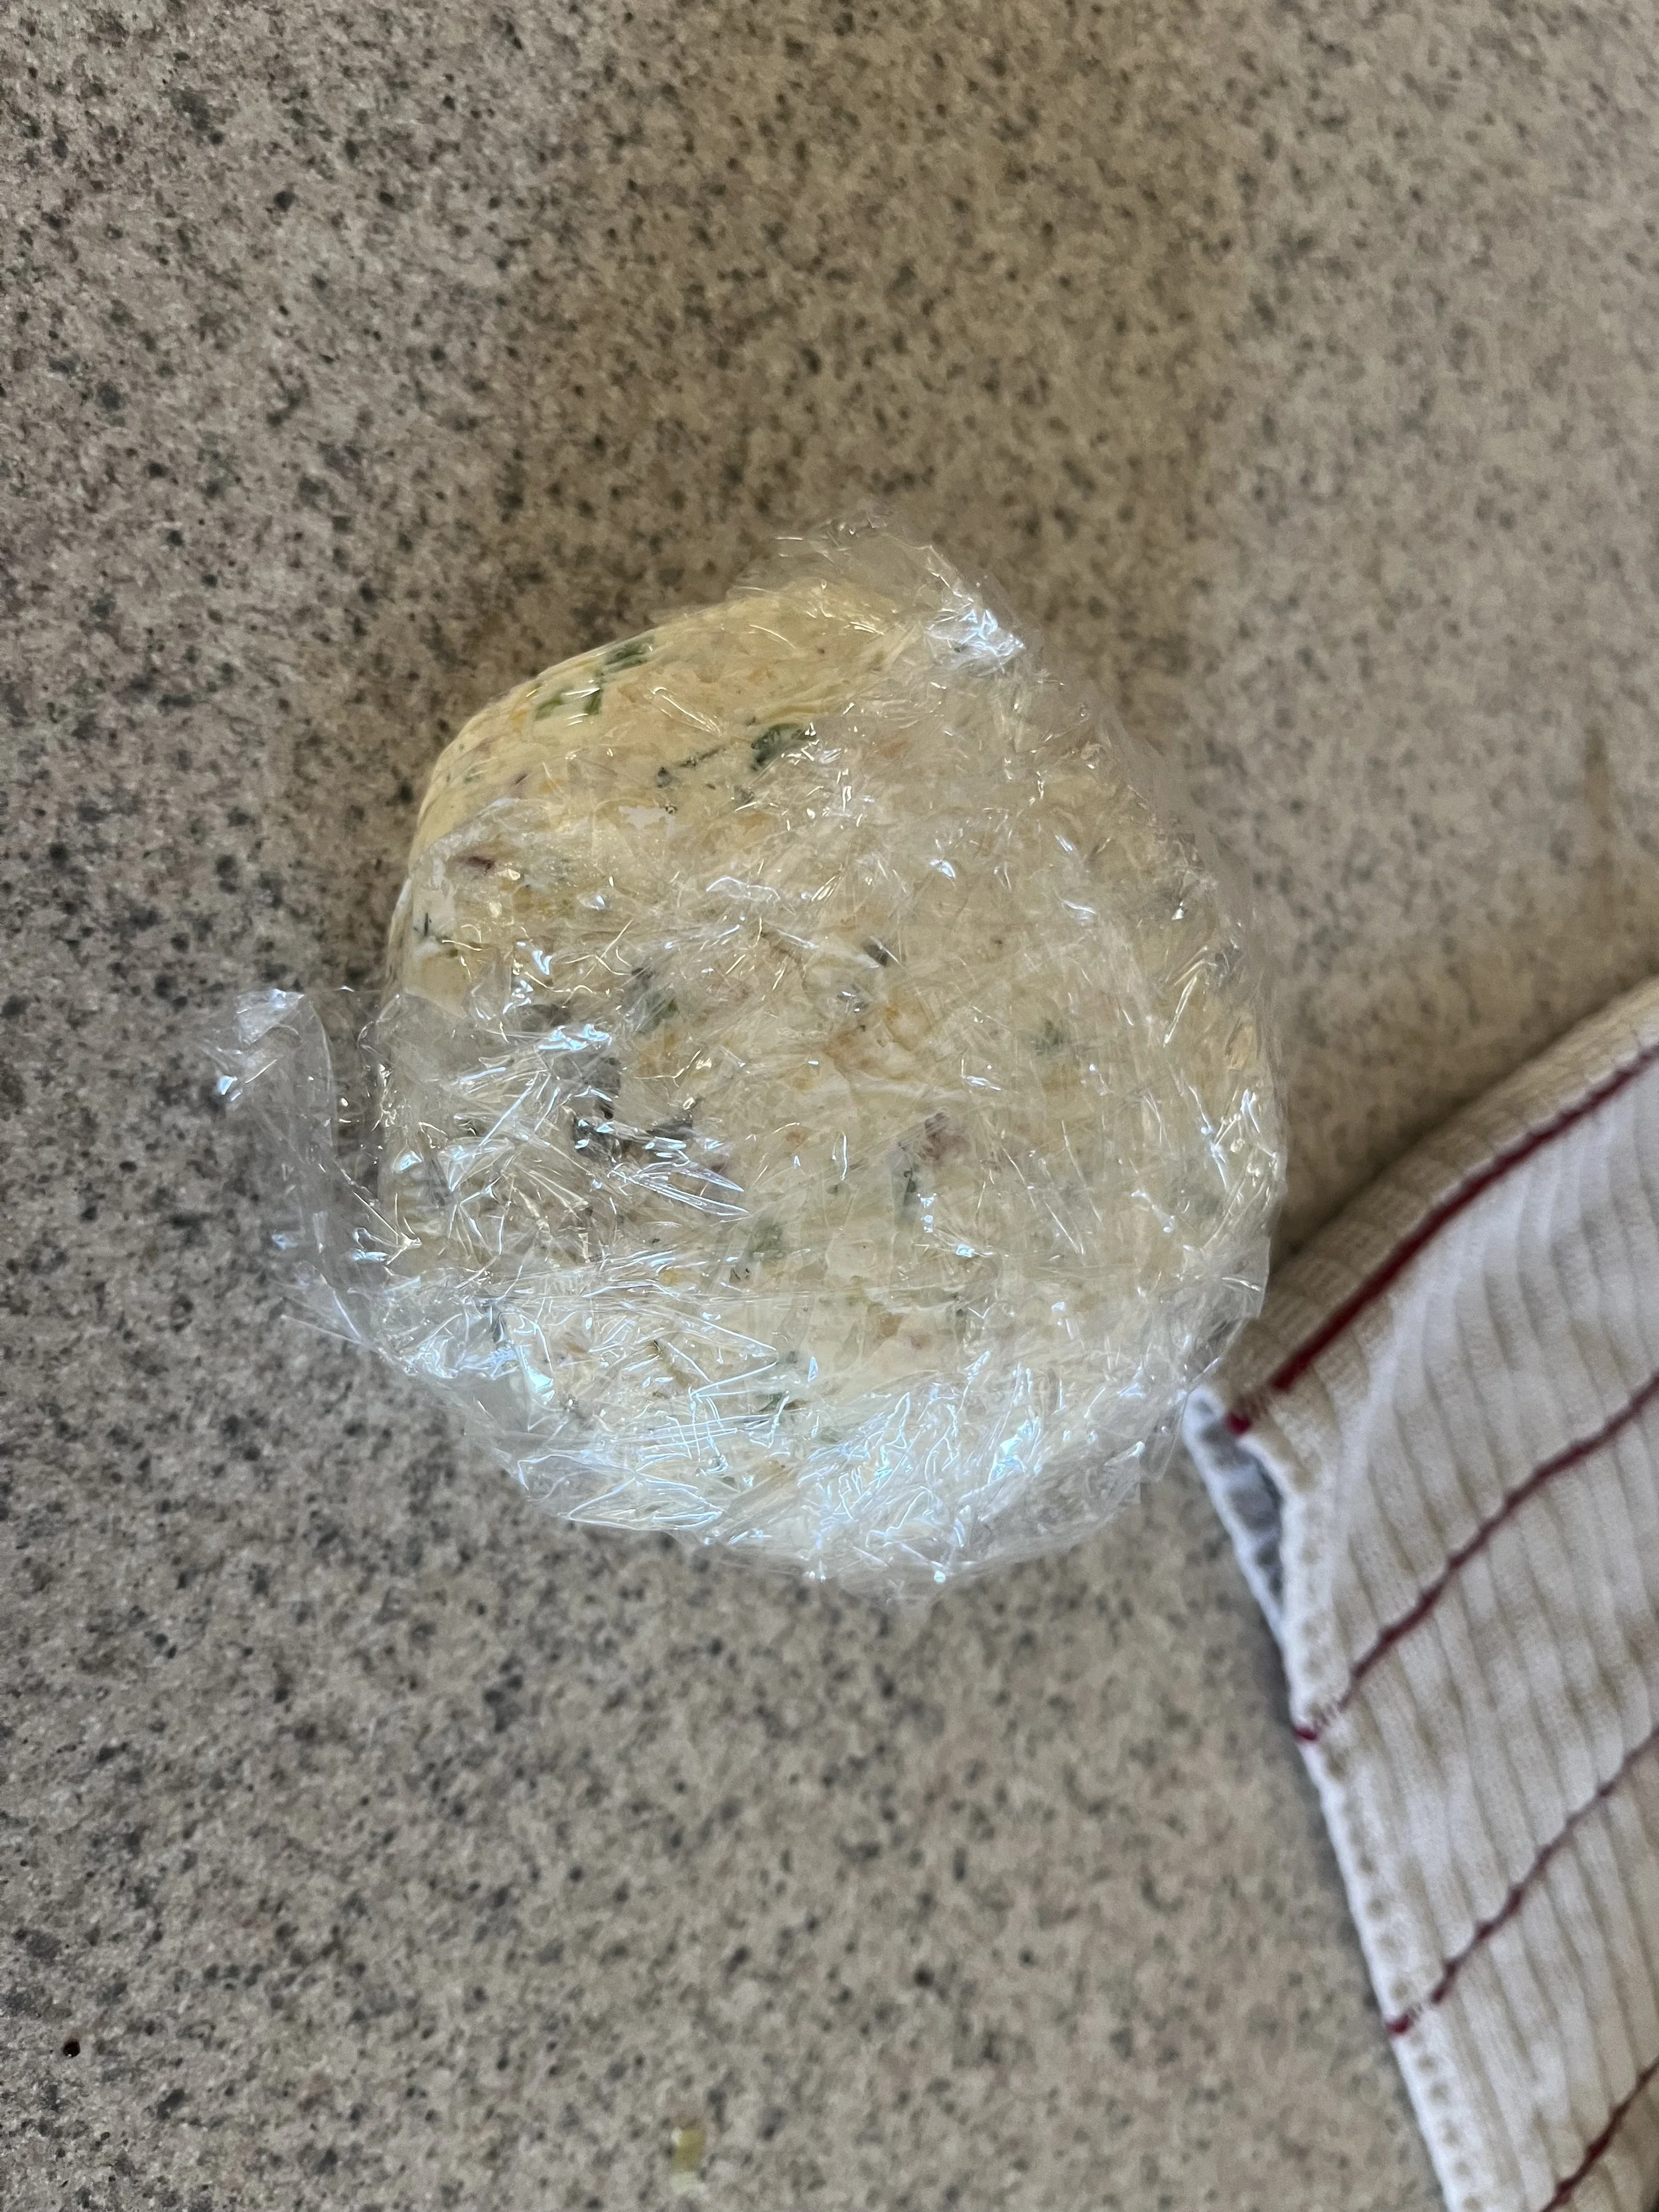
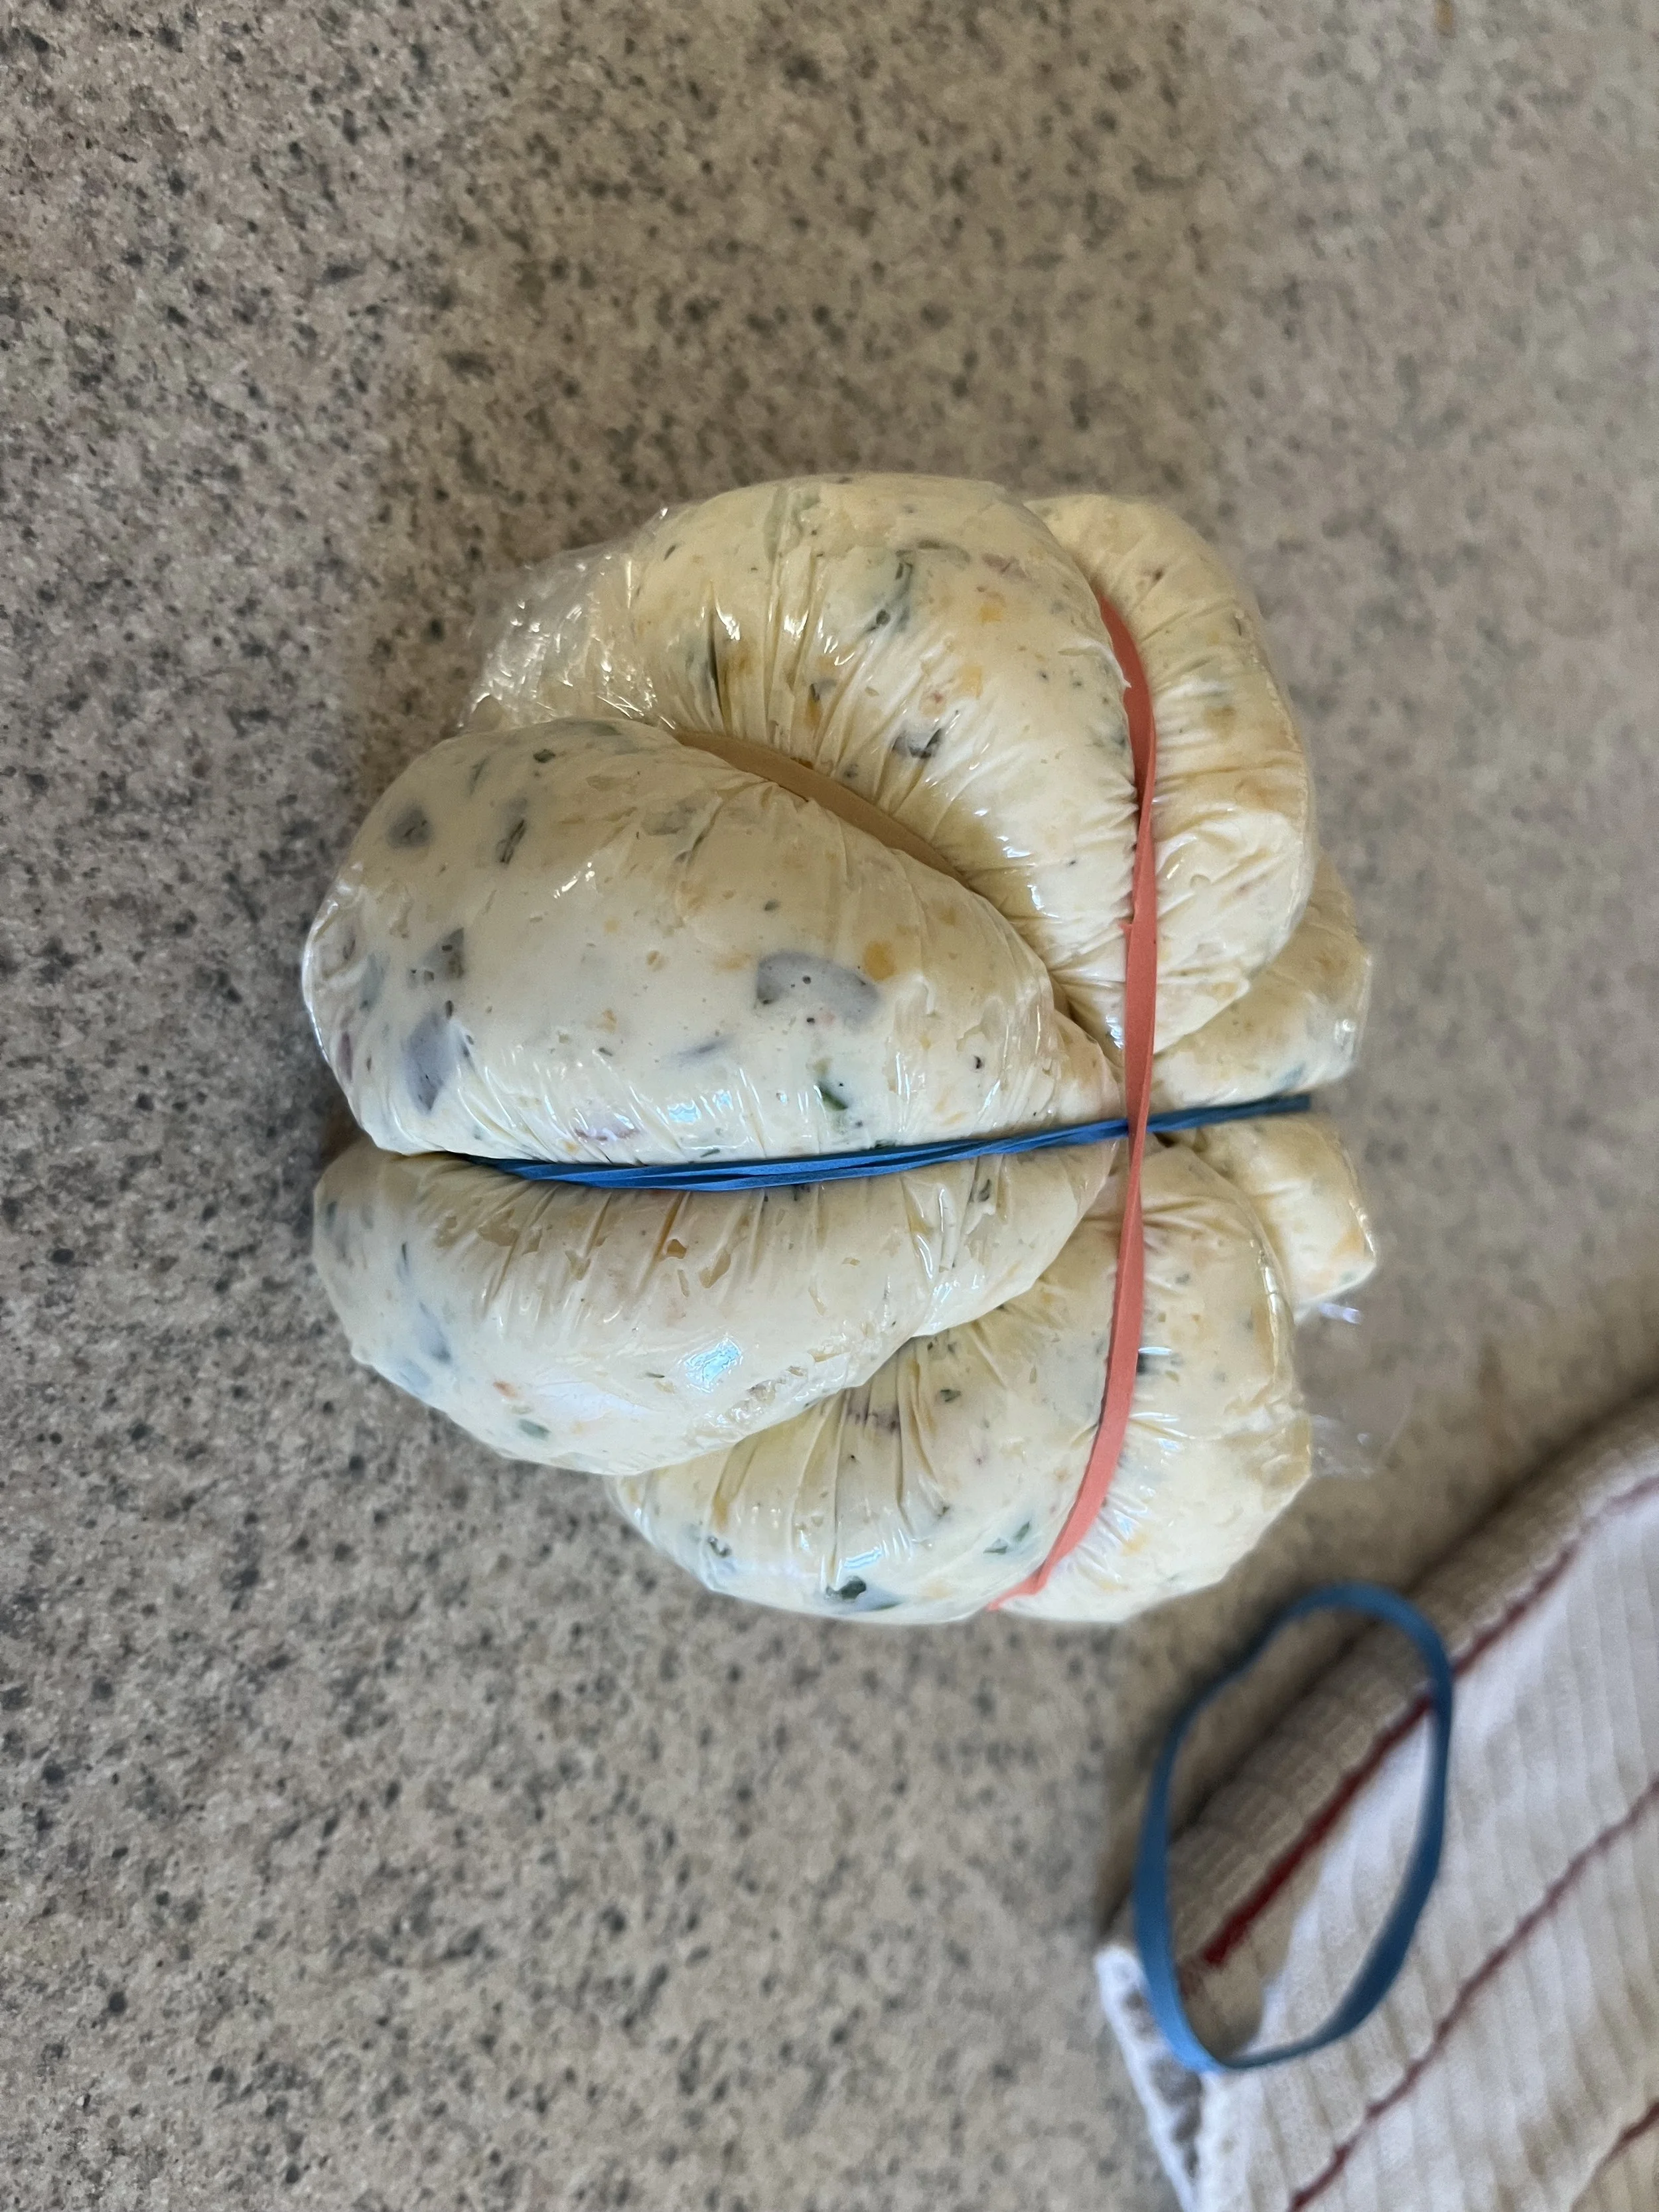
Use a rubber spatula to shape the mixture into a ball. Place the cheeseball on a piece of plastic wrap and cover the cheeseball. Use rubber bands to create the typical grooves found on pumpkins. Refrigerate for at least 2 hours.

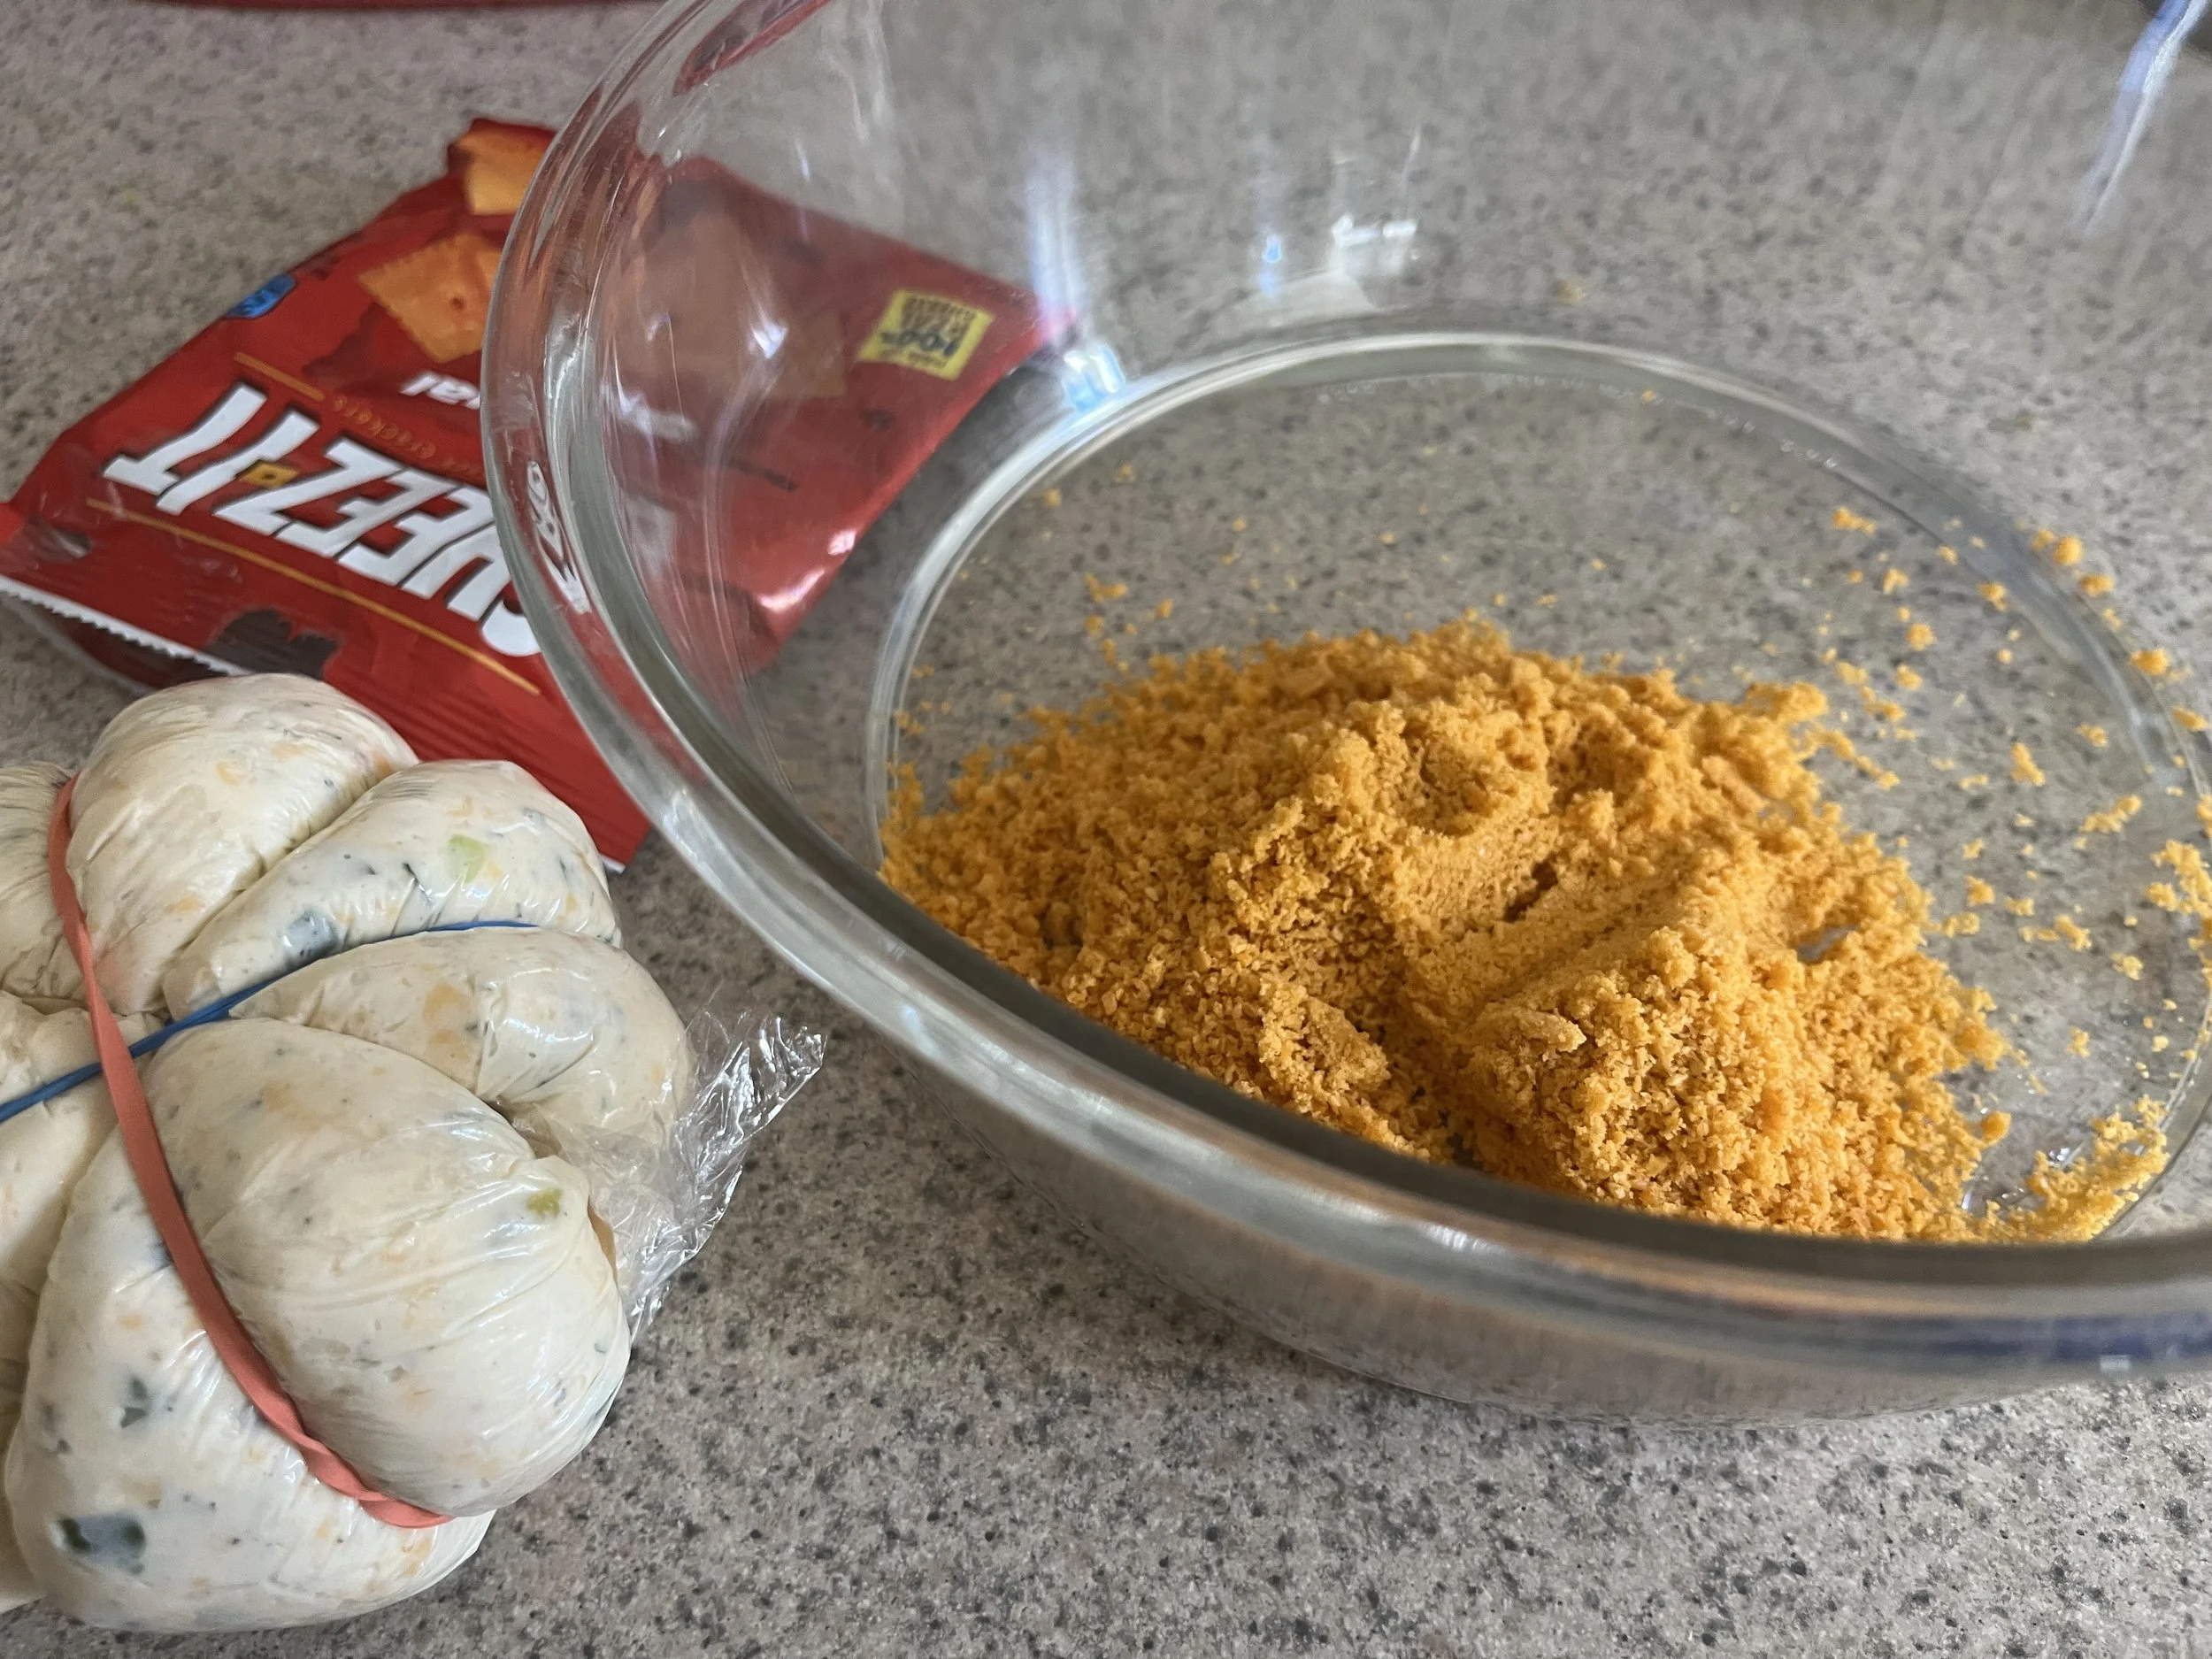
Place the cheese crackers in a plastic resealable bag and crush them with a rolling pin, rolling over the bag until fine crumbs are formed. Set aside. If you have a food processor, place the crackers in the processor and pulse until finely ground.

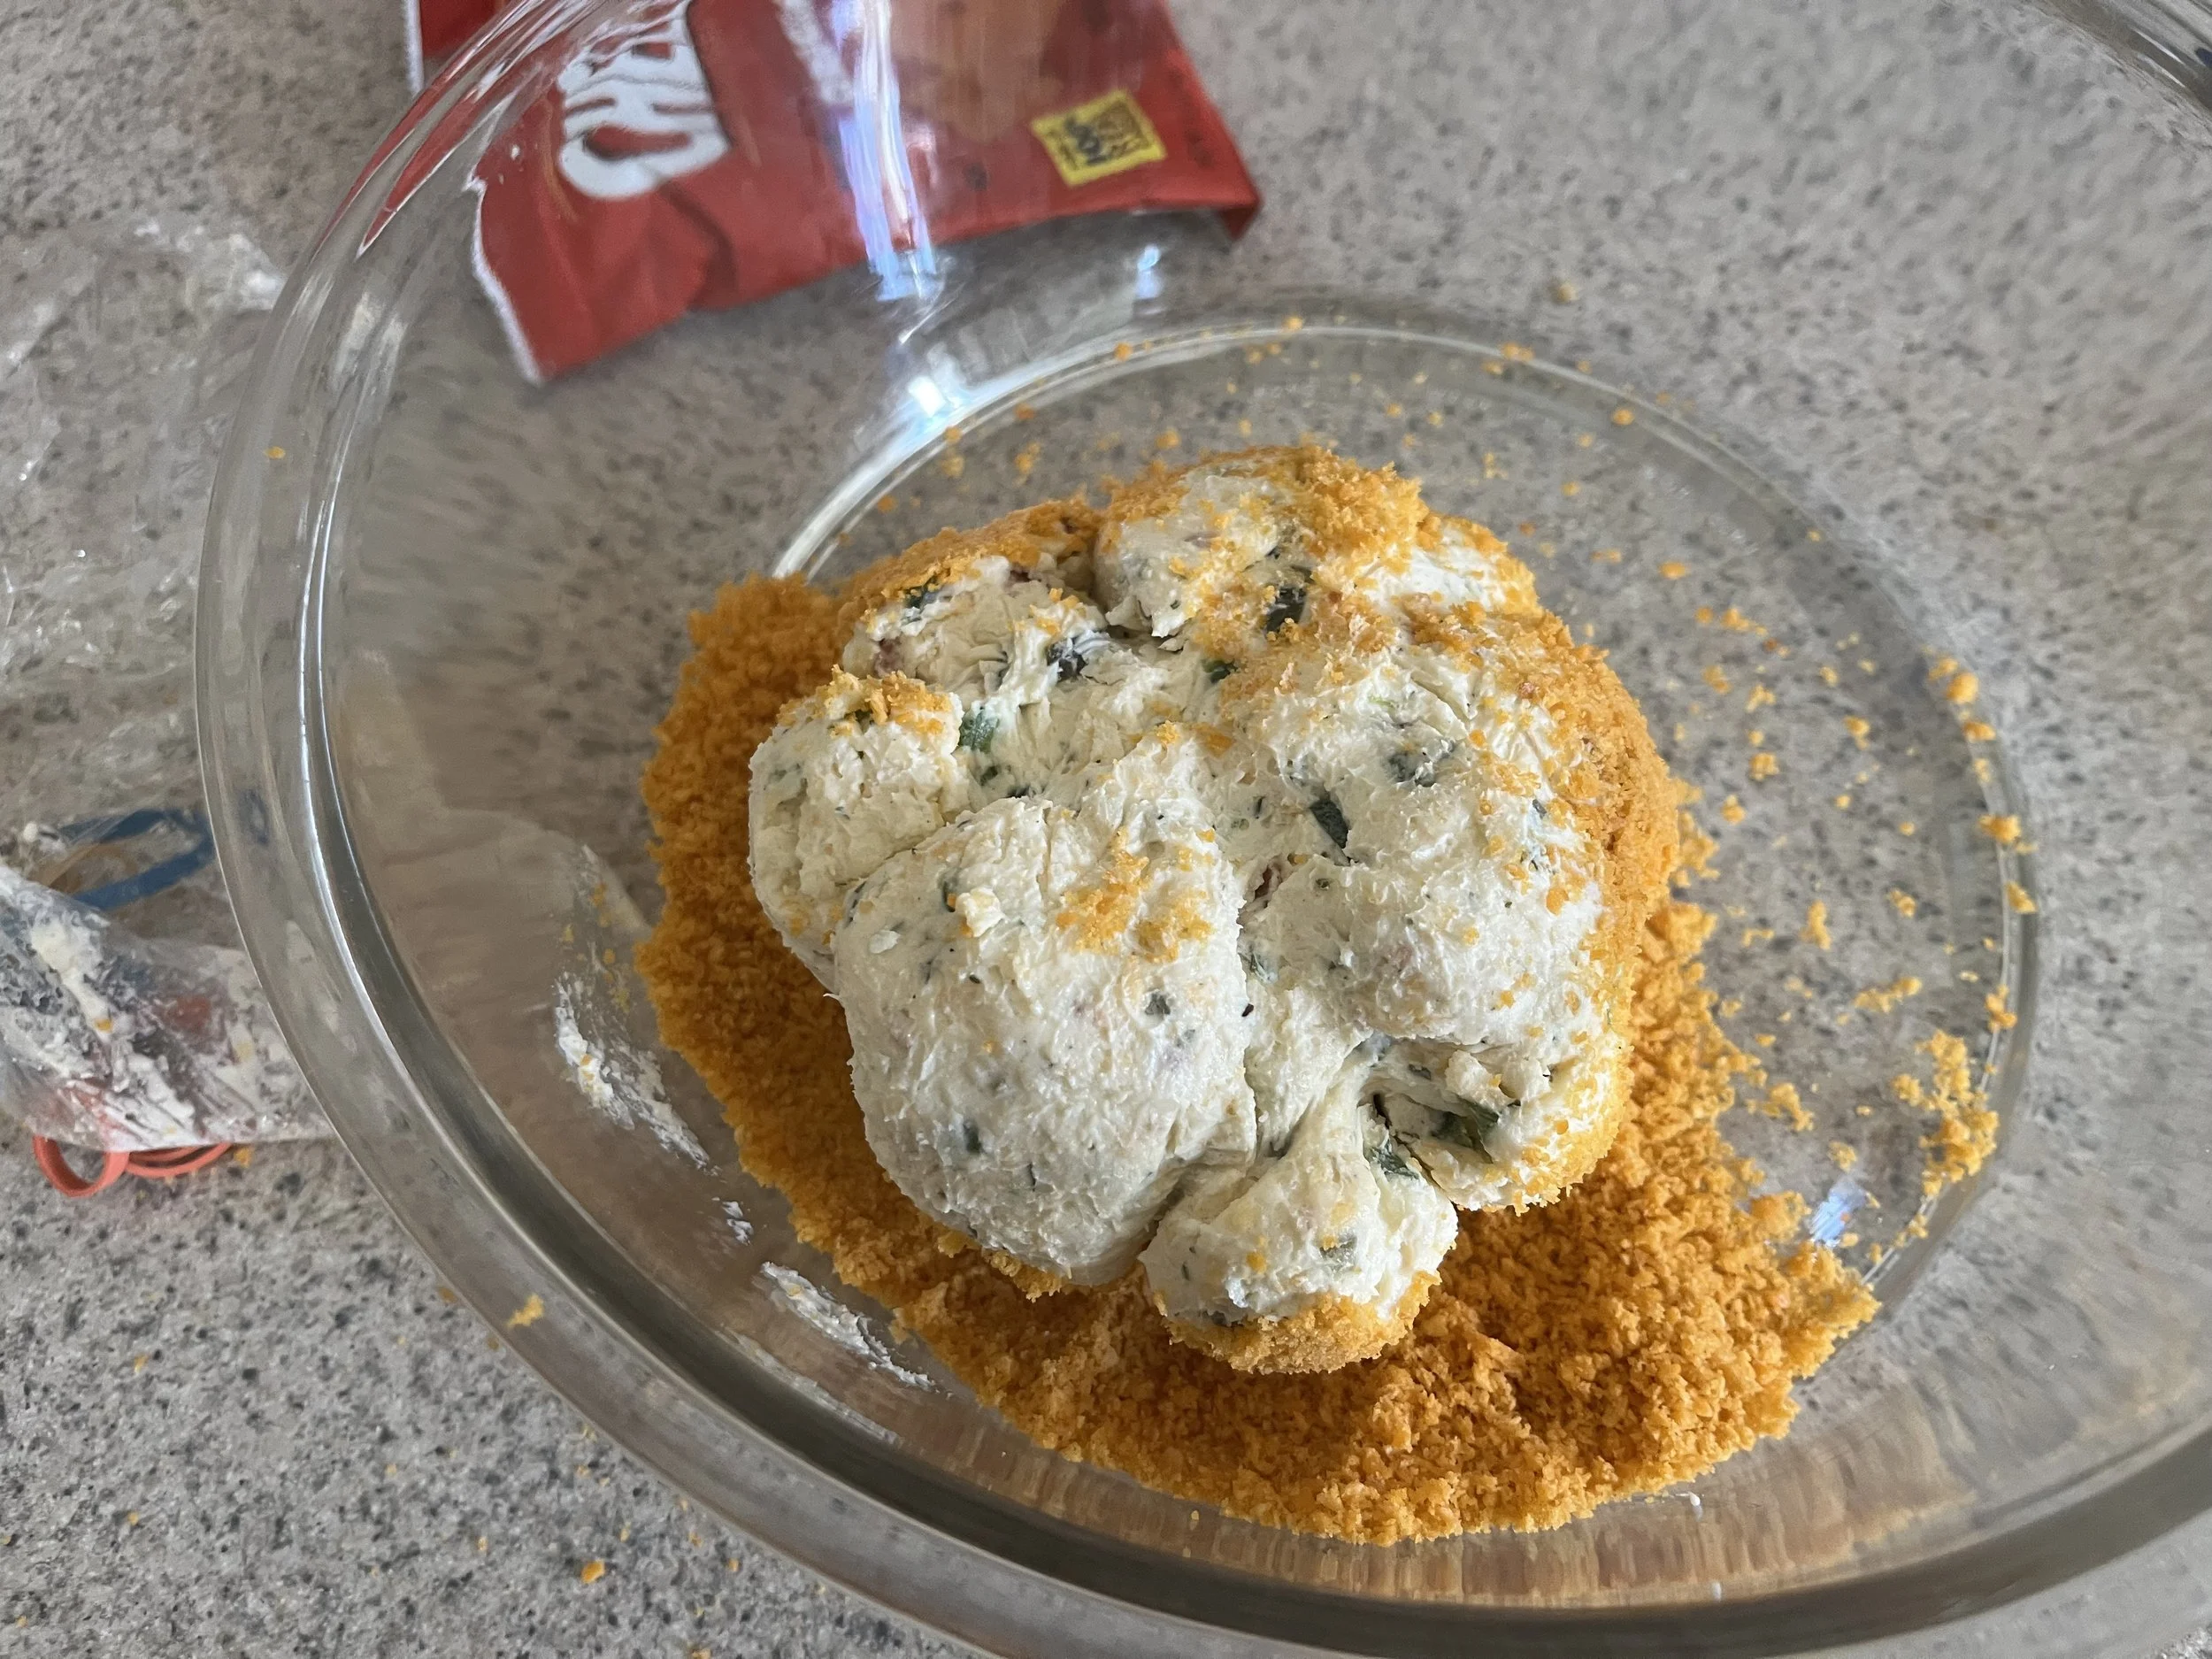
Once your cheeseball has chilled in the refrigerator*, add the crushed crackers to a medium bowl, remove the rubber bands, and roll the cheese pumpkin in the crushed crackers. Decorate with the saved jalapeño stem and serve with crackers, pretzels, and/or carrots, celery, and cucumbers for a healthier dipping option.

Enjoy!

For a football shape, add extra cooked bacon on the outside, followed by Provolone or Monterey Jack cheese.

Notes:

  • Substituting the Cheese Itz- Feel free to substitute them with cheese puffs, spicy Doritos (regular Doritos are not as orange, or extra grated yellow cheddar cheese.

  • Grating Cheese- It’s always better to hand-grate a block of cheese. Pre-shredded cheese works in a pinch. If baking this mixture for a hot dip, hand-grated cheese is best because the pre-shredded cheese does not melt as well because of the coating added to the cheese.

  • Would you prefer a hot dip? Evenly spread the dip ingredients into a pie plate (step five, “Use a rubber spatula to shape the mixture into a ball”), sprinkle with the cracker crumbs, and bake in the oven at 350 degrees for 15 minutes or until bubbly.

Yum

Picked Red Onion Recipe

side dishesSheri SpalloneComment

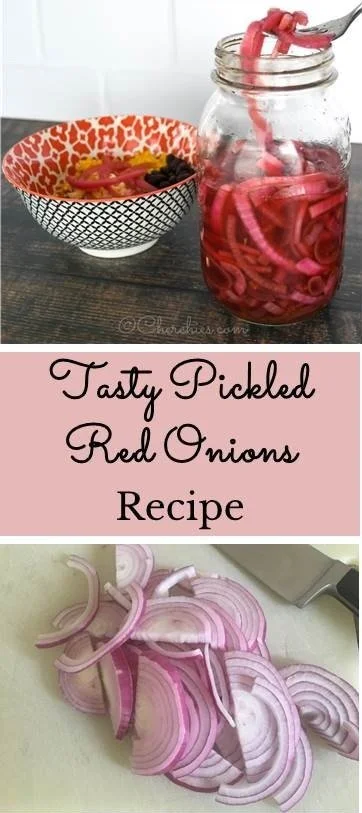
Tasty Pickle Red Onions Recipe

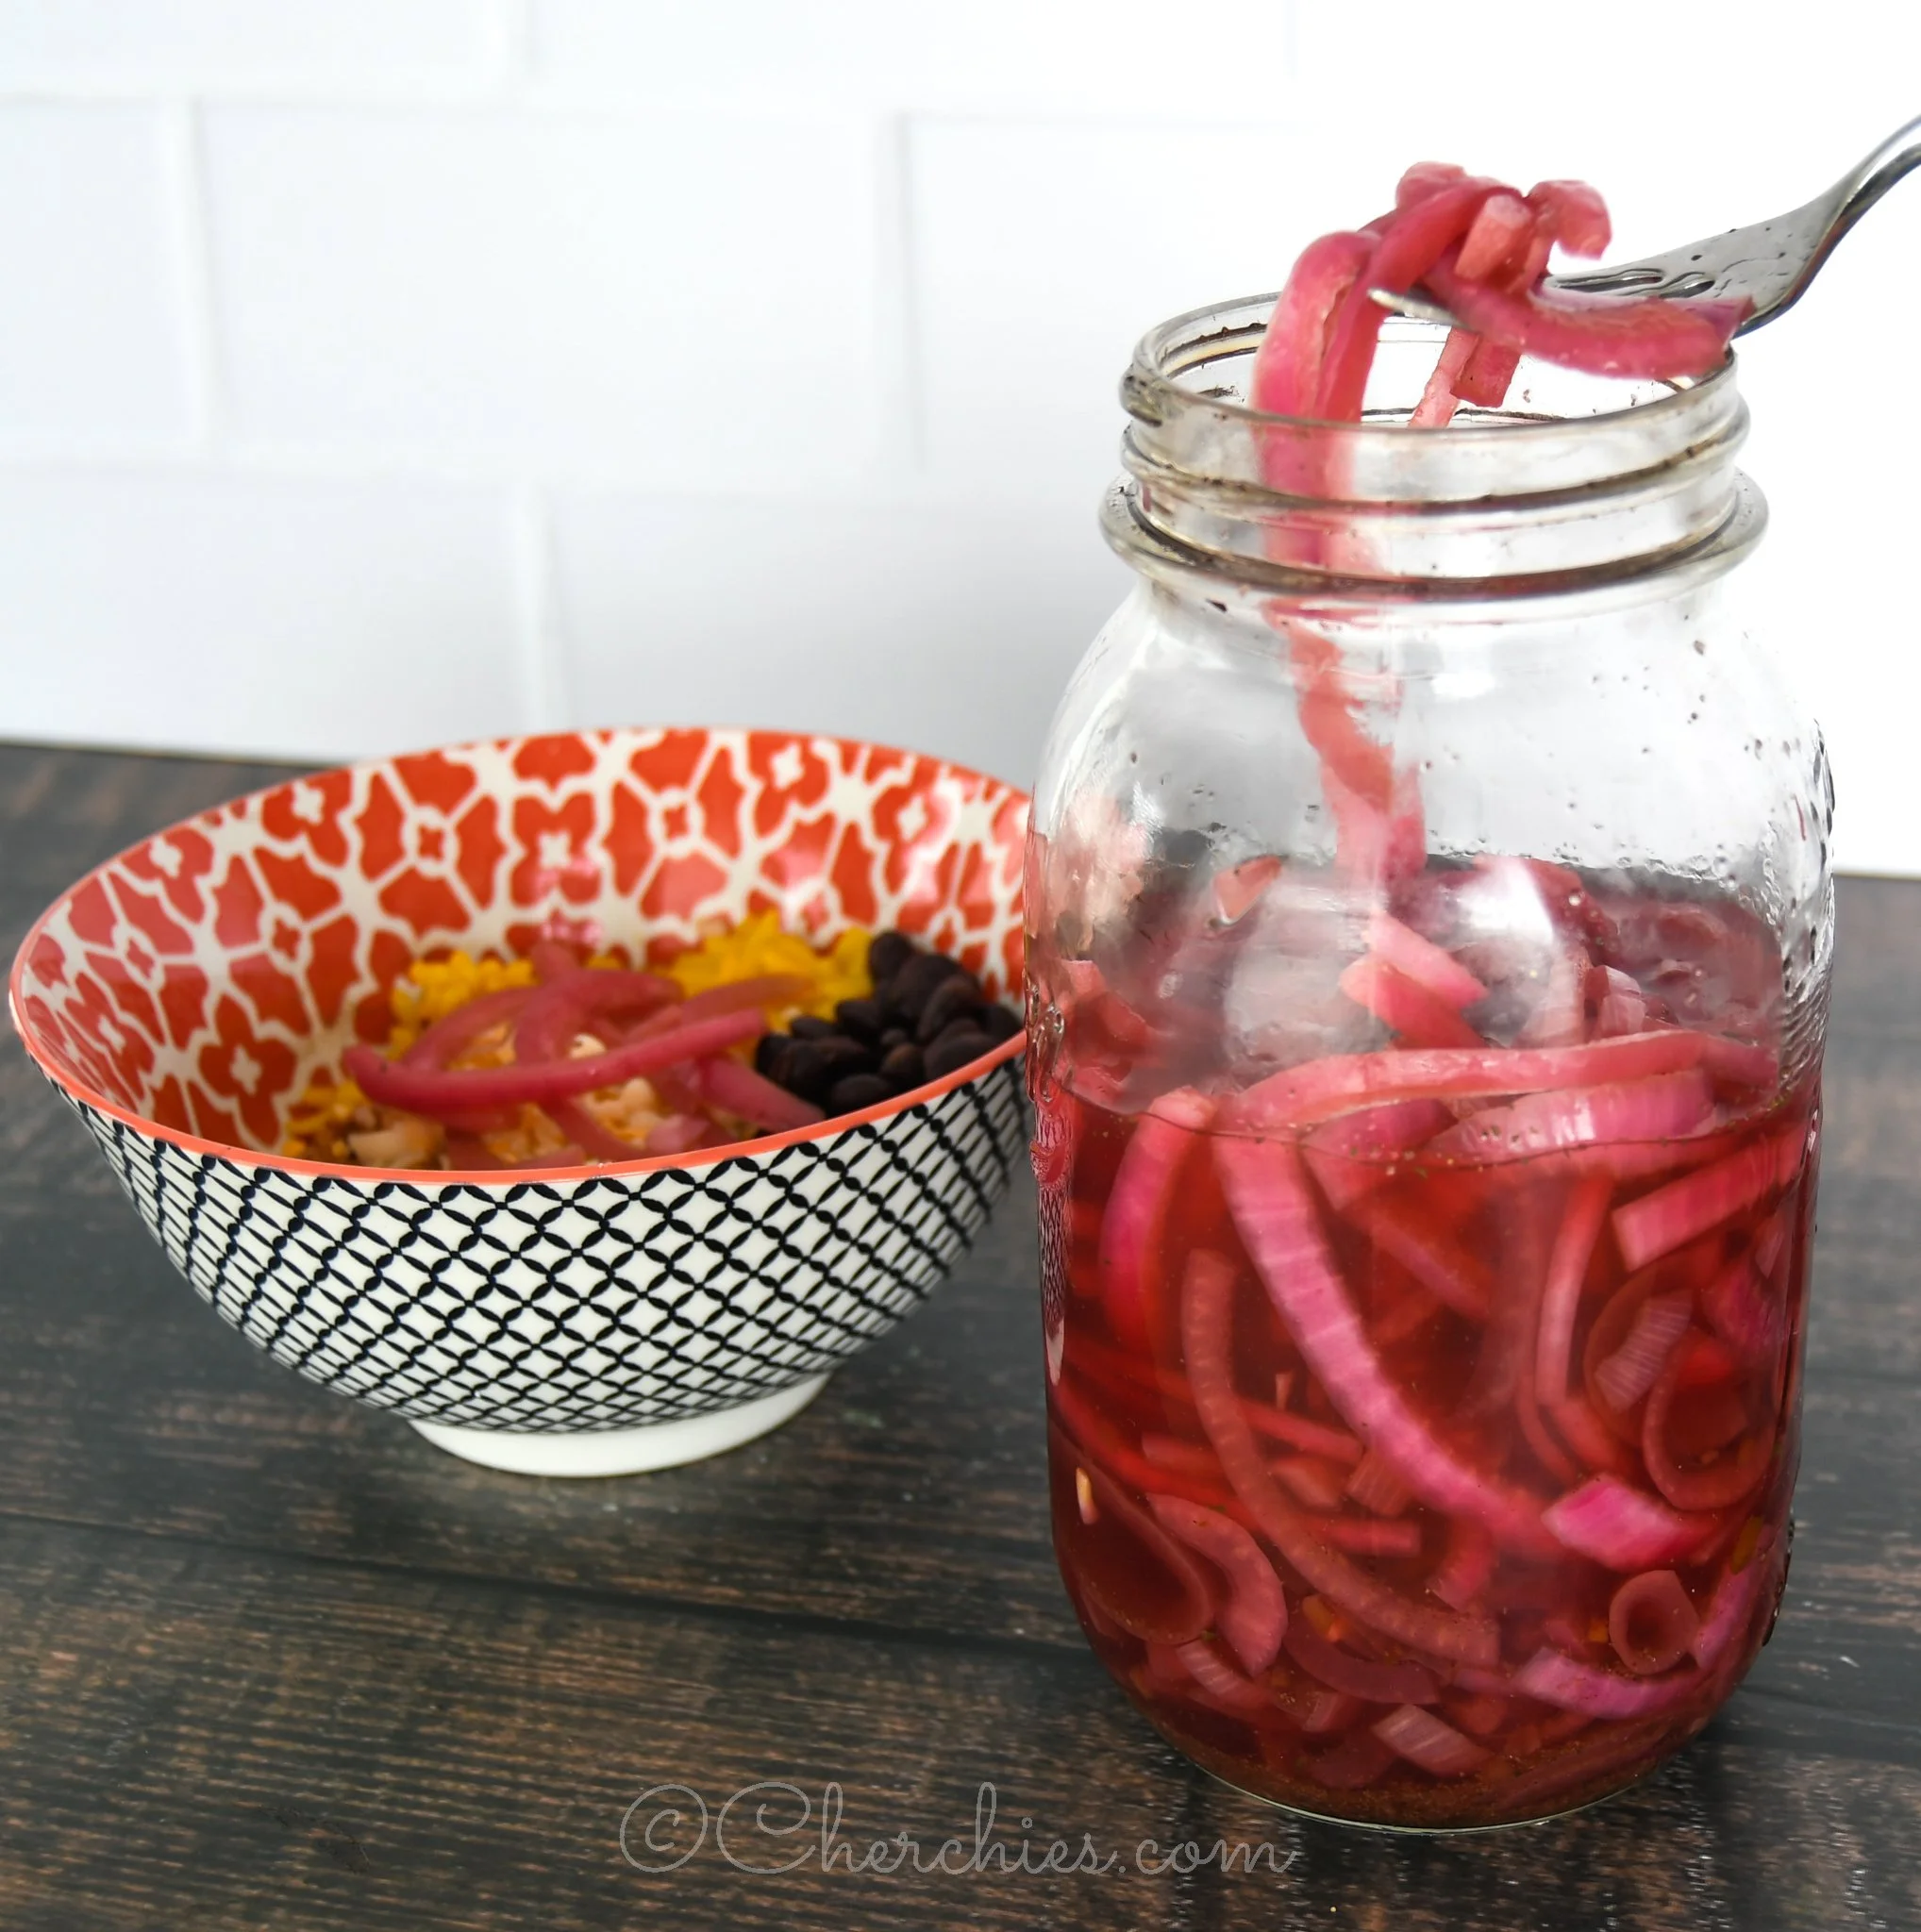
If you want to add a pop of zing and an extra dimension of flavor and crunch to your sandwiches, Southwestern dishes, burgers, etc., you need to make these tangy-sweet pickled red onions. Beware, once you make them, you'll wonder why you never made them before, and you'll obsess about keeping a jar on hand in the refrigerator at all times:). Well, maybe not obsess:).

Homemade pickled onions are incredibly delicious and easy to make. They brighten up any dish with a tangy pop of flavor, require a handful of ingredients, and take minutes to prepare. If you haven't tried them, your tastebuds are missing out. The main ingredients for pickled onions are usually vinegar, water, and salt. There are fancier recipes on the internet, sometimes with fresh herbs, garlic, fruit, peppercorns, etc.; however, our version features red onions, Cherchies® Garlic Seasoning, apple cider vinegar, and red wine vinegar (* homemade-see notes).

As I've often mentioned in other blog posts, our children (now college students) are often guinea pigs and our best food critics for new recipes that I create. Over the years, it has been wonderful watching their palates mature with them trying different foods, including pickled red onions. When our daughter and son came home for the weekend recently for a visit, their favorite Taco Night was on the menu. It was the perfect time to introduce pickled red onions as one of the taco toppings, and I was pleasantly surprised at their reactions. They gave the pickled red onions a thumbs up!   

Still not convinced? Here are 19 mouth-watering examples of why you should make pickled onions today to have on hand when the moment strikes to add a burst of tanginess to your dishes. Your tastebuds will thank you.  

  1. As a topping for tacos

  2. In sandwiches and wraps

  3. As a fixing for bagel and lox boards

  4. As a topping for pizza

  5. In burgers

  6. On top of avocado toast

  7. In mayo-based fillings (eg. deviled eggs, salads)

  8. In salads

  9. As a topping for hotdogs or sausage

  10. As a topping on stews or chili

  11. In dips- rich dips like spinach artichoke

  12. Use the vinegar as a marinade when finished with the pickled onions.

  13. As a martini instead of Gimlet

  14. In coleslaw

  15. As a compliment to Indian food- it pairs nicely with the heat in their dishes

  16. As a topping for baked potatoes w/ sour cream, and/or butter

  17. As an accompaniment to charcuterie, especially pate

  18. In beans- a pot of pintos or black beans with sour cream, cornbread, and pickled onions

  19. Add to scrambled eggs.

  20. In BBQ sandwiches

If you haven’t tried pickled onions, then you are missing out. They are incredibly delicious and easy to make, and they bring a new depth of flavor and texture to your favorite dishes. Are you ready to give this recipe a try?

Thanks for stopping by:) Comment below if you have made this delicious recipe. Come back again for more family-tested recipes, entertaining ideas, and cooking tips using all our favorite Cherchies® gourmet products.

We would love for you to follow us on social media: FACEBOOK, INSTAGRAM, and PINTEREST!

Ingredients

  • 1 large red onion, thinly sliced into half-moons

  • 1 cup apple cider vinegar

  • 1/2 cup red wine vinegar (* we used homemade red wine vinegar- optional)

  • 1/4 cup sugar or honey

  • 1 teaspoon (tsp.) Cherchies® Garlic Seasoning (or Cherchies® Garlic ‘n Herbs No-Salt Seasoning)

  • 1/8 teaspoon (tsp.) ground allspice

  • A pinch of red pepper flakes or a few peppercorns

Ingredients for Homemade Red Wine Vinegar

  • equal parts of apple cider vinegar and leftover red wine. (best if made a few days to a week ahead)

Preparation

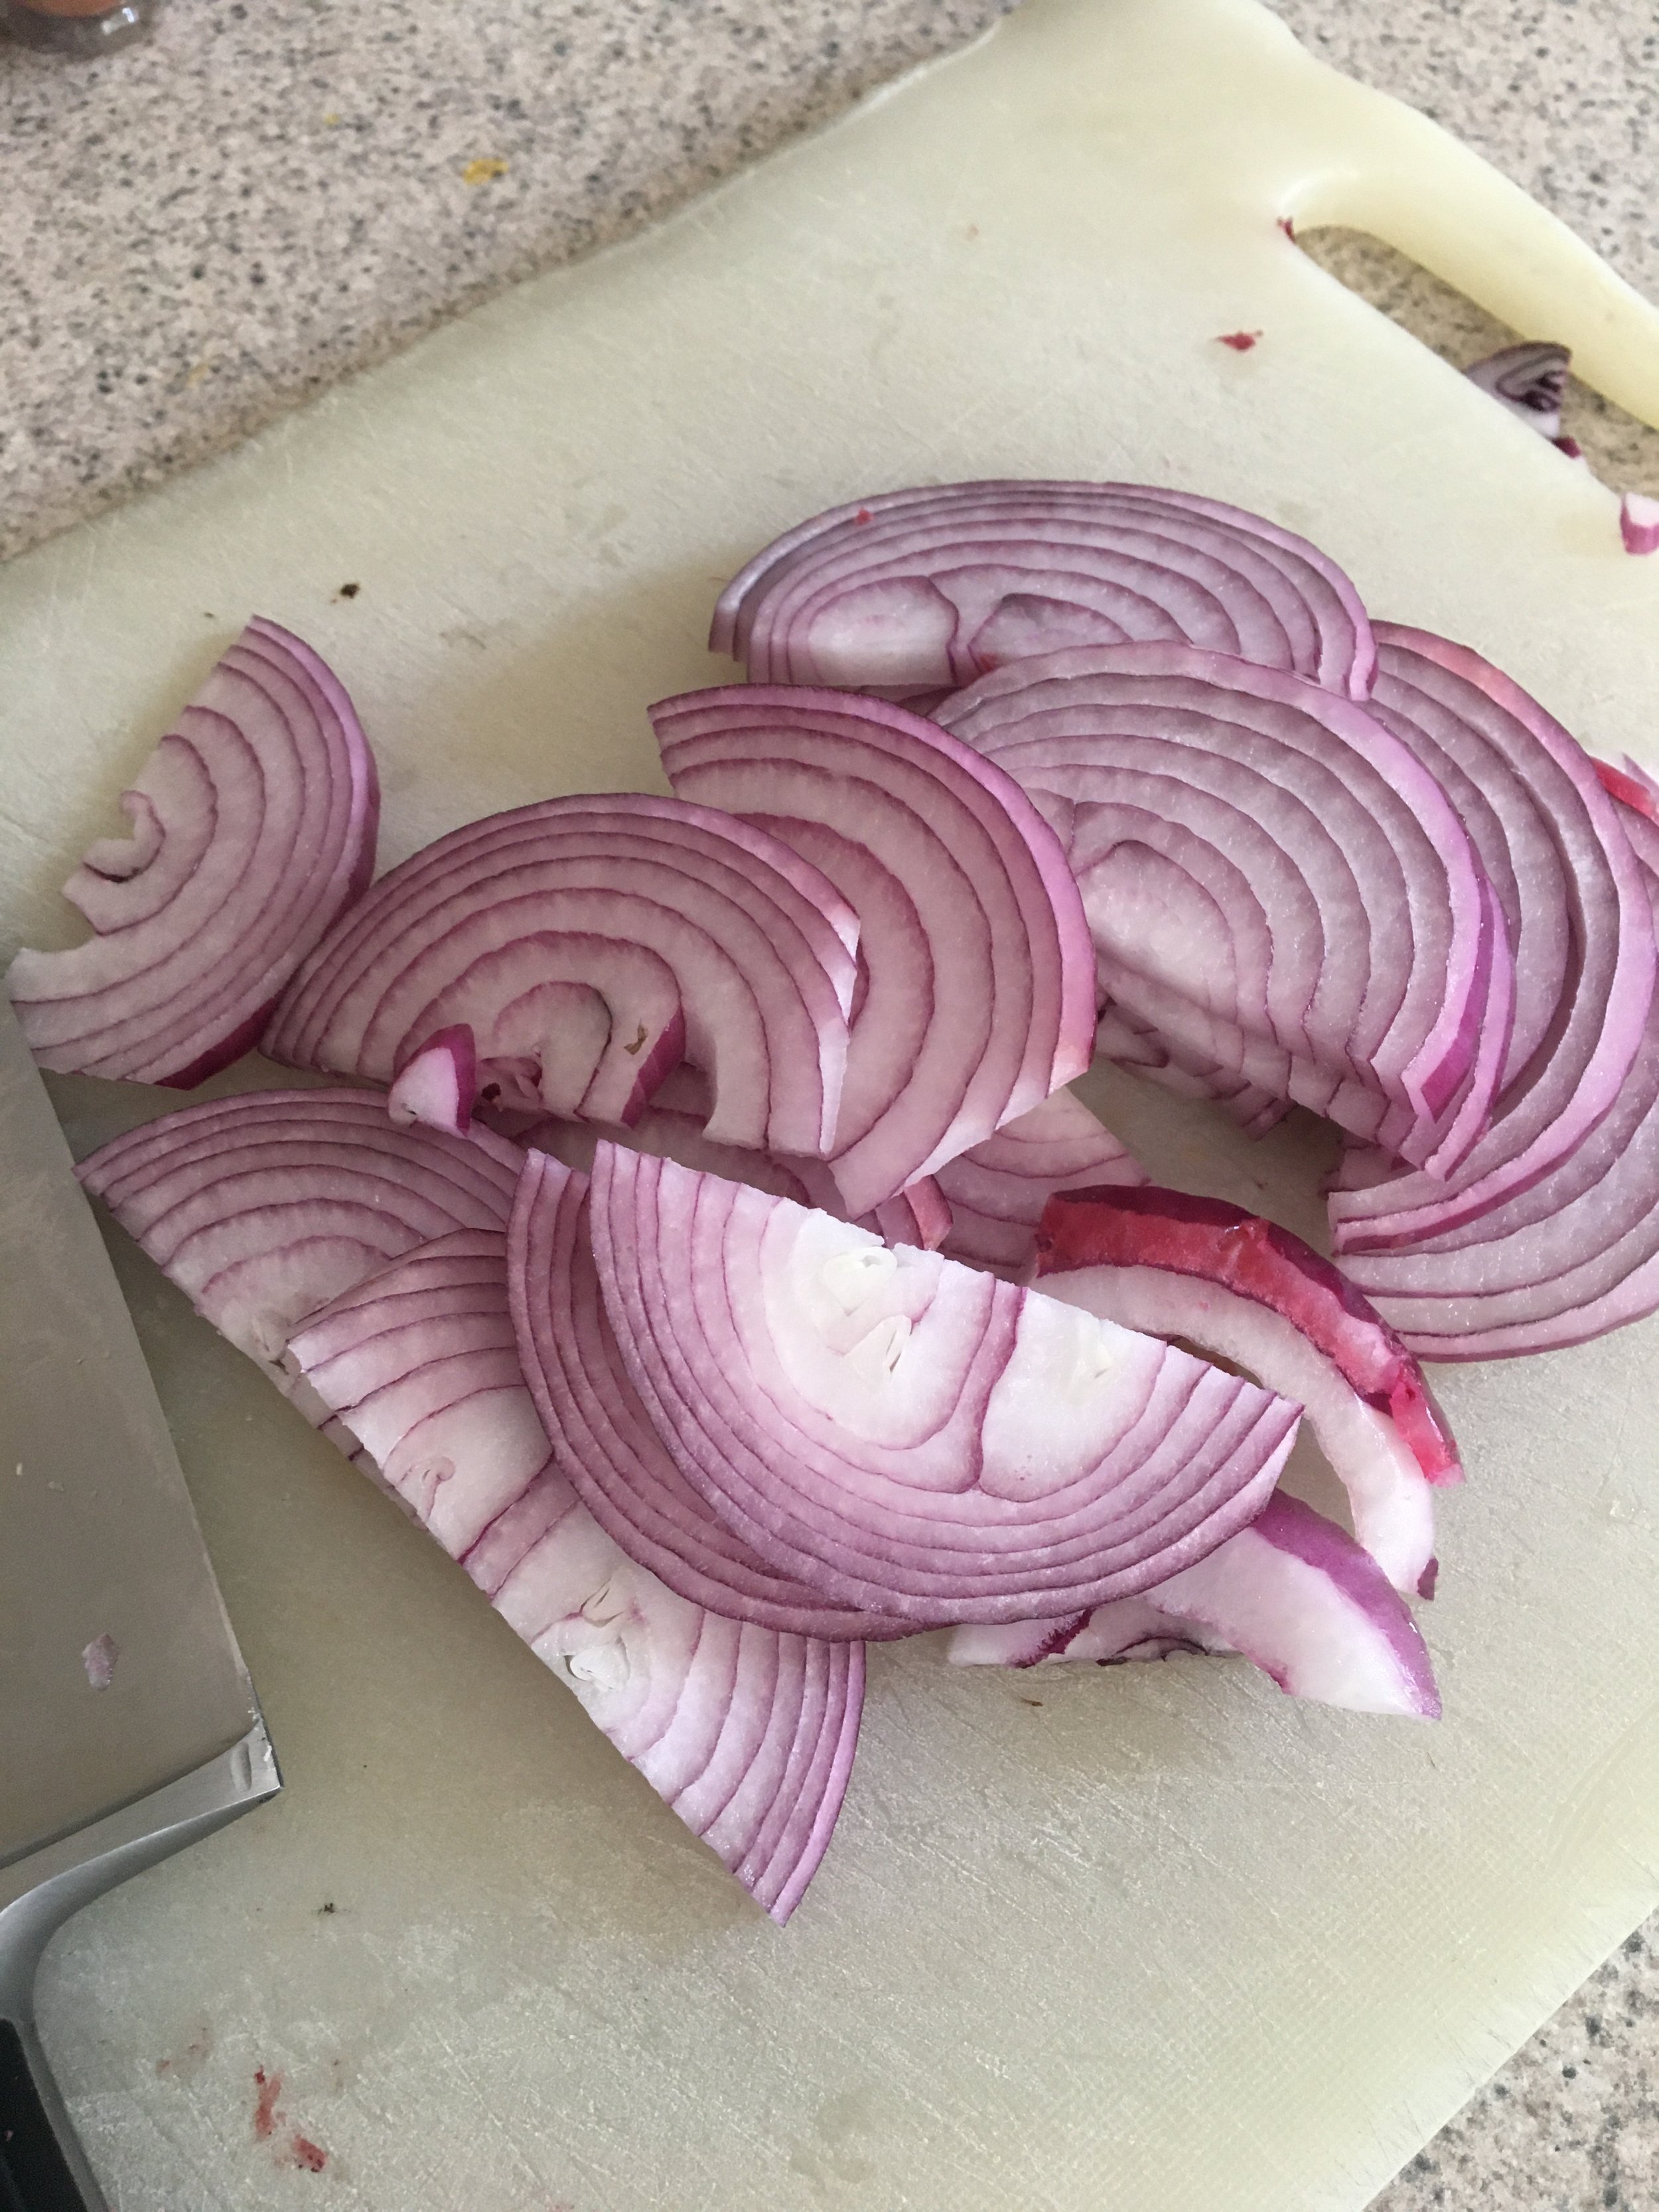
Remove the outer layer of the onion. Slice the onion at half beginning with the root side of the onion. Using a mandoline or sharp knife, thinly slice the onion into half-moon slices. Set aside.

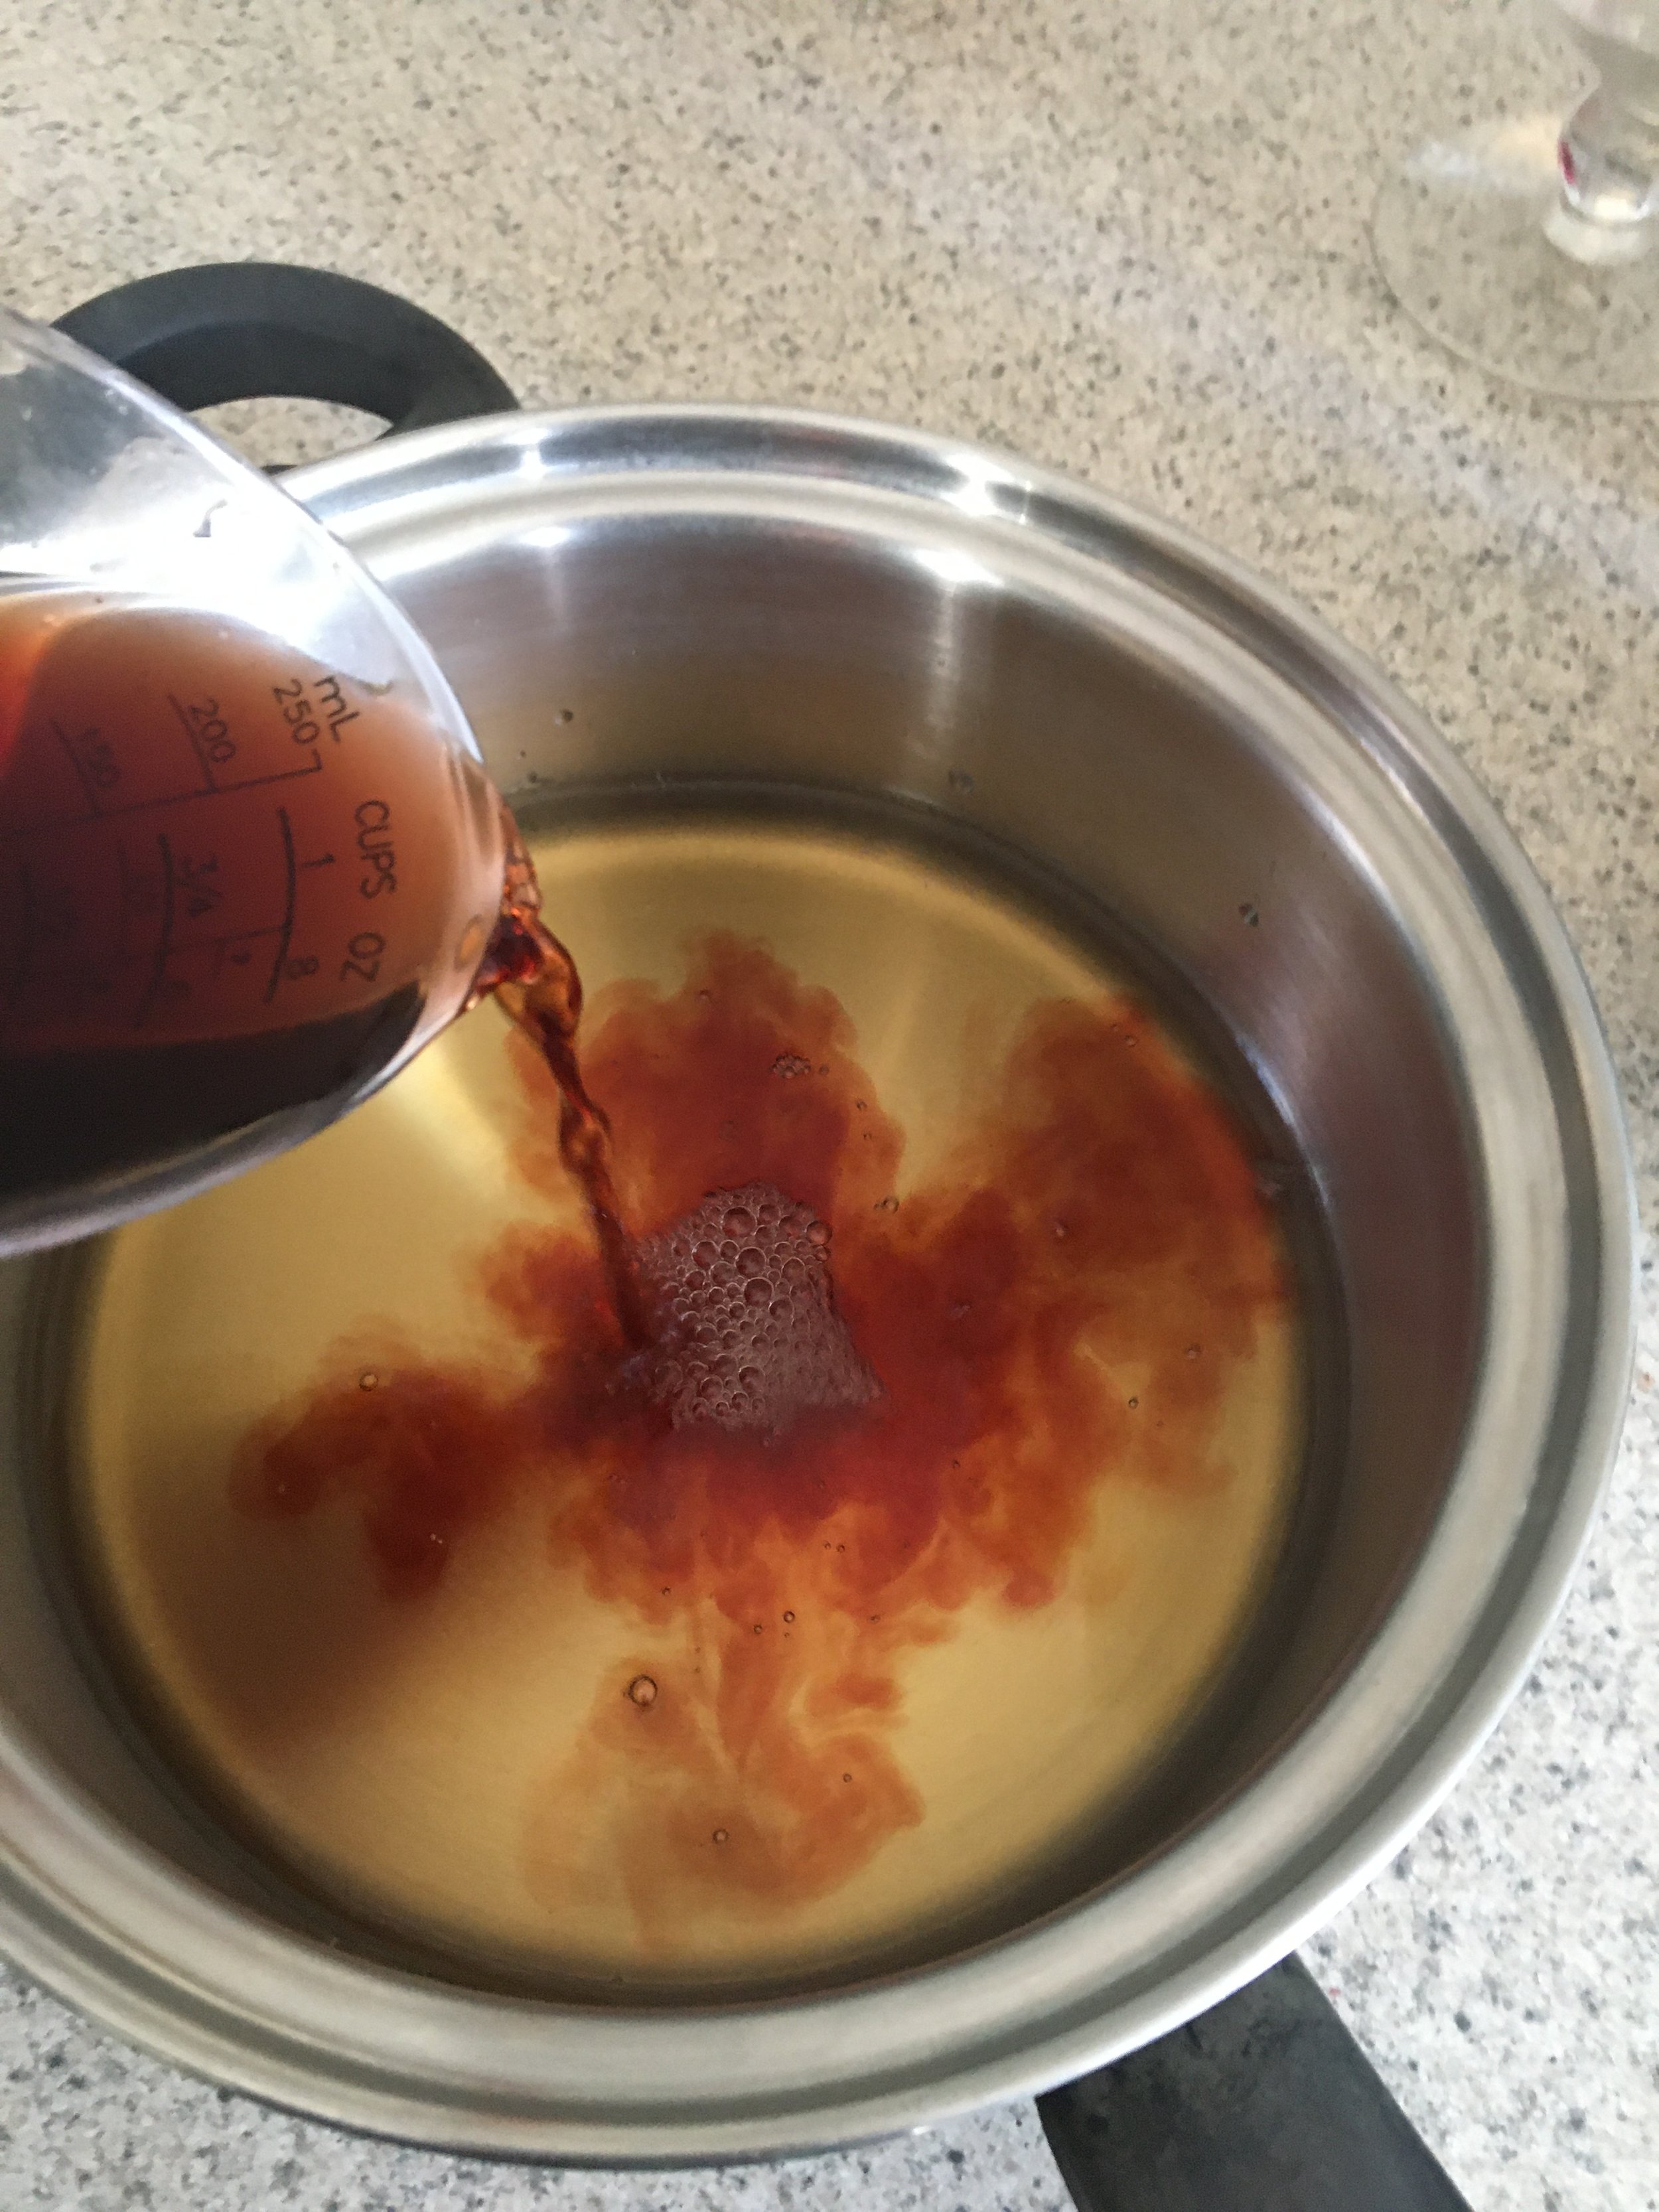
Add to a medium saucepan, the apple cider vinegar, red wine vinegar, sugar, Cherchies Garlic Seasoning, allspice, and red pepper flakes. Turn the saucepan on low and cook for a few minutes (stirring occasionally) until the sugar or honey has dissolved. Turn the pan off.

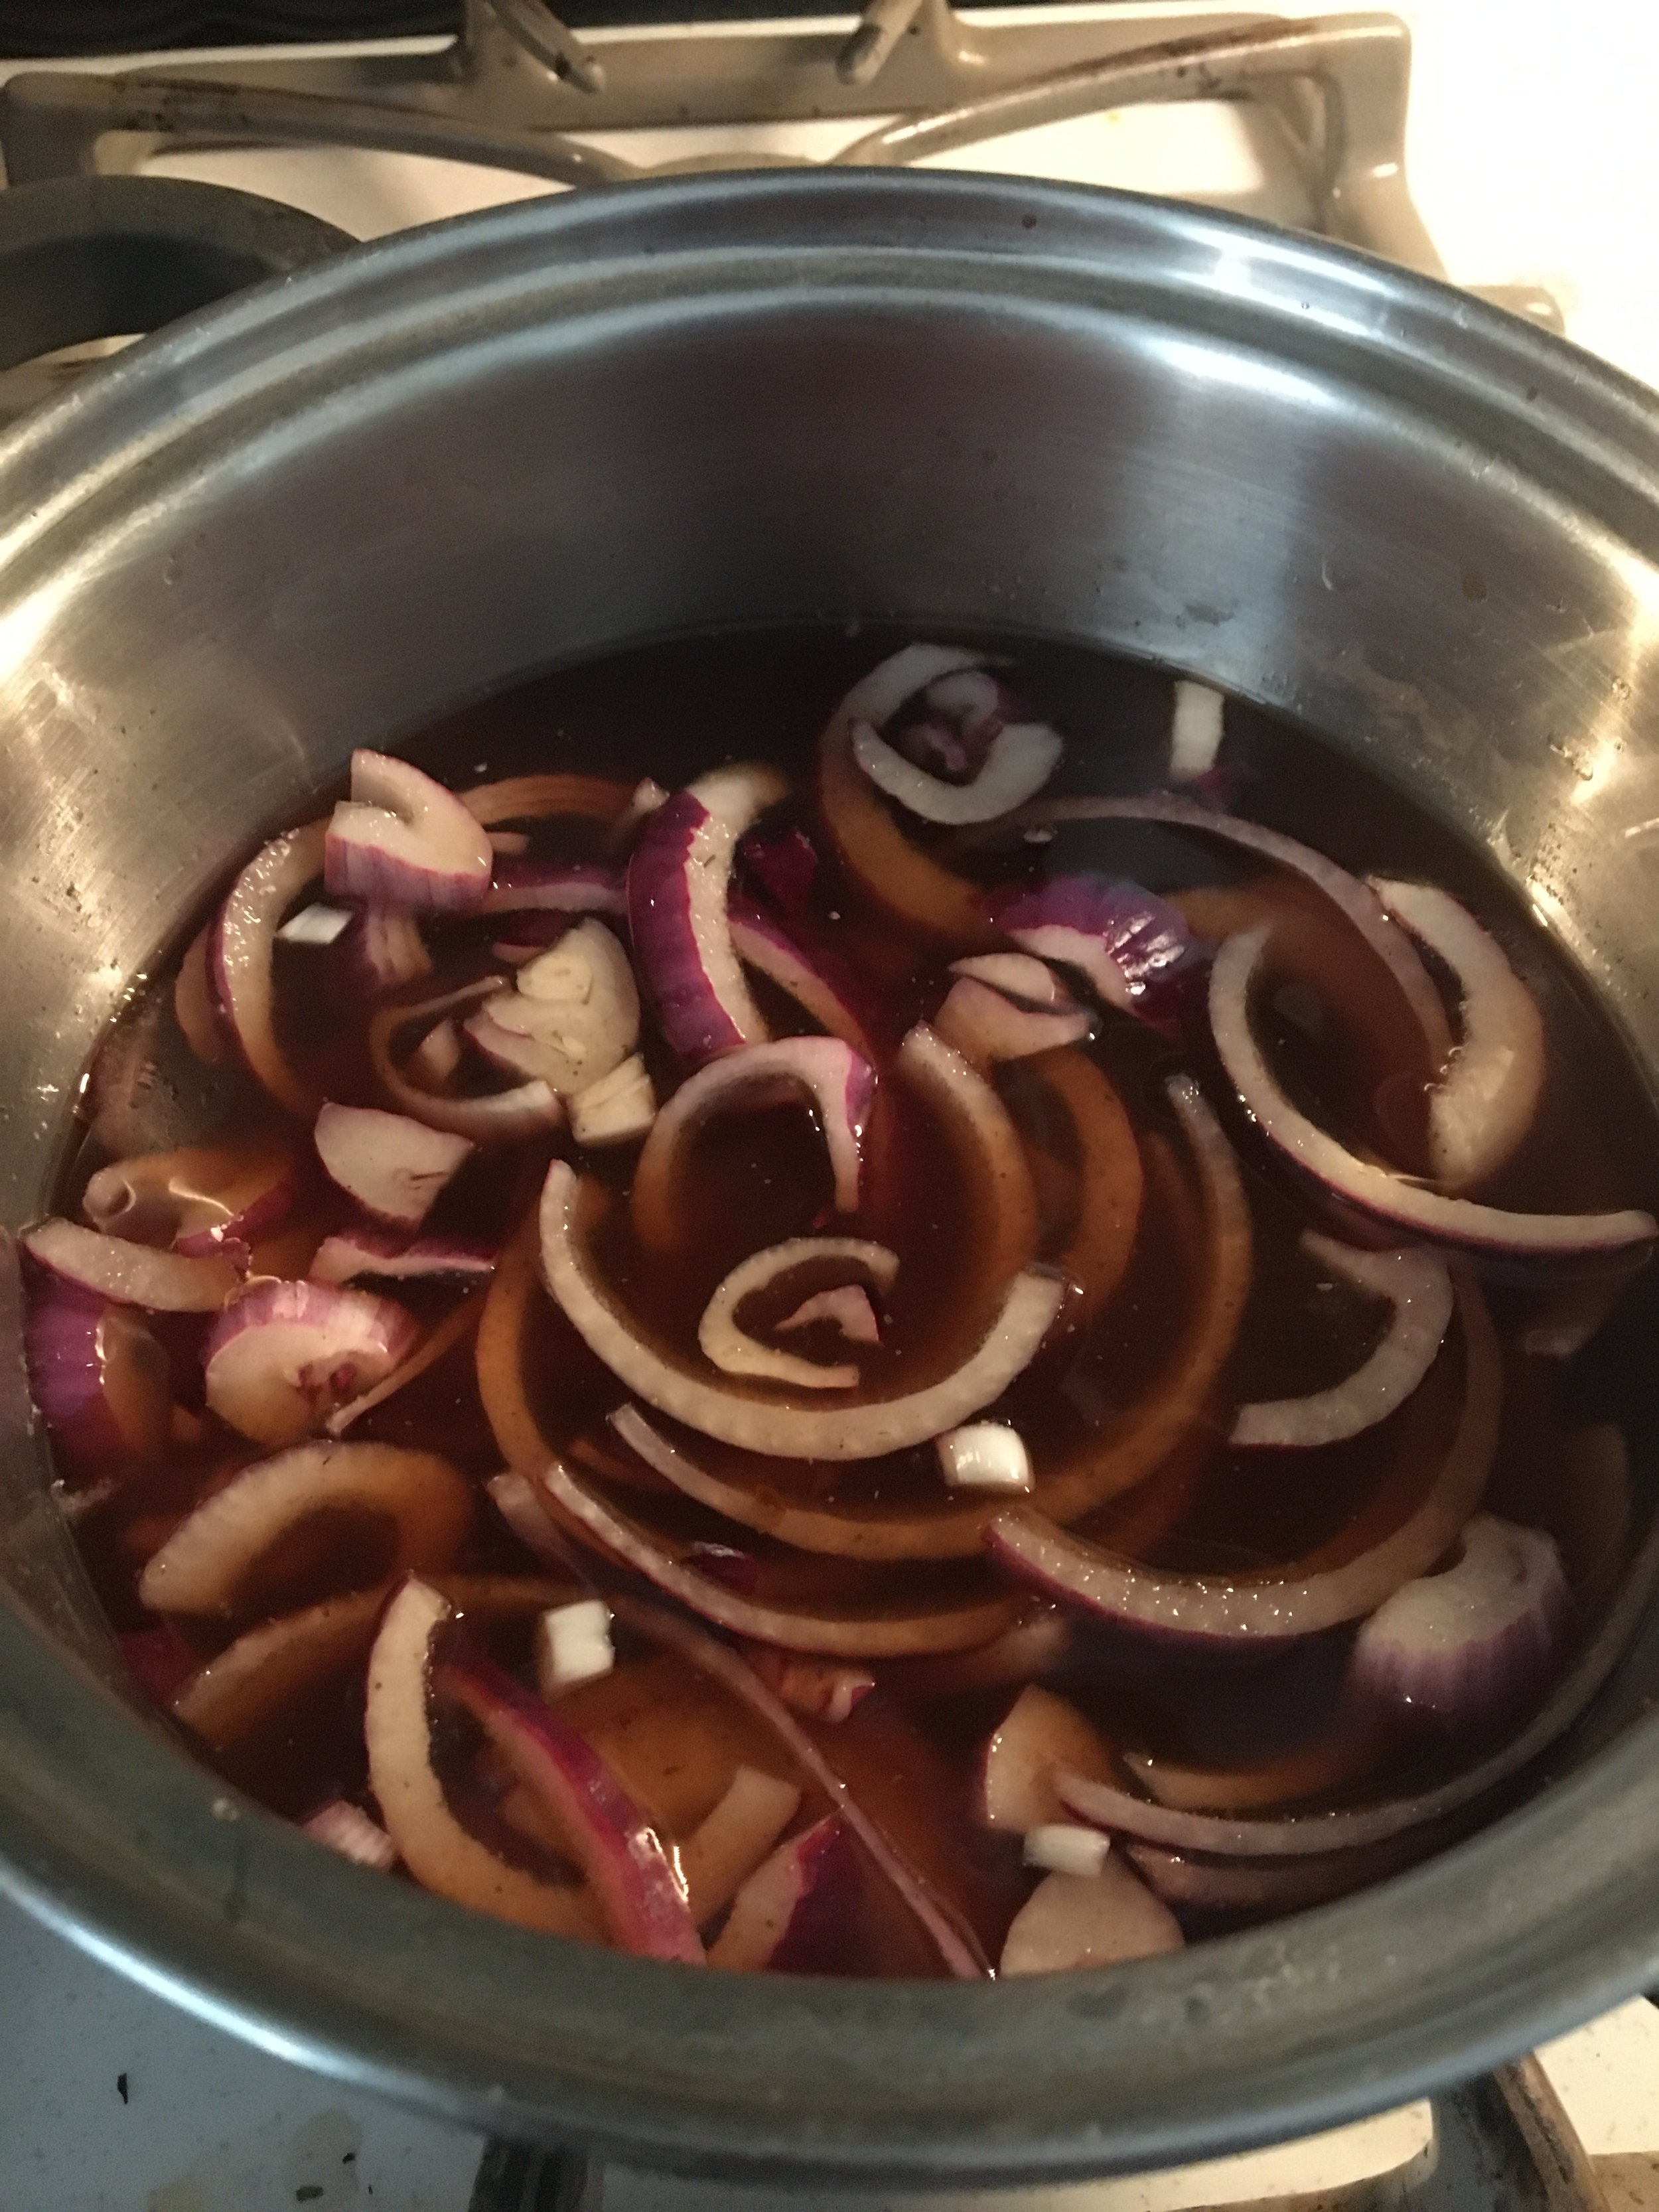
Add the onions to the pan and allow the mixture to cool.

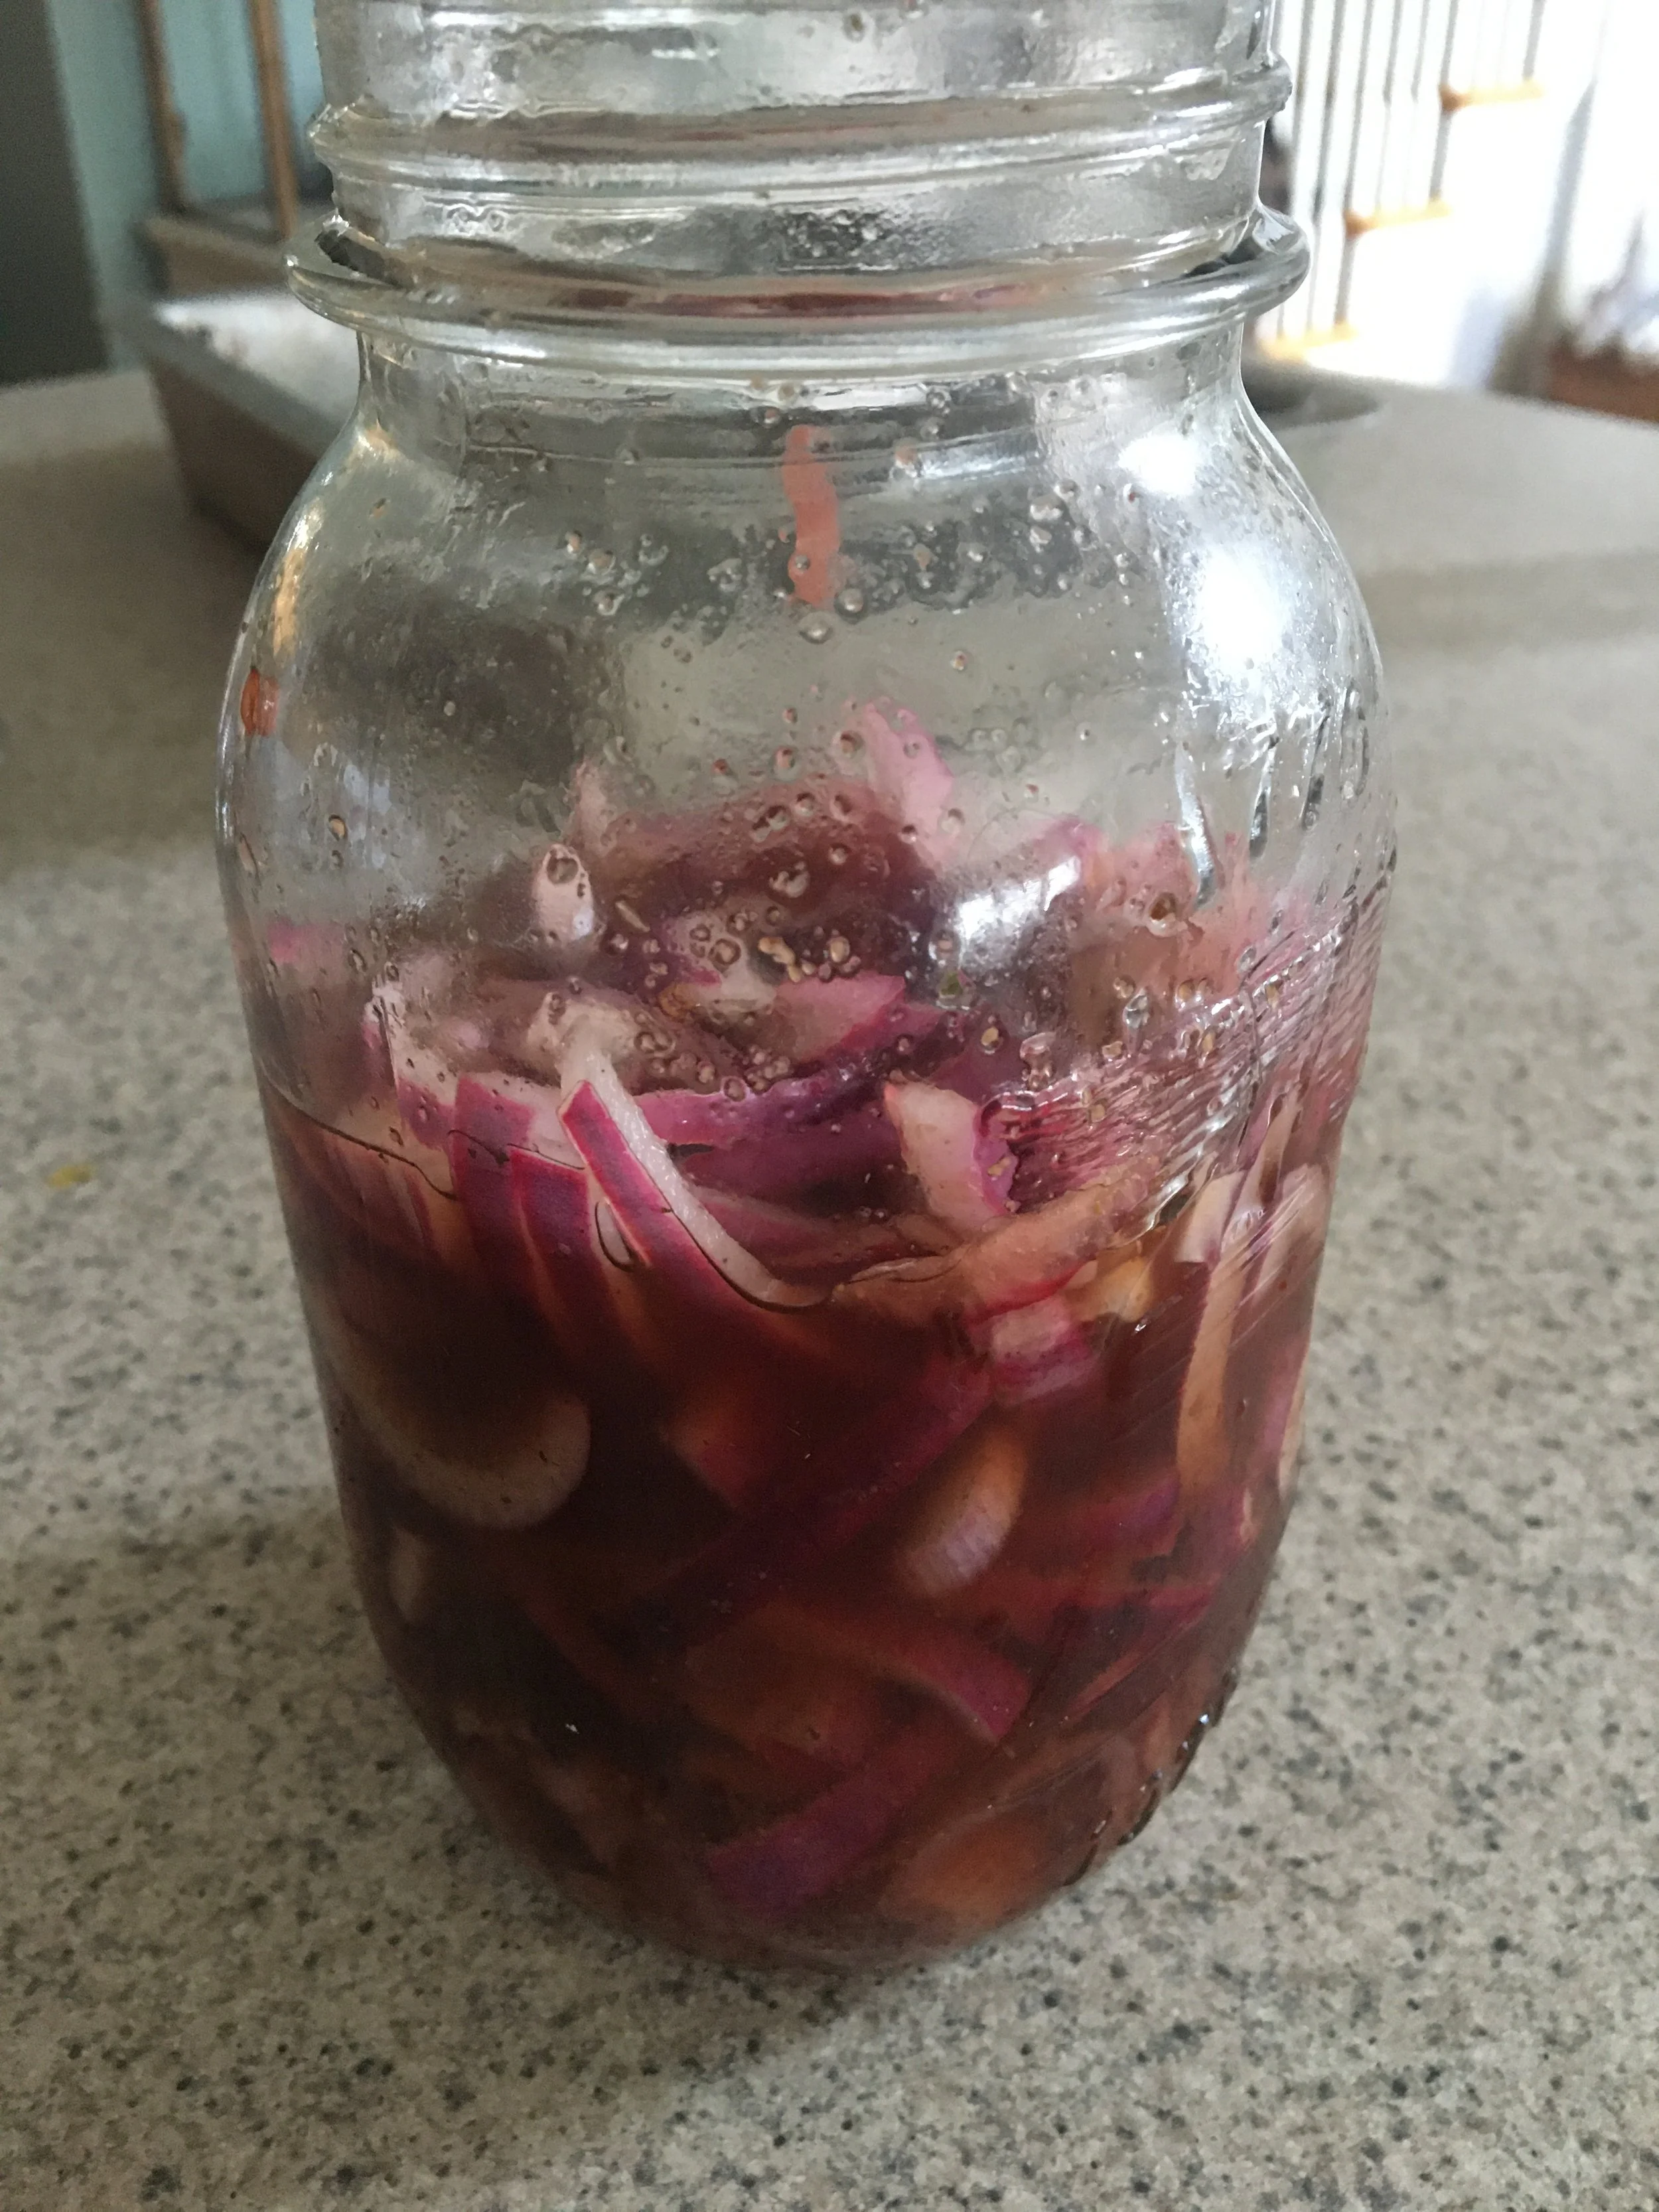
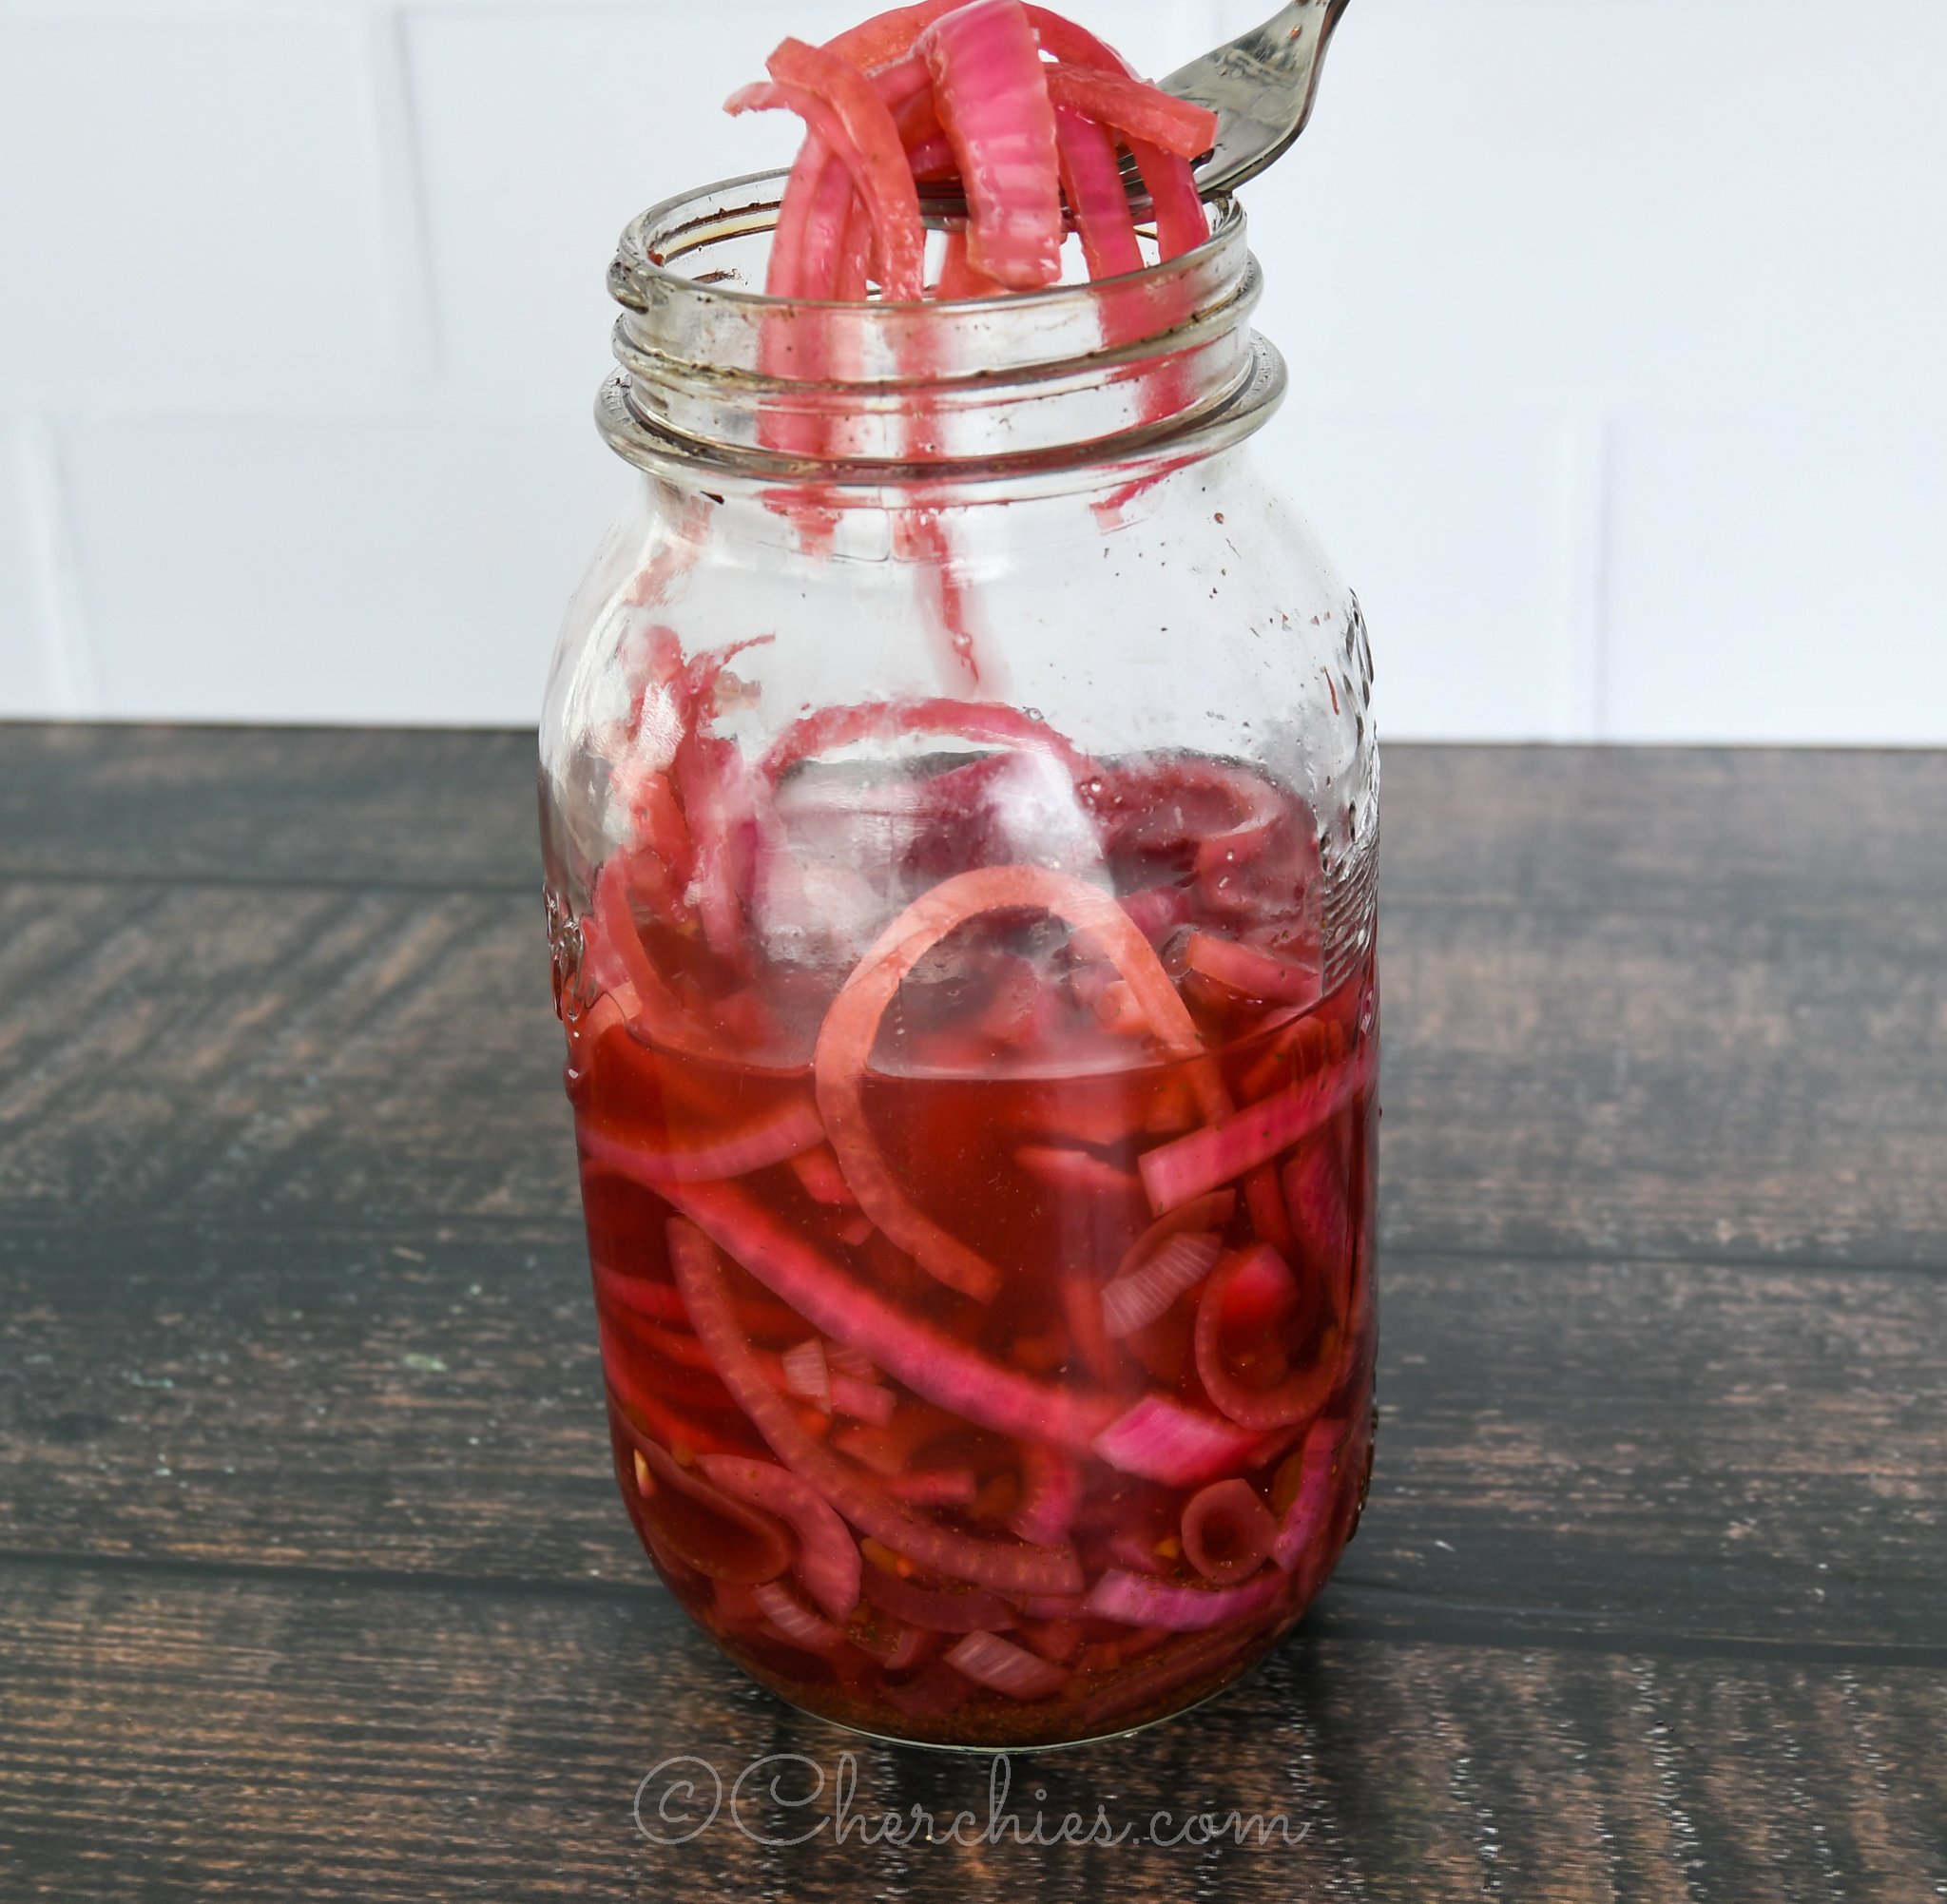
Remove the onions from the saucepan with tongs and add them to a clean mason jar (or jar with a lid). Pour the remaining liquid in the pan into the mason jar. Cover the jar with a lid or plastic wrap, refrigerate, and enjoy.


Yum